The Okta/EasyLlama SAML integration currently supports the following features:
For more information on the listed features, visit the Okta Glossary.
Log in to EasyLlama.
Go to Settings > Authentication.
Scroll down to Single Sign-on Settings, then follow the steps below:
Single Sign On URL: Copy and paste the following:
Sign into the Okta Admin Dashboard to generate this variable.
X.509 Certificate: Download and save, then upload the following:
Sign into the Okta Admin Dashboard to generate this variable.
Click Save.
Still on the SAML Authentication Settings page click Copy SAML link. You'll use this link for SP-initiated flow.
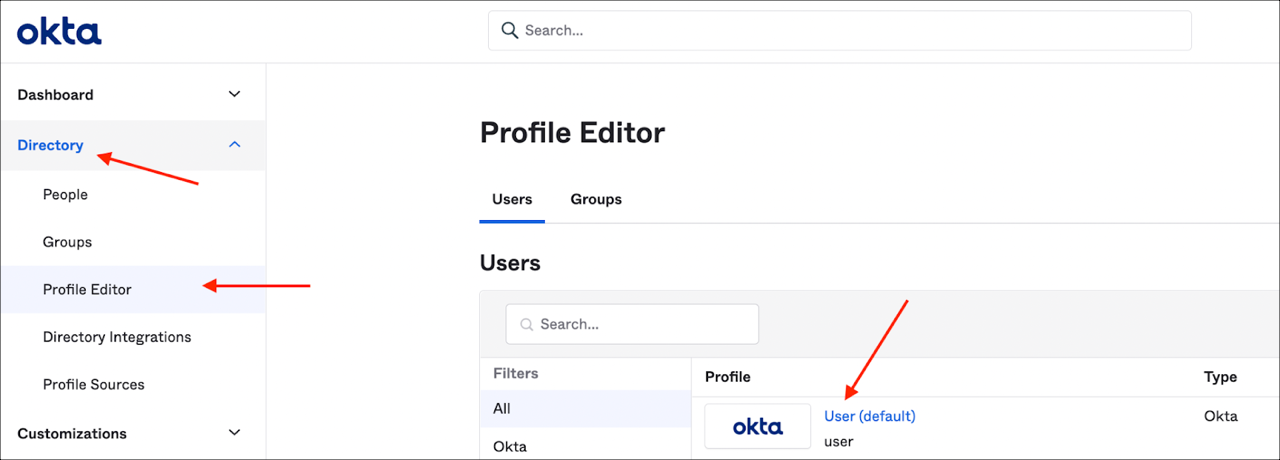
In Okta, go to Directory > Profile Editor, then click User (default).
Enter the following:
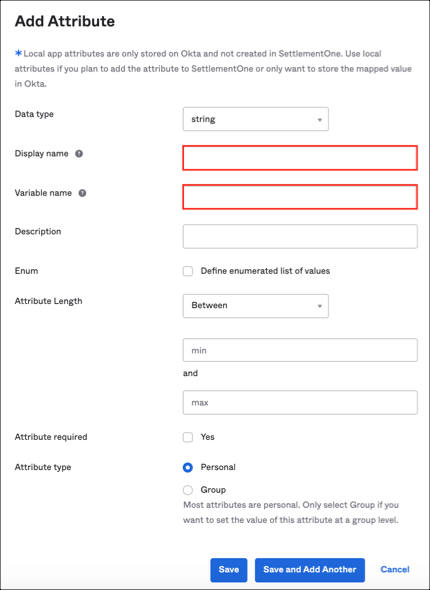
Click Add Attribute.
Add the following attributes:
| Display name | Variable name |
|---|---|
| Role | easyllamaRole |
| training_tags | training_tags |
Once you have completed the steps above, you'll see the following:

Now you can specify the value for the added attributes for a particular user.
If you want to create a user with admin rights, enter admin for the Role attribute and leave the training_tags attribute empty.
If you want to use the Learner role, you'll need to add the comma-separated (without space) values for the training_tags attribute so that you can assign trainings to users during provisioning.
Example:
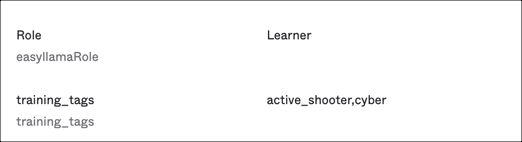
Done!
The following SAML attributes are supported:
| Name | Value |
|---|---|
| first_name | user.firstName |
| last_name | user.lastName |
| role | user.easyllamaRole |
| training_tags | user.training_tags |
Go to your SAML link (step 4).