The Okta/EZOfficeInventory SAML integration currently supports the following features:
For more information on the listed features, visit the Okta Glossary.
Login to EZOfficeInventory as an administrator.
Navigate to Account > Settings > Add Ons.
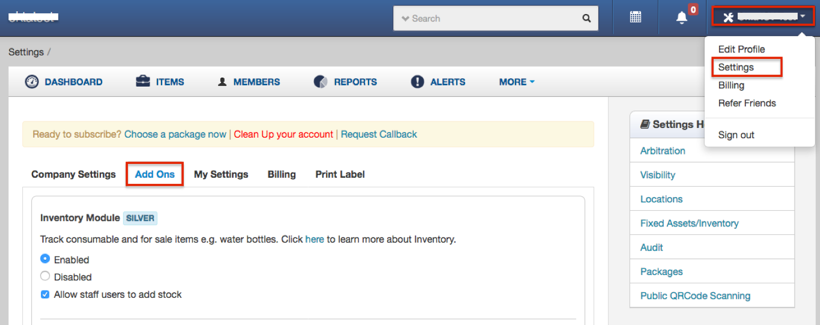
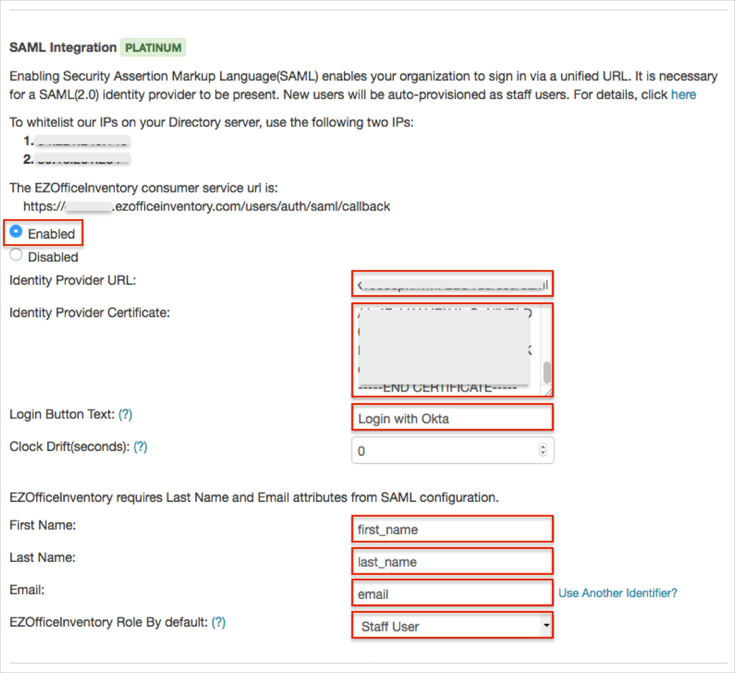
Scroll down and locate the SAML Integration section, and enter the following (see screen shot at end of step for reference):
Select the Enabled checkbox.
Identity Provider URL: Copy and paste the following:
Sign into the Okta Admin Dashboard to generate this variable.
Identity Provider Certificate: Copy and paste the following:
Sign into the Okta Admin Dashboard to generate this variable.
Login Button Text: Enter Login with Okta.
First Name attribute: Enter first_name.
Last Name attribute: Enter last_name.
Email attribute: Enter email.
EZOfficeInventory Role By default: Select either Staff User or Administrator
Click Update.
Done!
Make sure that you entered the correct value in the Subdomain field under the General tab in Okta. Using the wrong value will prevent you from authenticating via SAML to EZOfficeInventory.
The following SAML attributes are supported:
| Name | Value |
|---|---|
| first_mame | user.firstName |
| last_name | user.lastName |
| user.userName |
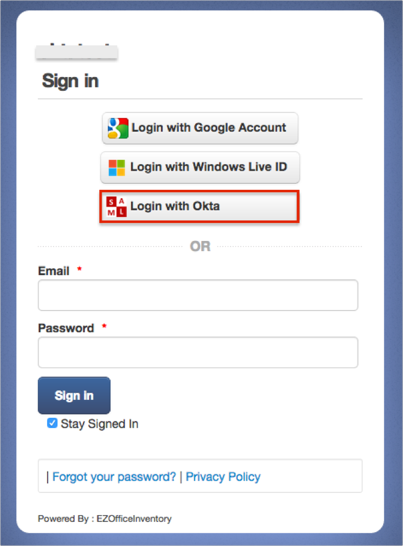
Open the login URL: : https://[yourSubDomain].ezofficeinventory.com/users/sign_in.
Click Login with Okta.