Enabling SAML will affect all users who use this application, which means that users will not be able to sign in through their regular log in page. They will only be able to access the app through the Okta service.
Backup URL: Dynatrace does not provide a backup log in URL where users can sign in using their normal username and password. You can email Dynatrace support (gdn.sso2.0@dynatrace.com) to turn off SAML, if necessary.
These SAML instructions contain Single Log-Out (SLO) configuration steps that are optional. If you are not going to use SLO, skip the steps that are marked as [Optional SLO], and highlighted in blue font.
The Okta/Dynatrace SAML integration currently supports the following features:
For more information on the listed features, visit the Okta Glossary.
Log in to Dynatrace.
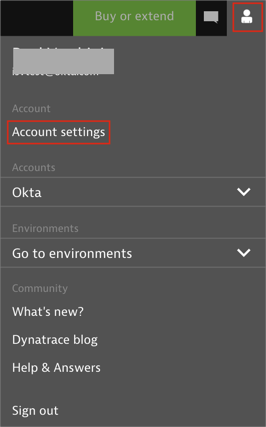
Click on your account, then select Account settings:
Before you can configure the domain for which you want to set up SAML, you need to prove ownership of the domain. Go to: Identity Management > Single sign-on. In the Verify domain section, enter the domain, enter your domain (for example, @mycompanyname.com) for which you want set up SAML.
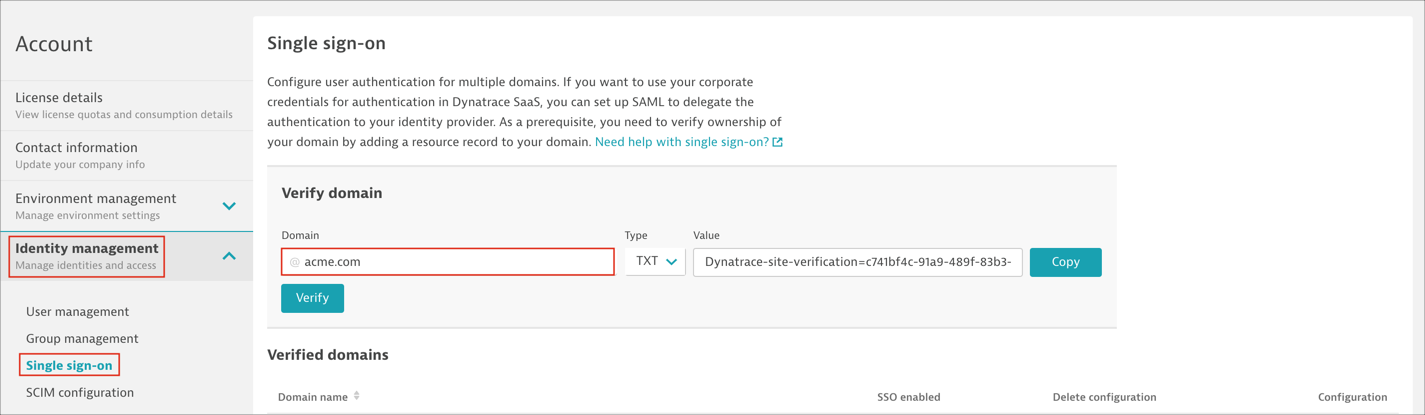
Click Copy and add the TXT resource record to your domain’s DNS configuration.
Click Verify so that Dynatrace can verify that the record was added to your domain’s DNS. It may take a few minutes for the record to be propagated in the DNS system and the value to become available for Dynatrace to verify.
After successful verification, the domain is listed in Verified domains. Click Add for the verified domain.
Note: If people in your organization use more than one domain to sign in (for example, @mycompanyname.com and @uk.mycompanyname.com), you can add additional domains using the same procedure: Enter and verify the additional domains to add them to the Verified domains list.

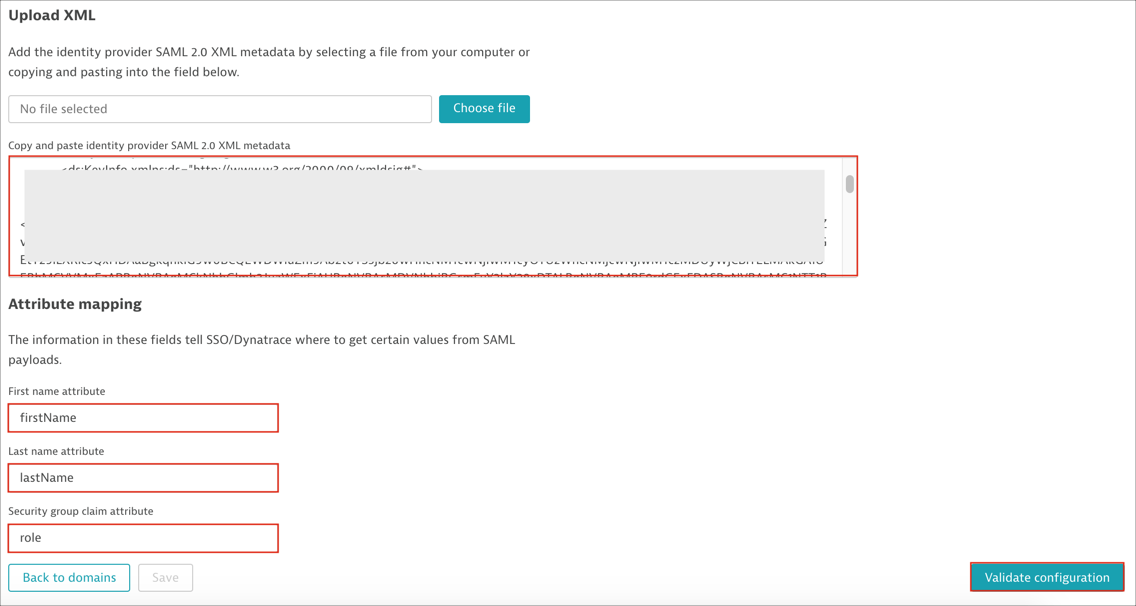
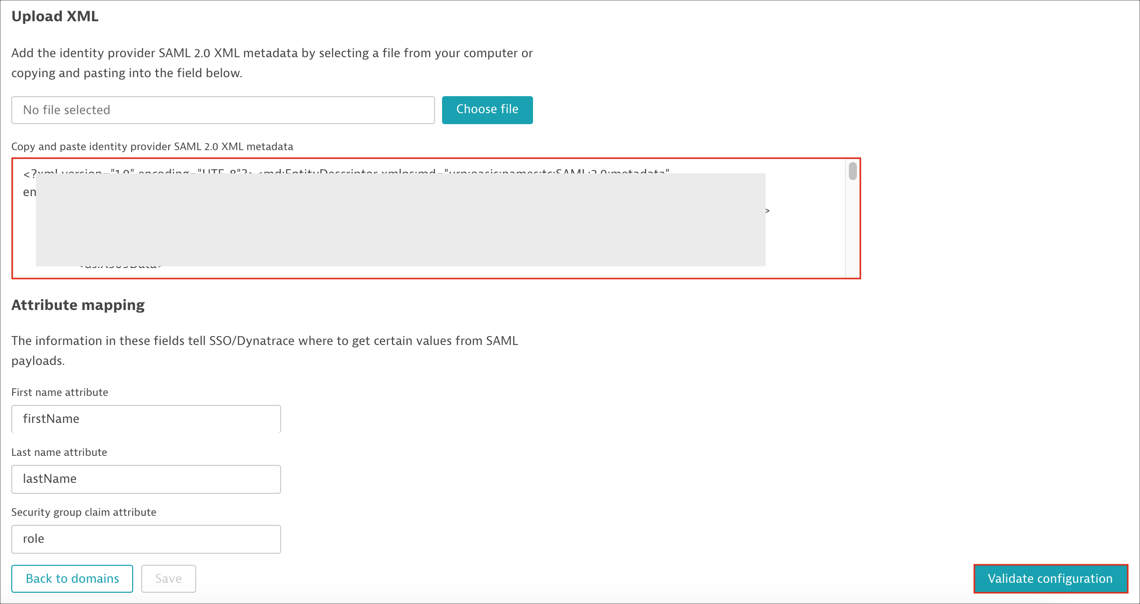
Scroll down to the Upload XML section, then follow the steps below:
Identity provider SAML 2.0 XML metadata: Copy and paste the following:
Sign in to Okta Admin app to have this variable generated for you.
Attribute mapping:
First name: Enter firstName
Last name: Enter lastName
Security group claim (optional): Enter role. This field is needed if you want to use SAML authorization. Follow the steps described here
Click Validate configuration to verify your settings:
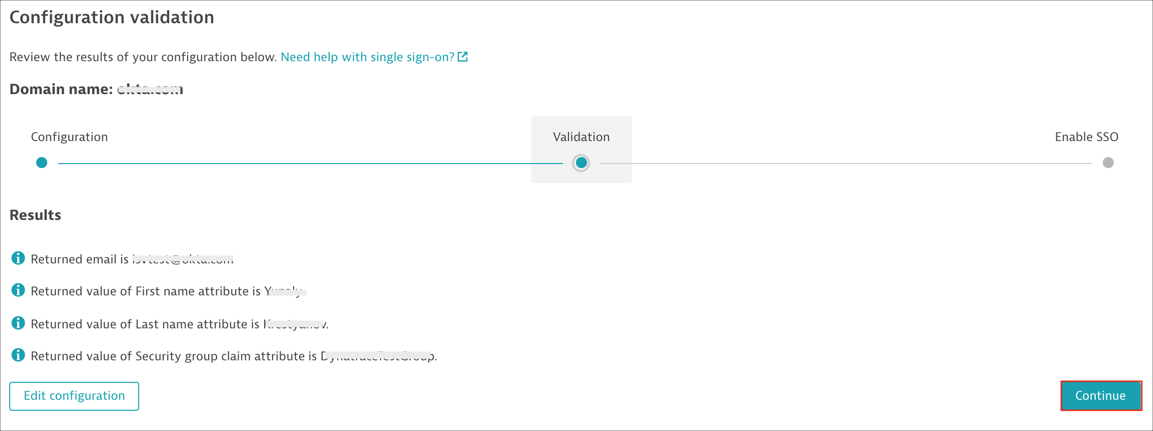
If validation is successful, Dynatrace will display a confirmation message:

Close the validation message to return to the Configuration validation page, then click Continue to display a summary of the validated configuration:
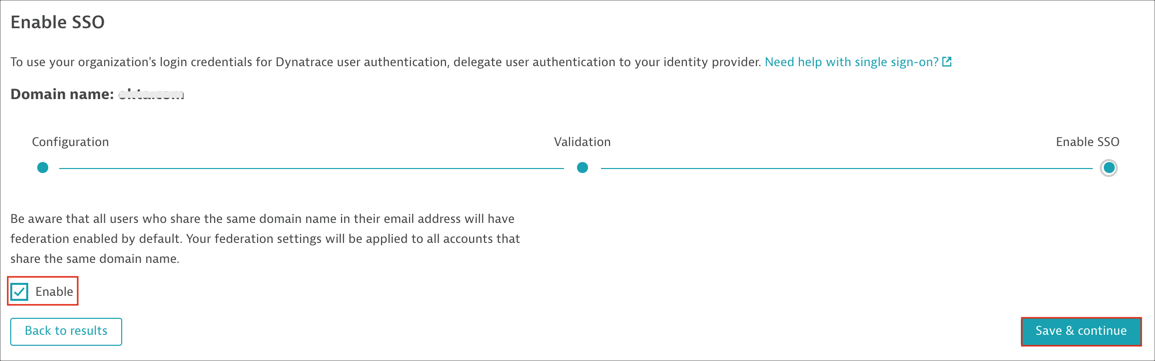
On the Enable SSO page, select Enable if you are ready to enable your configuration. Then click Save & continue.
Note: Don't sign out of Dynatrace yet in case any SSO issues occur.
[Optional SLO]:
Before you enable SLO you need to get the Dynatrace SLO certificate. Follow the steps below:
Save and open in any text editor the following Dynatrace metadata: https://sso.dynatrace.com/sso/metadata
Make a copy of the certificate located in the tag <ds:X509Certificate>:

Paste the copied certificate in a text file, between two BEGIN/END CERTIFICATE rows as shown below:
-----BEGIN CERTIFICATE-----
<< your copied certificate >>
-----END CERTIFICATE-----
Save as slo.cert.
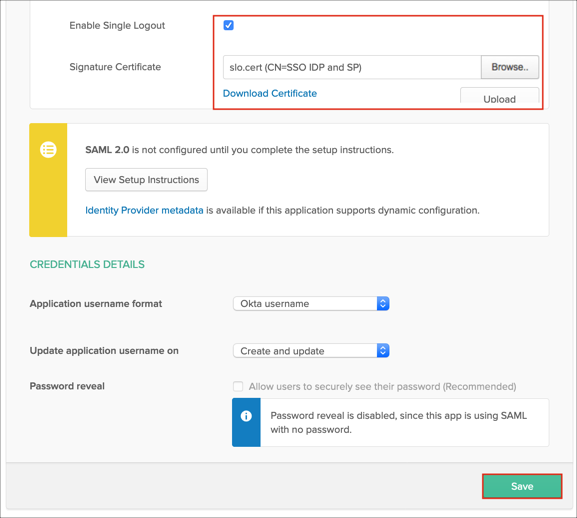
In Okta, select the Sign On tab for the Dynatrace SAML app, then click Edit.
Check Enable Single Logout.
Signature Certificate Locate and upload the slo.cert file you saved above.
Click Save:
Go back to Dynatrace to the Single sign-on page and click Edit for the domain for which SSO is enabled:

Now refresh the page of Okta SAML stepup instructions, scroll up to step 7 and notice that the SAML Metadata now includes the SingleLogoutService value:

Paste your new Okta Metadata into the corresponding section, click Validate configuration, then save changes:
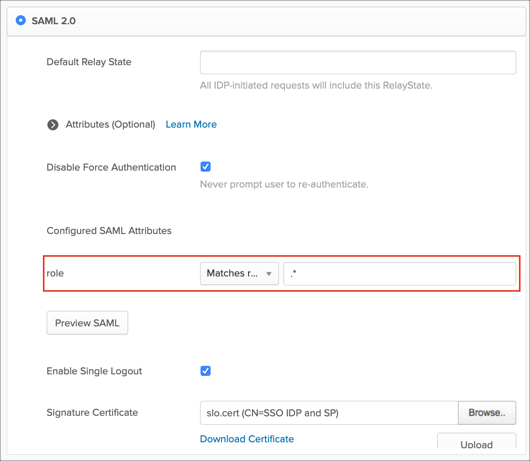
Optional: Group Attribute Steps: To send groups as a part of SAML assertion, in Okta select the Sign On tab for the Dynatrace app, then click Edit.
Select the appropriate filter from the role drop-down menu, then type the preferred value into the field.
Click Save.
Note: To send all groups a user is assigned to, select Matches regex and type .* (dot and asterix).
Done!
The following SAML attributes are supported:
| Name | Value |
|---|---|
| firstName | user.firstName |
| lastName | user.lastName |
| role | This is configured in the app UI; see Group attribute instructions (step 9) above. |
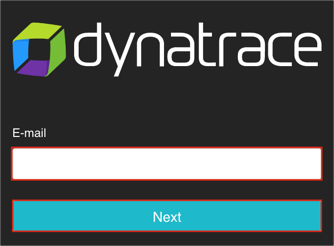
Go to: https://sso.dynatrace.com
Enter your E-mail then click Next: