The Okta/Duo Admin Panel SAML integration currently supports the following features:
For more information on the listed features, visit the Okta Glossary.
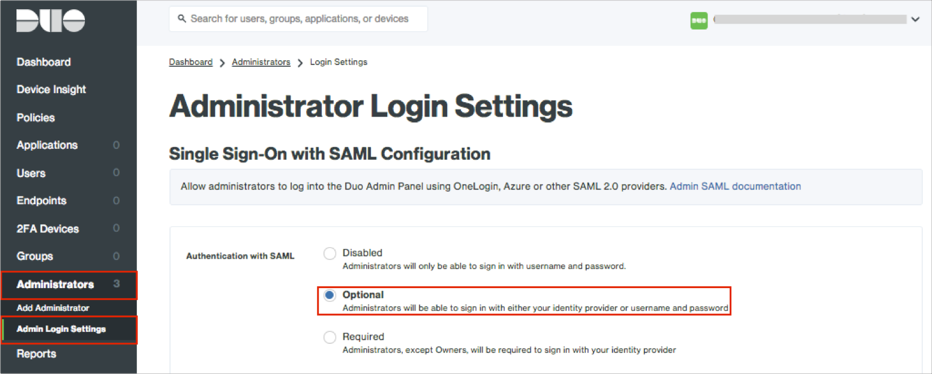
Login to your Duo Admin Panel instance.
Navigate to Administrators > Admin Login Settings.
Authentication with SAML: Select a required option. We used Optional in our example.
Note: For the Required option - Administrators, except Owners, will be required to sign in with Okta.
Enter the following:
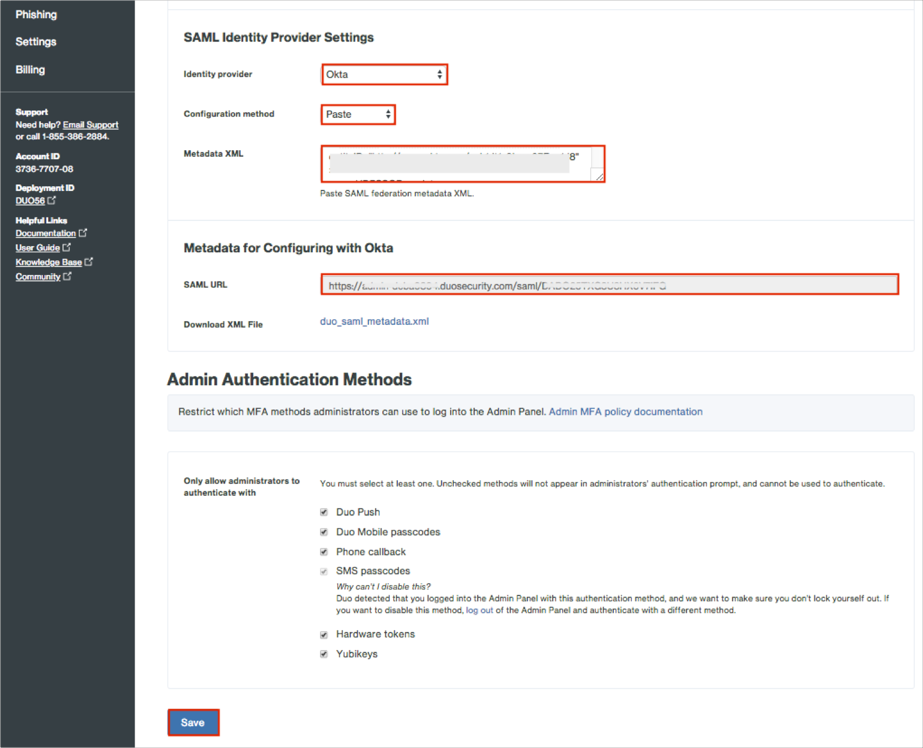
In the SAML Identity Provider Settings section, and enter the following:
Identity provider: Select Okta.
Configuration method: Select Paste.
Metadata XML: Copy and paste the following:
Sign in to Okta Admin app to have this variable generated for you.
In the Metadata for Configuring with Okta section: Copy the SAML URL value.
Click Save:
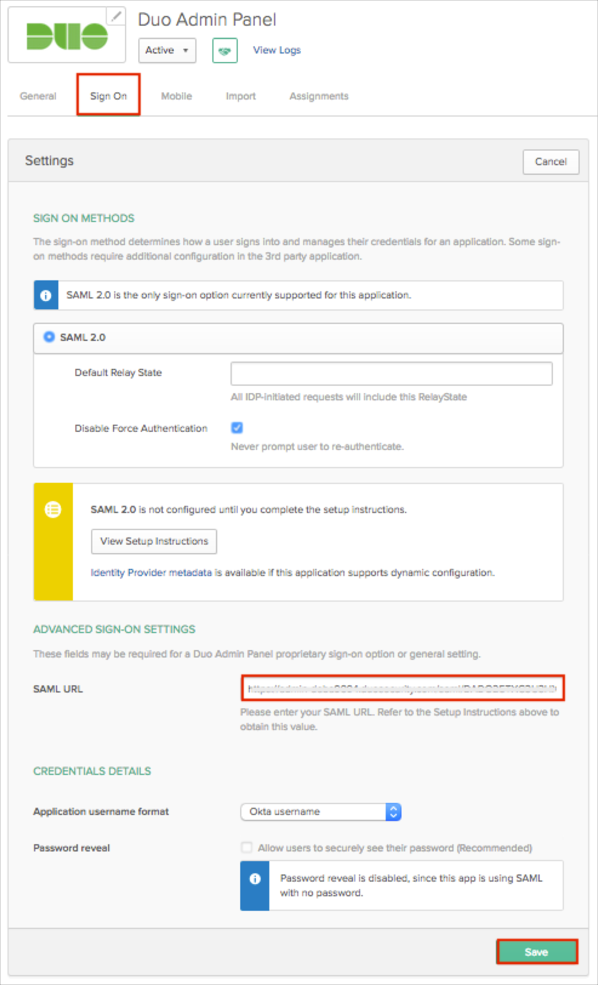
In Okta, select the Sign On tab for the Duo Admin Panel SAML app, then click Edit.
Scroll down to ADVANCED SIGN-ON SETTINGS: Enter your SAML URL value (step 4).
Click Save.
Done!
Open your Duo Admin Panel login URL.
Click Single Sign On [Beta]:
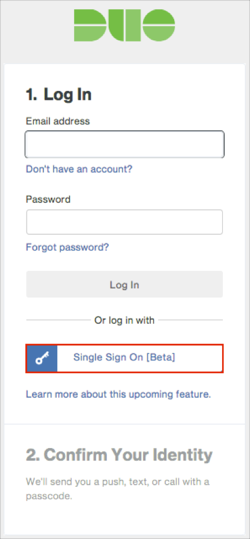
Enter your Email address.
Click Continue to Identity Provider:
