The Okta/Dome9 SAML integration currently supports the following features:
Login to Dome9 Central with a super user account.
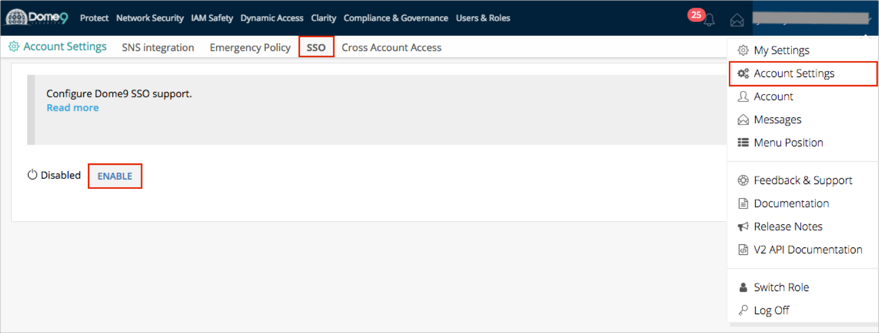
Select Account Settings from the drop down menu under the User’s name:
Select the SSO tab, then in SSO Settings, click ENABLE:
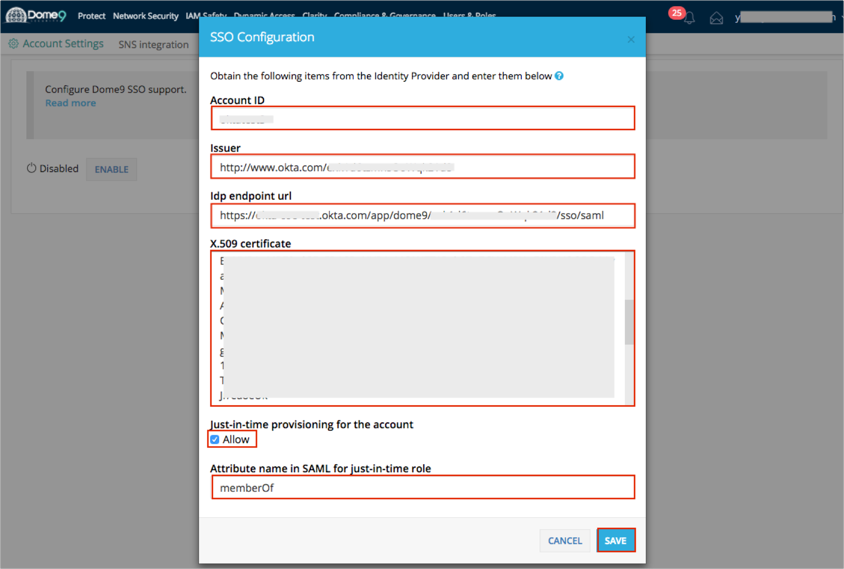
The SSO Configuration page opens, enter the following information (see screen shot at end of step for reference):
Account ID: Enter a custom defined string to create your Account ID; for example your company name. Make a note of this value.
IDP Issuer/Entity ID: Copy and paste the following:
Sign into the Okta Admin Dashboard to generate this variable.
Login URL/SignOn URL: Copy and paste the following:
Sign into the Okta Admin Dashboard to generate this variable.
X.509 Certificate: Copy and paste the following certificate in PEM Text format:
Sign into the Okta Admin Dashboard to generate this variable.
Enable Just-in-time provisioning for the account in order to support JiT.
Attribute name in SAML for just-in-time role: Leave the memberOf value in this field.
Click Save.
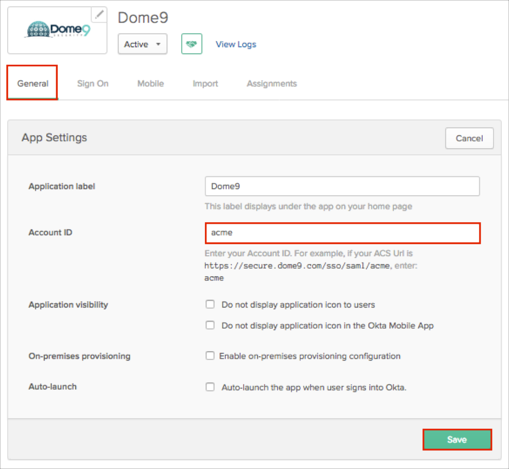
In Okta, select the General tab for the Dome9 app, then click Edit.
Enter the Account ID you used in step 4, above.
Click Save.
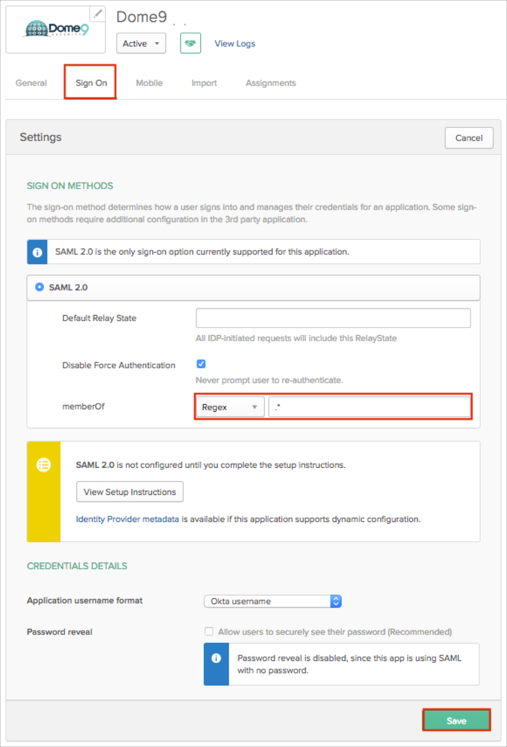
In Okta, select the Sign On tab for the Dome9 app, then click Edit.
Select your preferred group filter from the memberOf dropdown list (the Regex rule with the value ".*" in order to send *all* Okta groups to the Dome9 instance we used in our example) for the attribute.
Click Save.
Done!
The following SAML attributes are supported:
| Name | Value |
|---|---|
| memberOf | This will be configured in the app UI; see groups attribute instructions above. |
Open the following URL: https://secure.dome9.com/sso/[accountID]. Use the Account ID value from step 4 above.