The Okta/Databricks SAML integration currently supports the following features:
For more information on the listed features, visit the Okta Glossary.
Sign in to Databricks as an administrator.
Navigate to Account > Admin Console > Single Sign On.
Follow the steps below:
Databricks SAML URL: Make a note of this value.
Single Sign-On URL: Copy and paste the following:
Sign into the Okta Admin Dashboard to generate this variable.
Identity Provider Entity ID: Copy and paste the following:
Sign into the Okta Admin Dashboard to generate this variable.
x.509 Certificate: Copy and paste the following:
Sign into the Okta Admin Dashboard to generate this variable.
Enable Allow auto user creation if you want to enable JIT (Just In Time) Provisioning.
Click Enable SSO:

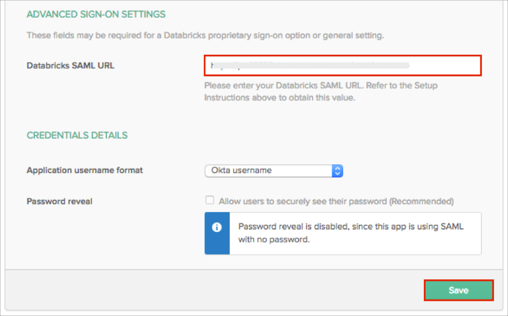
In Okta, select the Sign On tab for the Databricks SAML app, then click Edit.
Scroll down to the ADVANCED SIGN-ON SETTINGS section.
Enter the Databricks SAML URL value you made a copy of in step 3 into the corresponding field.
Click Save:
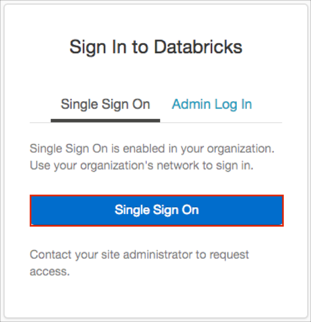
Open your Databricks login URL.
Click Single Sign On: