The Okta/Datadog SAML integration currently supports the following features:
For more information on the listed features, visit the Okta Glossary.
Login to Datadog as an administrator.
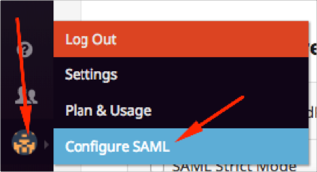
Click on your icon in the bottom left, then select Configure SAML:
Follow the steps below:
Save the following IdP Metadata as metadata.xml:
Sign into the Okta Admin dashboard to generate this value.
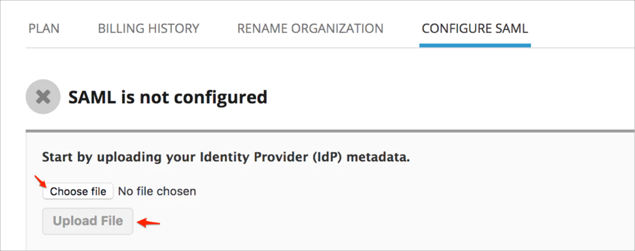
Click Choose file, locate the metadata.xml you just saved, then click Upload File:
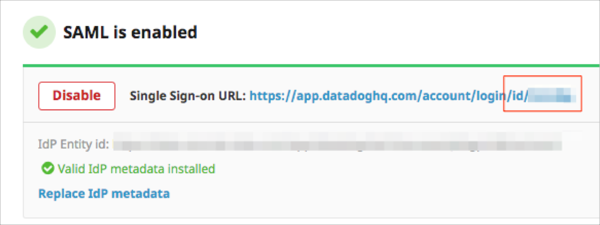
Make a copy of your Single Sign-on URL value.
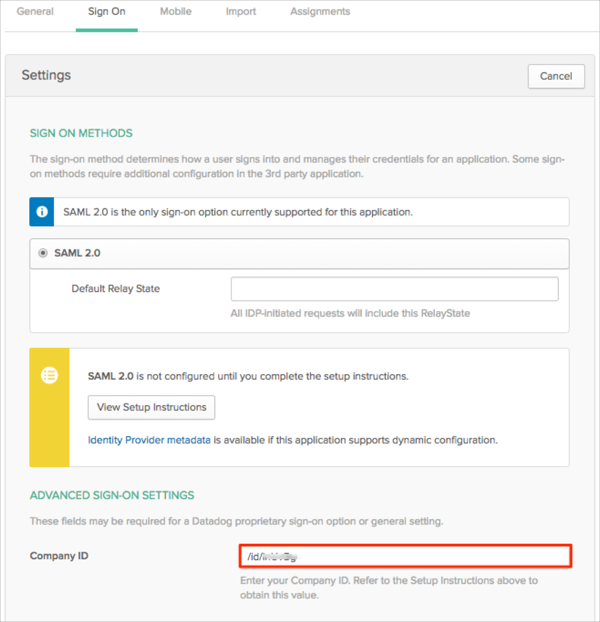
Make a copy of your Company ID from the Single Sign-on URL marked in red in the screenshot below.
For example: if your Single Sign-on URL is https://app.datadoghq.com/account/saml/assertion/id/[yourCompanyId], you need to make a copy of the /id/[yourCompanyId] value.
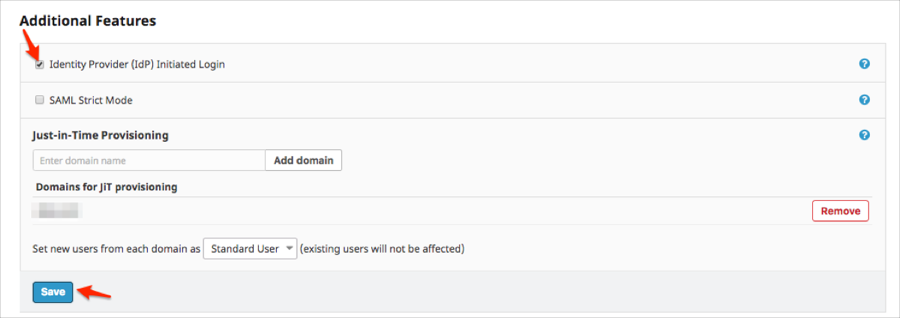
Select Identity Provider (IdP) Initiated Login.
Note: This option is required for Okta Datadog SAML app.
Optional: To enable JIT (Just In Time) Provisioning feature add your domain.
Click Save
In Okta, select the Sign On tab for the Datadog SAML app, then click Edit.
Enter your Company ID value you made a copy of in step 3 into the corresponding field.
Click Save:
Done!
The following SAML attributes are supported:
| Name | Value |
|---|---|
| urn:mace:dir:attribute-def:eduPersonPrincipalName | user.userName |
| urn:mace:dir:attribute-def:sn | user.lastName |
| urn:mace:dir:attribute-def:givenName | user.firstName |
Open your Single Sign On Login URL you made a copy of in step 3.