The Okta/Coda SAML integration currently supports the following features:
For more information on the listed features, visit the Okta Glossary.
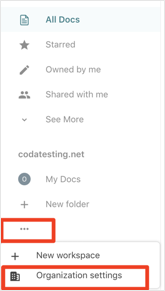
Log in to your Coda account.
On the left navigation pane, click the ellipsis (...), then select Organization settings:
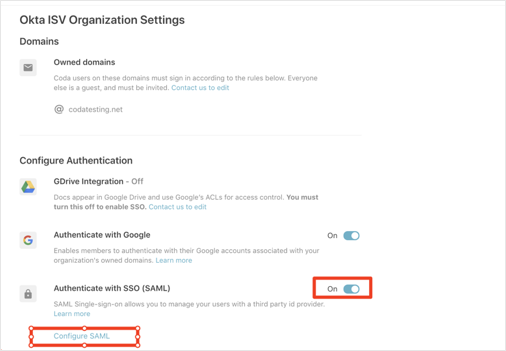
Under Organization Settings, turn on Authenticate with SSO (SAML) and then click Configure SAML:
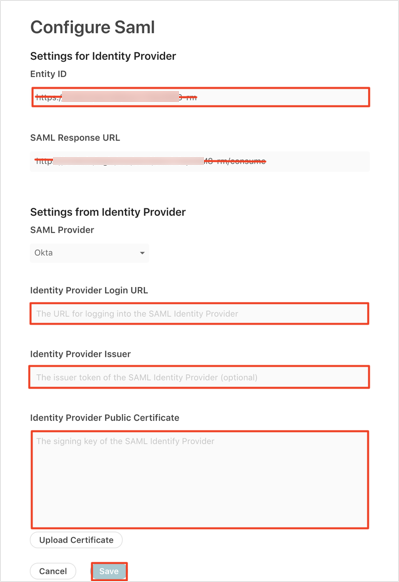
Enter the following:
Make a copy of your Entity ID value. For example if the value is: https://coda.io/samlId/acme-rm, your Entity ID is acme.
Identity Provider Login URL: Copy and paste the following:
Sign into the Okta Admin Dashboard to generate this variable.
Identity Provider Issuer: Copy and paste the following:
Sign into the Okta Admin Dashboard to generate this variable.
Identity Provider Public Certificate: Copy and paste the following (PEM format):
Sign into the Okta Admin Dashboard to generate this variable.
Click Save:
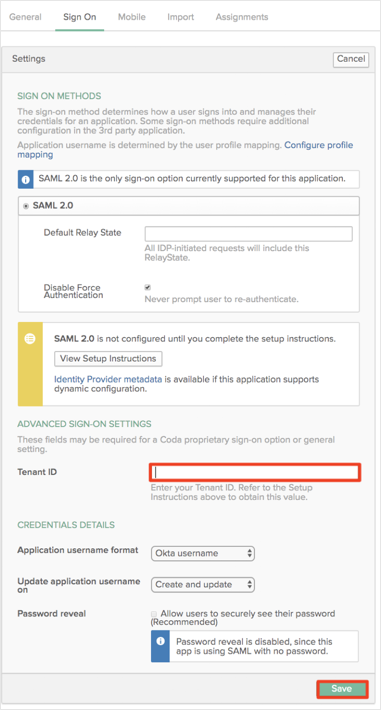
In Okta, select the Sign On tab for the Coda SAML app, then click Edit:
Enter your Entity Id value you made a copy of in step 4 into the Tenant ID field.
Click Save:
The following SAML attributes are supported:
| Name | Value |
|---|---|
| FirstName | user.firstName |
| LastName | user.lastName |
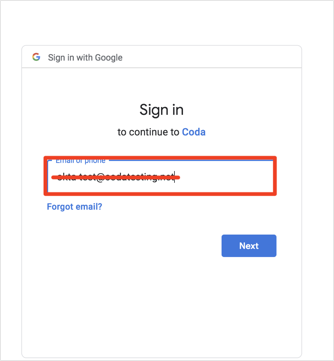
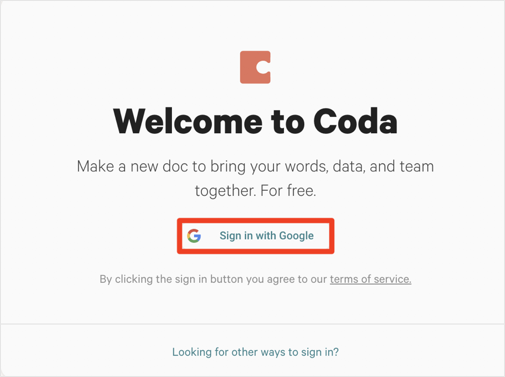
Go to: https://coda.io/welcome.
Click Sign in:

Click Sign in with Google:
Enter your email address, then click Next: