How to Configure SAML 2.0 for ClickTime
This setup might fail without parameter values that are customized for your organization. Please use the Okta Administrator Dashboard to add an application and view the values that are specific for your organization.
Contents
Supported Features
The Okta/ClickTime SAML integration currently supports the following features:
- SP-initiated SSO
- IdP-initiated SSO
- JIT (Just In Time) Provisioning
For more information on the listed features, visit the Okta Glossary.
Configuration Steps
-
Login to your ClickTime account as an administrator.
-
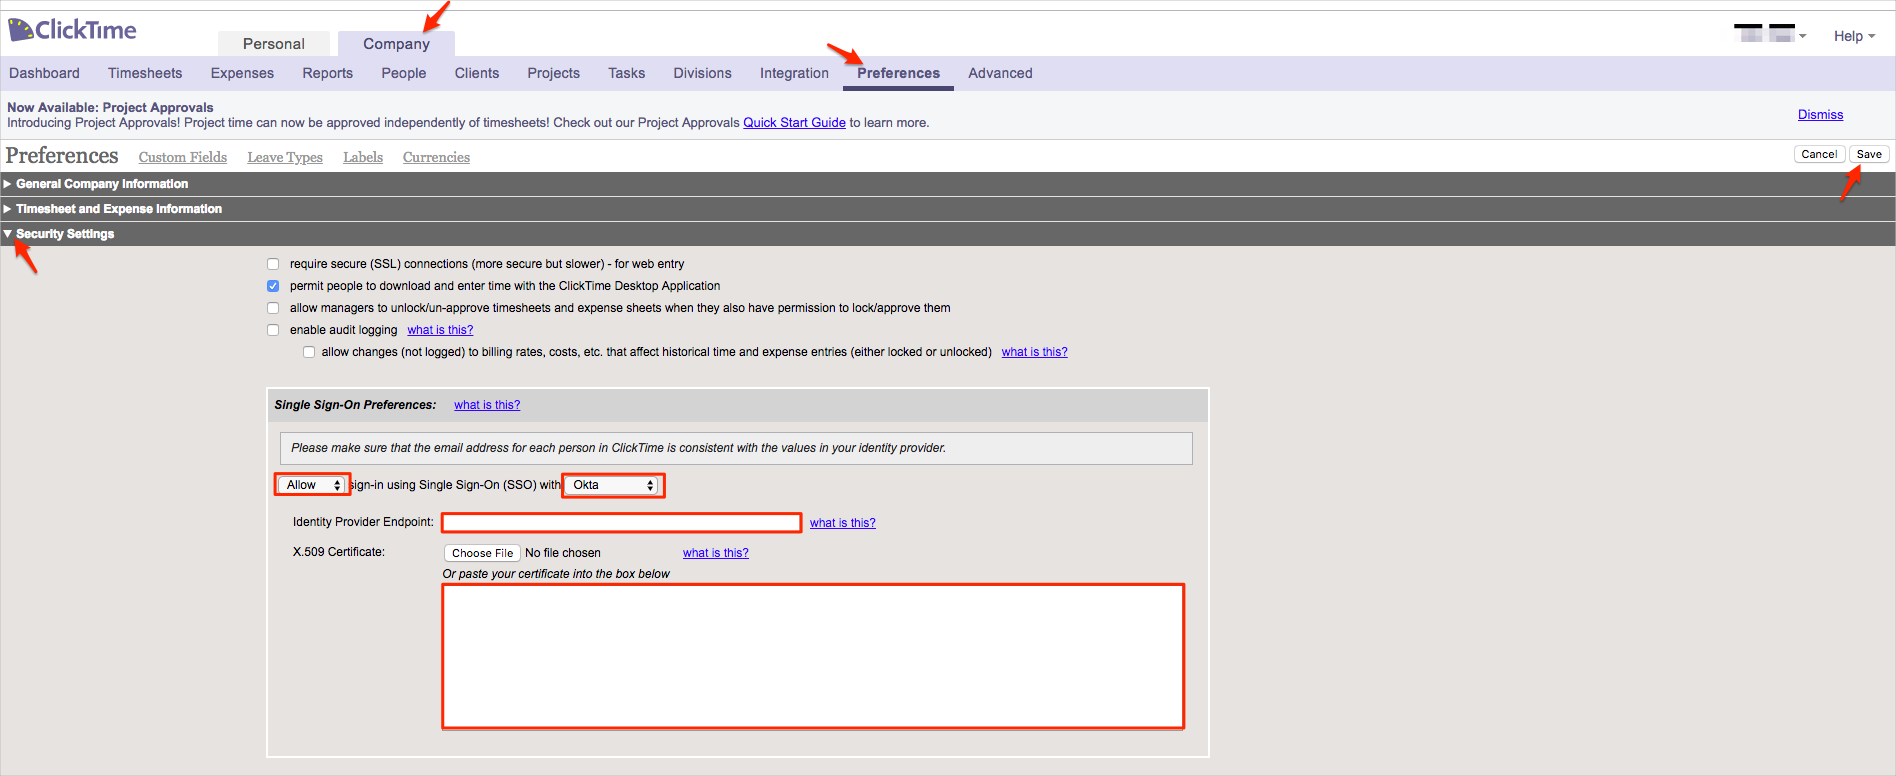
Navigate to Company > Preferences.
Expand the Security Settings section, then follow the steps below:
Select Allow or Required for sign-in using Single Sign-On as appropriate for your organization's policies.
- If you choose Allow sign in using Single SignOn, then you can login to your ClickTime account with an email and password, OpenID, Google, or SAML.
- If you choose Require sign in using Single SignOn, and you check Enable SAML 2.0 based Single SignOn (SSO), then you can only sign into ClickTime using your SAML method.
Select Okta from the dropdown list.
-
Identity Provider Endpoint: Copy and paste the following:
Sign into the Okta Admin dashboard to generate this value.
-
X.509 Certificate: Copy and paste the following:
Sign into the Okta Admin dashboard to generate this value.
Click Save.
- Done!
Notes
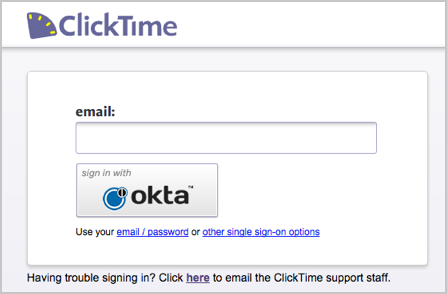
SP-initiated SSO
Got to the ClickTime SSO login page: https://login.clicktime.com/#saml/okta.
Enter your email.
Click sign in with OKTA.