The Okta/ClearSlide SAML integration currently supports the following features:
Contact ClearSlide and request that they enable SAML for your account.
Sign in to your ClearSlide account.
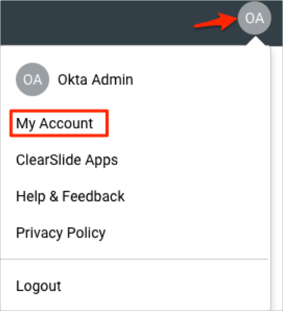
Navigate to your account icon and select My Account:
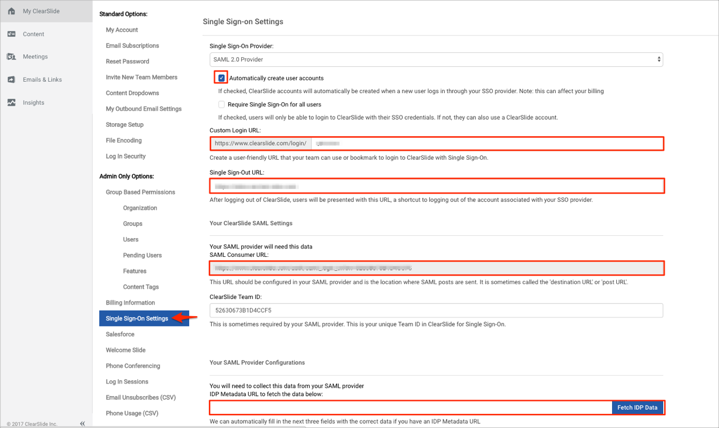
Select Single Sign-On Settings, then enter the following (see screen shot at end of step for reference):
Check Automatically create user to enable Just In Time (JIT) provisioning.
Check Require Single Sign-On for all users if you want users to login to ClearSlide only with their SSO credentials.
Custom Login URL: Create a user-friendly URL that your team can use to login to ClearSlide with Single Sign-On.
Single Sign-Out URL: Copy and paste the following:
Sign into the Okta Admin Dashboard to generate this variable.SAML Consumer URL: Make a copy of this value.
IDP Metadata URL to fetch the data below: Copy and paste the following URL, then click Fetch IDP Data:
Sign into the Okta Admin dashboard to generate this value.
Click Save.
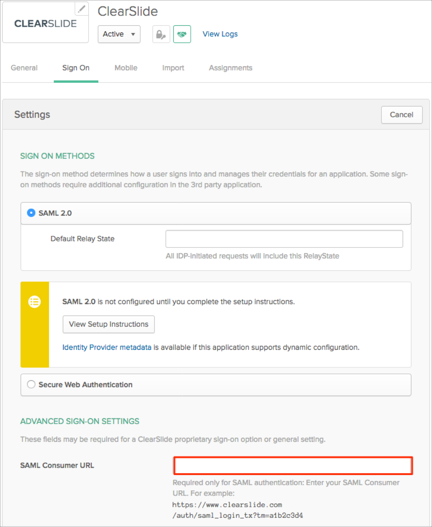
In Okta, select the Sign On tab for the ClearSlide SAML app, then click Edit.
Paste the SAML Consumer URL value you made a copy of in step 4 into the corresponding field.
Click Save.
Done!
The following SAML attributes are supported:
| Name | Value |
|---|---|
| user.userName |
Go to the Custom Login URL you created in step 4.