The Okta/Clarizen SAML integration currently supports the following features:
For more information on the listed features, visit the Okta Glossary.
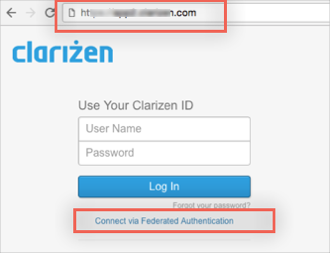
Sign in to Clarizen. Click your user name, and then select Settings. Note the URL that appears.
On the Global Settings tab, click the edit... link to the right of the words Federated Authentication.
Click the check box to the left of the words Enable Federated Authentication if it is not checked.
Download the Identity Provider Certificate.
Sign into the Okta Admin dashboard to generate this value.Upload it to the certificate field by clicking the Upload... button.
Copy the following link to Sign-in URL:
Sign into the Okta Admin dashboard to generate this value.Copy the following link to Sign-out URL:
Sign into the Okta Admin dashboard to generate this value.Leave the Enable API access and Instant Redirect boxes checked. Click the Save button.
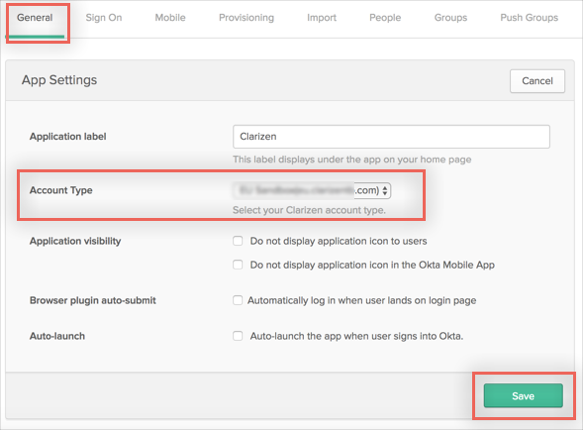
In Okta, select the General tab for the Clarizen app, then click Edit.
Select the Account Type based on the URL noted in step 1.
Click Save.
Done!
Enter the URL of the Account Type you selected into a browser.
Click Connect via Federated Authentication.
Done!