The Okta/BigID SAML integration currently supports the following features:
For more information on the listed features, visit the Okta Glossary.
Log in to your BigID account.
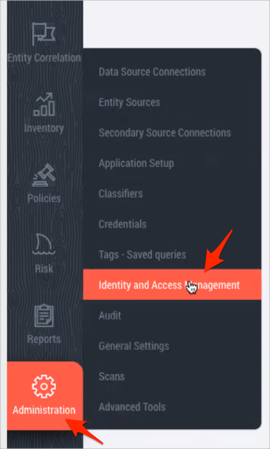
Navigate to Administration > Identity and Access Management:
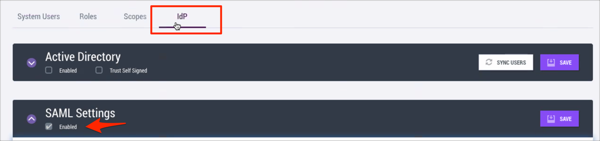
Select IdP, then click Enabled from SAML Settings:
Enter the following:
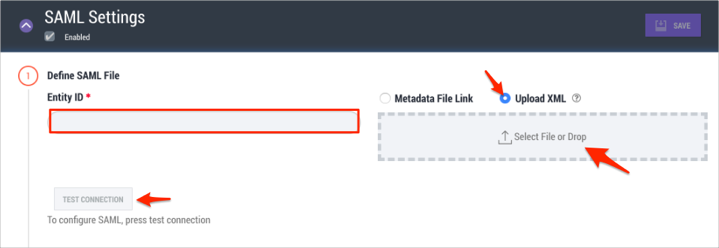
Define SAML File:
Entity ID: Copy and paste the following:
Sign into the Okta Admin Dashboard to generate this variable.
Select Upload XML, save the following file as metadata.xml and upload it by clicking Select File or Drop:
Sign into the Okta Admin dashboard to generate this value.
Click TEST CONNECTION to test that BigID connects successfully to the Okta.
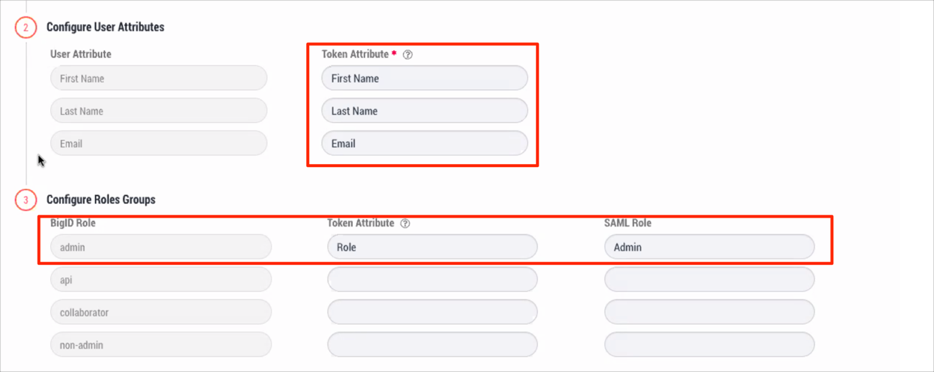
Configure User Attributes:
First Name: Enter First Name in the Token Attribute field.
Last Name: Enter Last Name in the Token Attribute field.
Email: Enter Email in the Token Attribute field.
Configure Roles Groups:
BigID Role admin: Enter Role in the Token Attribute field and Admin in the SAML Role field.
Click SAVE:
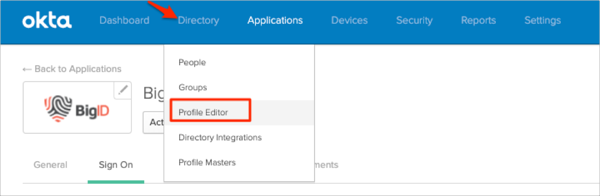
Now you have to add the custom attribute Role to the app as follows: Still in Okta, navigate to Directory > Profile Editor:
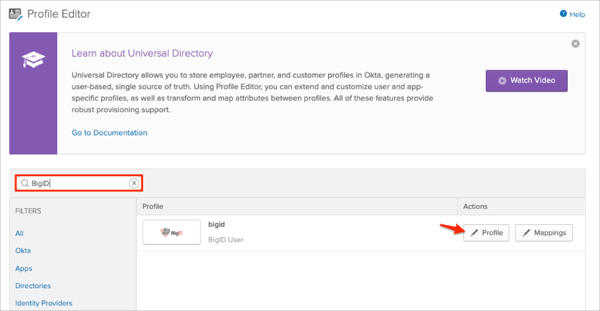
Search for your BigID app, then click the Profile edit button:
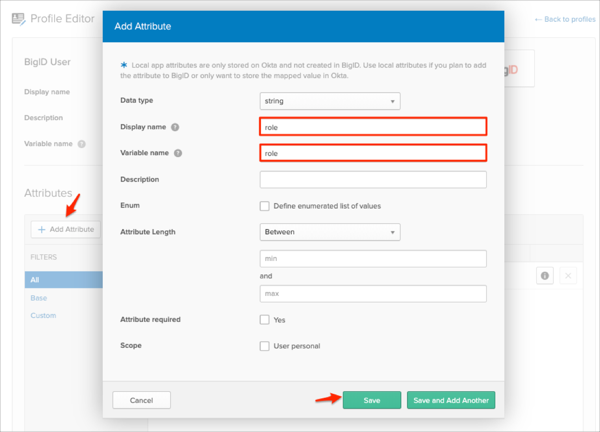
Click Add Attribute, then enter the following information:
Display name: Enter role.
Variable name: Enter role.
Click Save:
NOTE:
Scope: If you check user personal, the current attribute will be available once you assign a single user to the BigID app and will not be available once you assign a group to the BigID app.
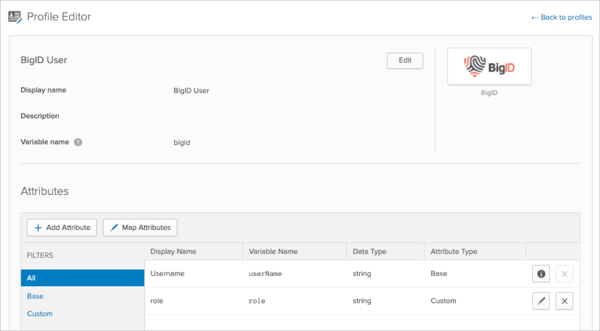
Once you have completed the steps above, you will see the following:
Go back to the BigID app, assign the user and enter the Role value (e.g.: Admin) into the corresponding field:
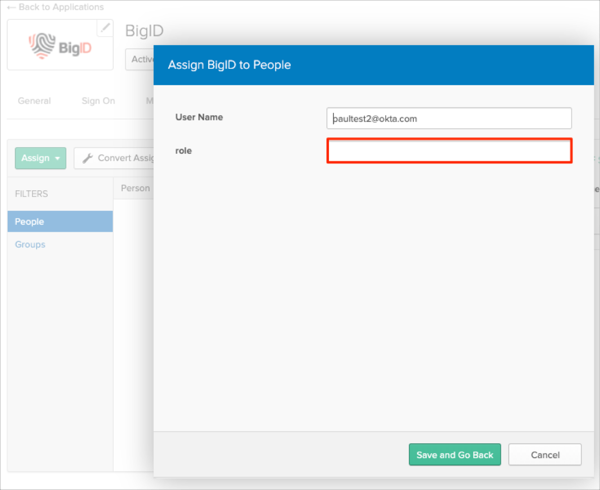
Done!
Make sure that you entered the correct value in the Base URL field under the General tab in Okta. Using the wrong value will prevent you from authenticating via SAML to BigID.
The following SAML attributes are supported:
| Name | Value |
|---|---|
| First Name | user.firstName |
| Last Name | user.lastName |
| user.userName | |
| Role | appuser.role |
Go to: [your-Base-URL]