The Okta/AppDynamics SAML integration currently supports the following features:
Log in to your AppDynamics account as an administrator.
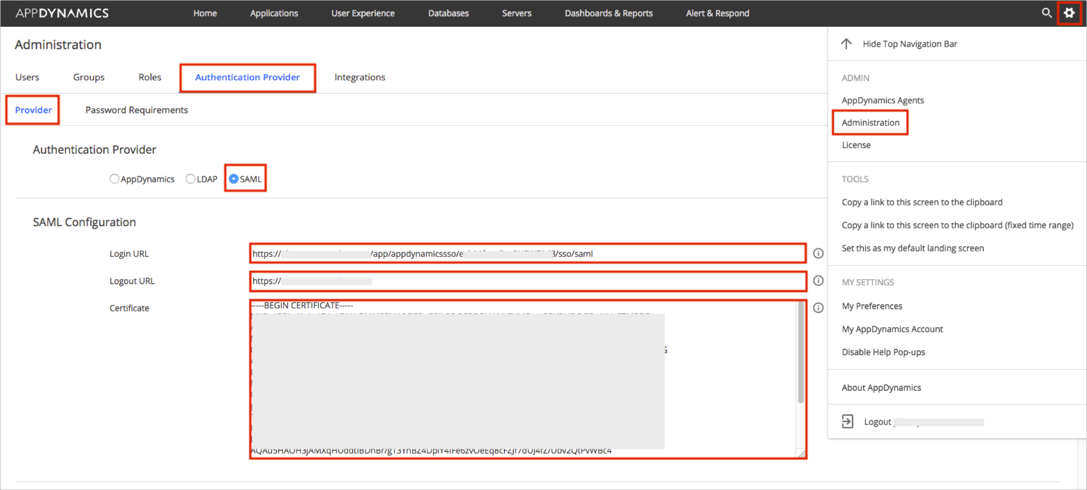
Navigate to Settings > Administration.
Select the Authentication Provider tab, then select Provider.
Enter the following:
Select the SAML radio button.
Login URL: Copy and paste the following:
Sign into the Okta Admin Dashboard to generate this variable.
Logout URL: Copy and paste the following:
Sign into the Okta Admin Dashboard to generate this variable.
Certificate: Copy and paste the following:
Sign into the Okta Admin Dashboard to generate this variable.
Scroll down to the SAML Attribute Mappings section, and enter the following:
Username Attribute: Enter Username.
Display Name Attribute: Enter DisplayName.
Email Attribute: Enter Email.

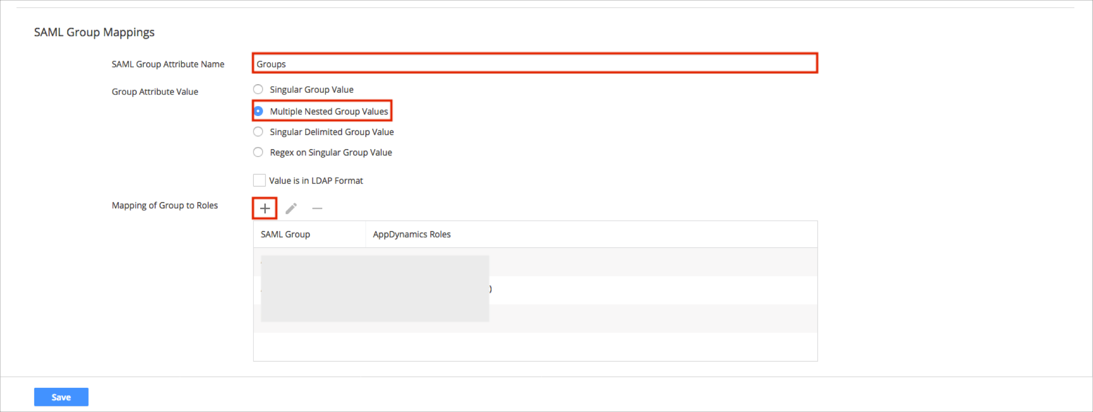
Scroll down to the SAML Group Mappings section.
Configure Default Permissions for new users.
OPTIONAL: If you want to pass Okta groups as part of the SAML Response:
SAML Group Attribute Name: Enter Groups.
Group Attribute Value: Select Multiple Nested Group Values.
Configure Mapping of Group to Roles:
Click the + (plus) button.
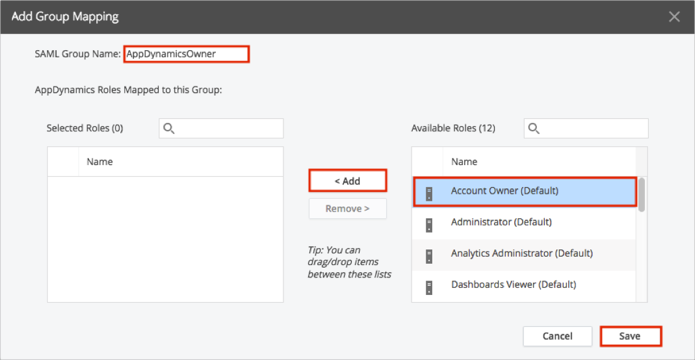
Enter the SAML Group Name that you will pass from Okta. We used AppDynamicsOwner in our example.
Select a required Role(s) from the right side (Account Owner in our example), then click Add.
Click Save.
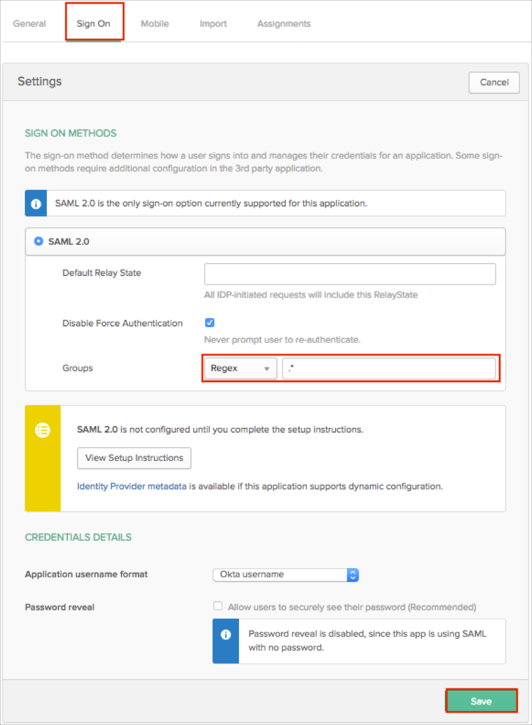
In Okta, select the Sign On tab for the AppDynamics app.
Select your preferred Groups filter from the dropdown list (the Regex rule with the value ".*" in order to send *all* Okta groups to the AppDynamics instance we used in our example) for the attribute.
Click Save.
Click Save in the AppDynamics SAML configuration UI.
Done!
Make sure that you entered the correct value in the Subdomain (Base URL) and Account Name fields under the General tab in Okta. Using the wrong value will prevent you from authenticating via SAML to AppDynamics.
The following SAML attributes are supported:
| Name | Value |
|---|---|
| Username | user.userName |
| DisplayName | user.firstName user.lastName |
| user.email | |
| Groups | This will be configured in the app UI; see groups attribute instructions above. |
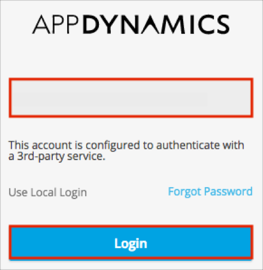
Go to your controller sign in URL and enter your account name.
At this point you will be prompted to authenticate using a 3rd party service. Click Login.