The Okta/Ally.io SAML integration currently supports the following features:
For more information on the listed features, visit the Okta Glossary.
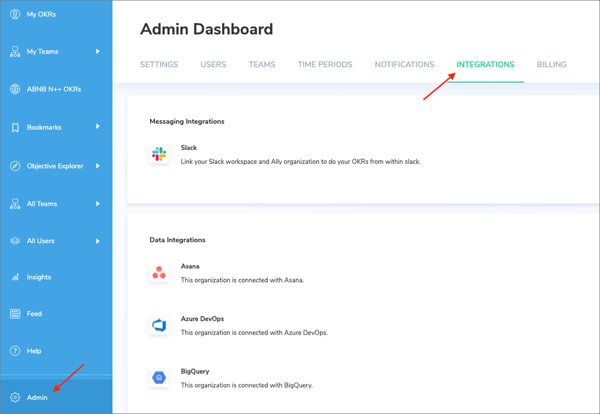
Log in to Ally.io as an administrator.
Go to Admin > INTEGRATIONS:
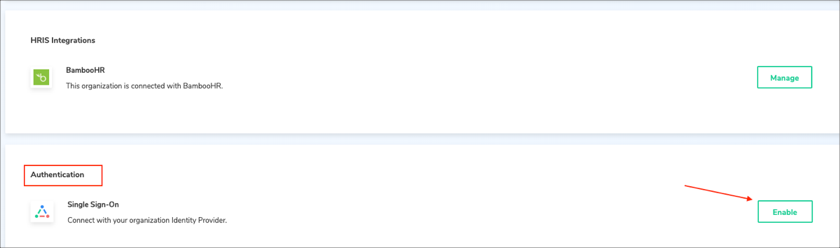
Scroll down to the Authentication section and click Enable for Single Sign-On:
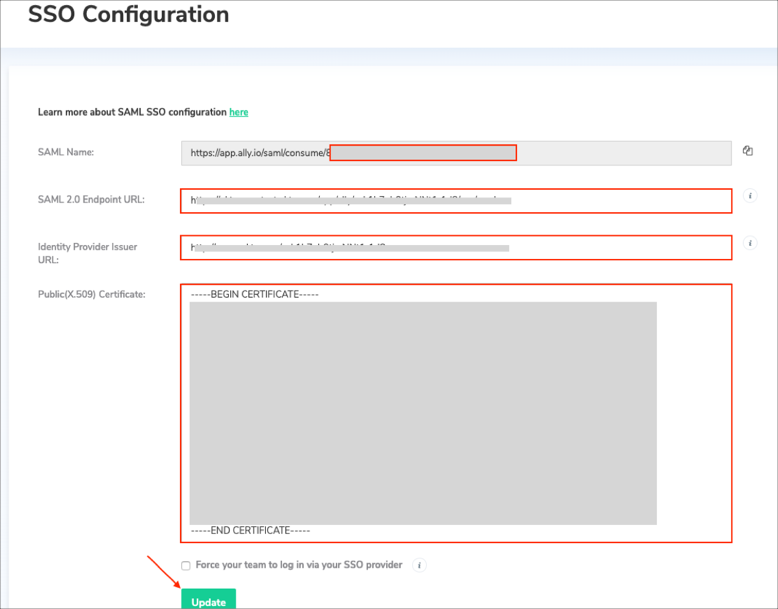
Enter the following:
SAML Name: Make a copy of your Customer ID.
For example: If your SAML Name is https://beta.ally.io/saml/consume/a1b2c3d4, your Customer ID is a1b2c3d4
SAML 2.0 Endpoint URL: Copy and paste the following:
Sign into the Okta Admin Dashboard to generate this variable.
Identity Provider Issuer URL: Copy and paste the following:
Sign into the Okta Admin Dashboard to generate this variable.
Public(X.509) Certificate: Copy and paste the following:
Sign into the Okta Admin Dashboard to generate this variable.
Click Update:
In Okta, select the Sign On tab for the Ally.io SAML app, then click Edit:
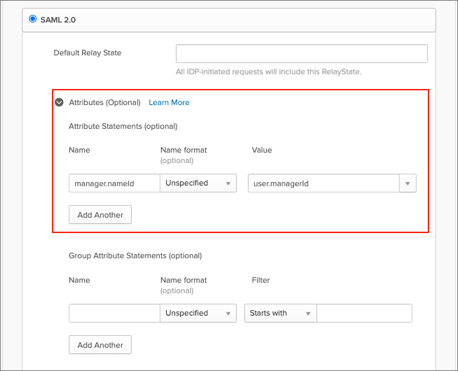
SAML Attributes (optional):
By default Okta supports only email, firstName and lastName SAML attributes that are mandatory for JIT. You can configure additional attributes and their values (mappings) under the Attributes (Optional) section of SAML.
The following optional attributes are supported by Ally.io: manager.nameId.
Here is an example of the configuration for the additional attributes:
Note: You can add the groups attribute in the Group Attribute Statements (optional) section and specify a required filter in order to send Okta groups to the Sigma instance.
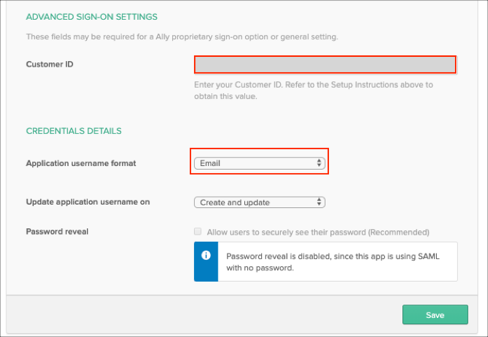
Enter the Customer ID value you made a copy of in step 4 into the corresponding field.
Application username format: Select Email.
Click Save:
Done!
The following SAML attributes are supported:
| Name | Value |
|---|---|
| user.email | |
| firstName | user.firstName |
| lastName | user.lastName |
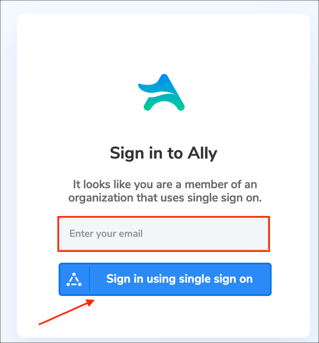
Go to: https://app.ally.io/welcome
Enter your email, then click Sign in using single sign on: