Read this before you enable SAML
Enabling SAML will affect all users who use this application, which means that users will not be able to sign-in through their regular log-in page. They will only be able to access the app through the Okta service.
Backup URL
TeamViewer does not provide backup log-in URL where users can sign-in using their normal username and password. It is recommended to add an admin user with a different email domain when enabling SAML in TeamViewer.
The Okta/TeamViewer SAML integration currently supports the following features:
Enable SAML through the TeamViewer website: https://www.teamviewer.com/en/credentials/enterprise-solutions/#requestEarlyAccess.
The TeamViewer Support team will inform you when SAML is enabled for your account.
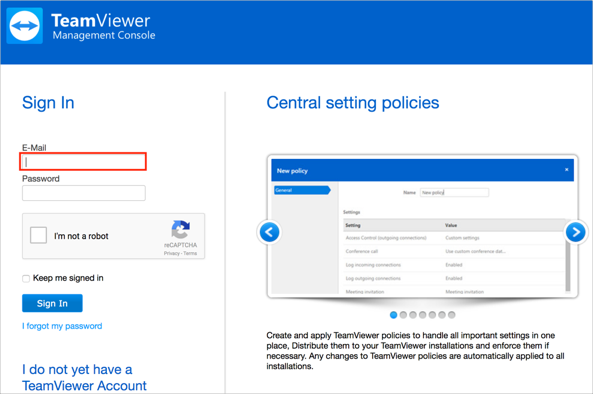
Login to your TeamViewer account.
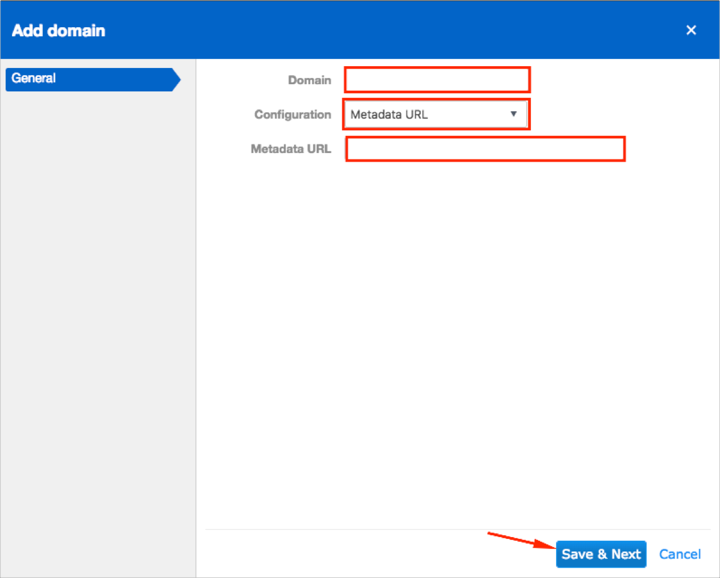
Select Identity Provider Connection, then click Add domain:

Enter the following:
Domain: Enter your domain.
Configuration: Select Metadata URL.
Metadata URL: Copy and paste the following:
Sign in to the Okta Admin app to have this variable generated for you
Click Save & Next:
The Single Sign-On Customer Identifier page will appear, click Generate Customer Identifier:
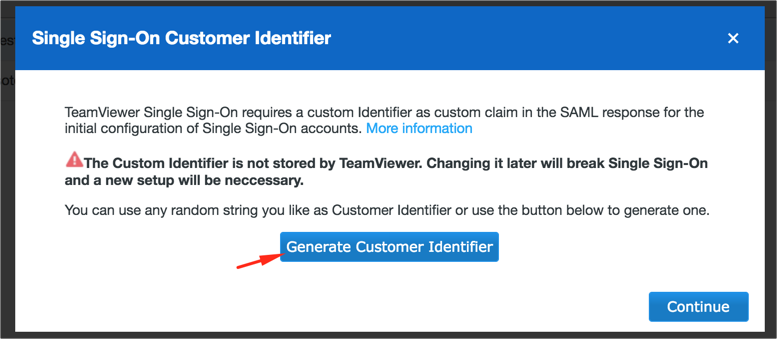
Make a copy of the Customer Identifier value, then click Continue:

After successfully adding the domain, you need to verify your domain ownership. To do so, create a new TXT record for your domain with the values shown on the verification page. After creating the new TXT record, start the verification process by clicking Start Verification.
Note that the verification process can take several hours because of the DNS system.
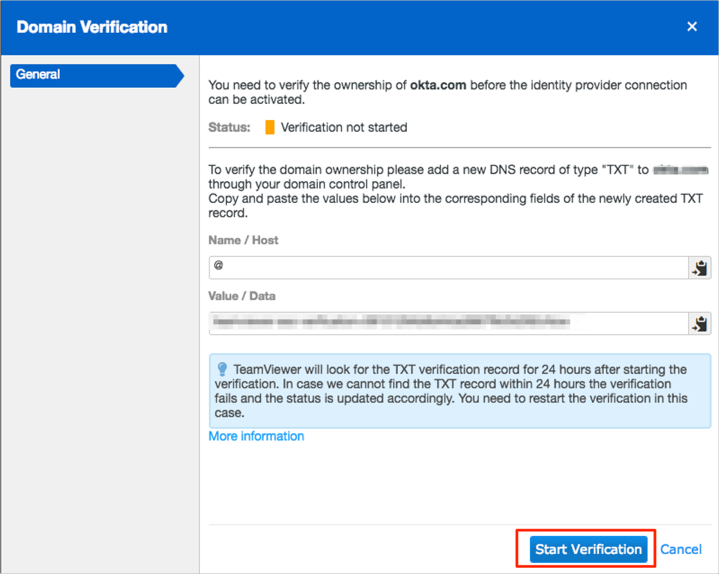
Once the verification is finished, click Save:

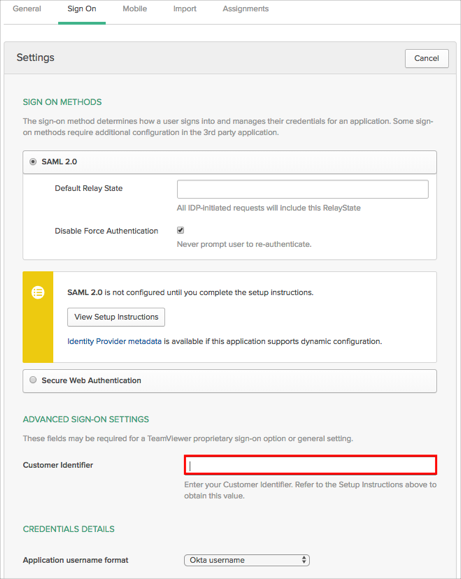
In Okta, select the Sign On tab for the TeamViewer SAML app, then click Edit.
Enter your Customer Identifier value you made a copy of in step 7 into the corresponding field.
Click Save:
The following SAML attributes are supported:
| Name | Value |
|---|---|
| http://schemas.xmlsoap.org/ws/2005/05/identity/claims/emailaddress | user.email |
| http://sso.teamviewer.com/saml/claims/customeridentifier | Comes from the Customer Identifier field (step 10) |
Enter your email.
Click outside the E-Mail text field.
You should be re-directed back to Okta to authenticate if you don’t have an existing Okta session.
After successful authentication via Okta, you can now enter your TeamViewer password to complete the login.