This guide provides the steps required to configure Provisioning for Veeva Vault.
The following provisioning features are supported:
Import New Users
New users created in the third party application will be downloaded into Okta.
Push New Users
New users created through OKTA will also be created in the third party application.
Push Profile Updates
Updates made to the user's profile through OKTA will be pushed to the third party application.
Push User Deactivation
Deactivating the user or disabling the user's access to the application through OKTA will deactivate the user in the third party application.
Reactivate Users
Reactivating the user through Okta will reactivate the user in the 3rd party application.
Configure your Provisioning settings for Veeva Vault as follows:
Check the Enable API Integration box.
Enter a valid Admin Username and Admin Password.
Click Test API Credentials:
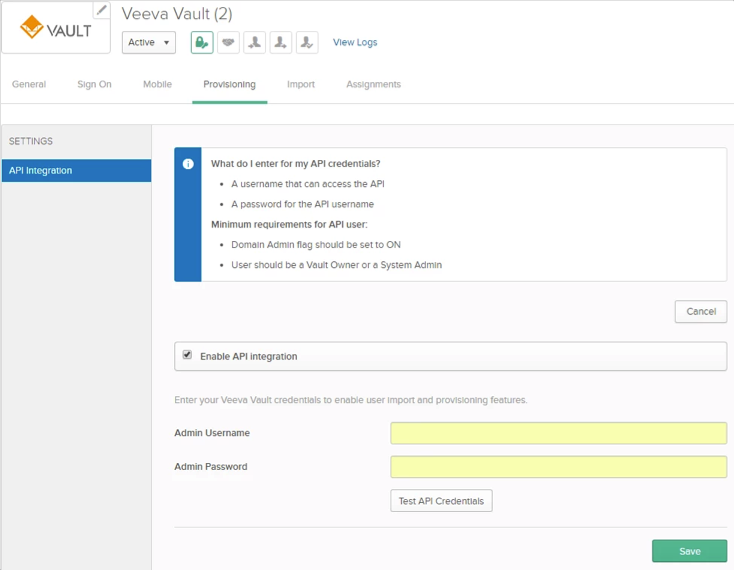
If your credentials are valid, you’ll see a message saying that your credentials were successfully verified.
Click Save.
Select To App in the left panel, then select the Provisioning Features you want to enable:
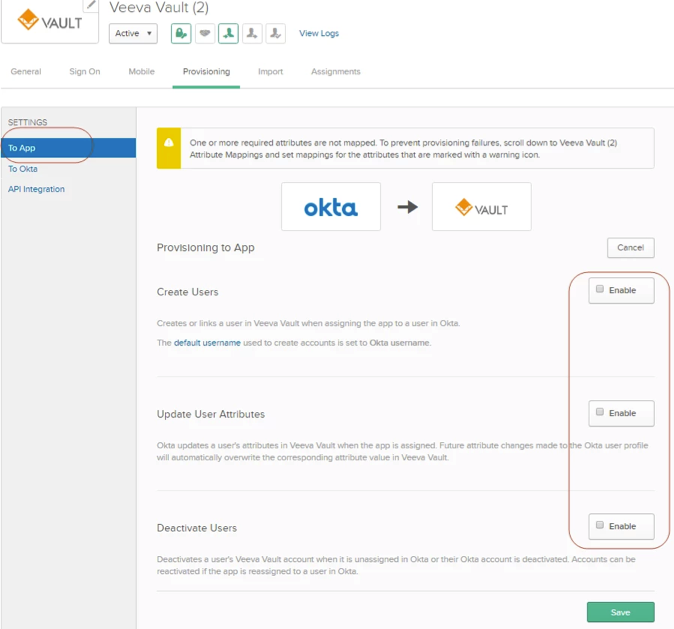
Click Save.
You can now assign people to the app (if needed) and finish the application setup.
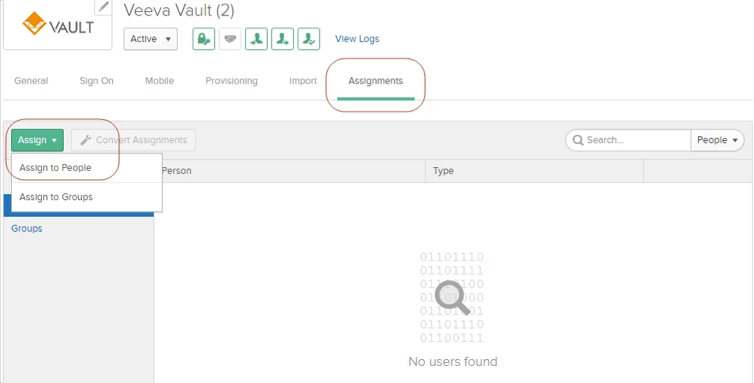
To assign users, navigate to the Assignments tab of your Veeva Vault app, then select Assign > Assign to People:
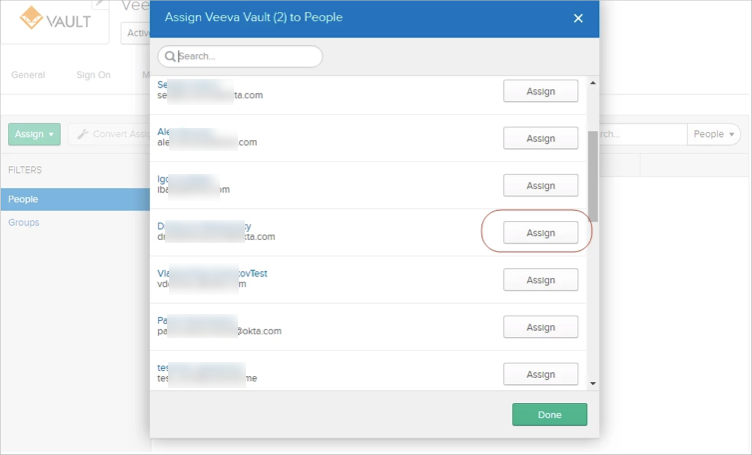
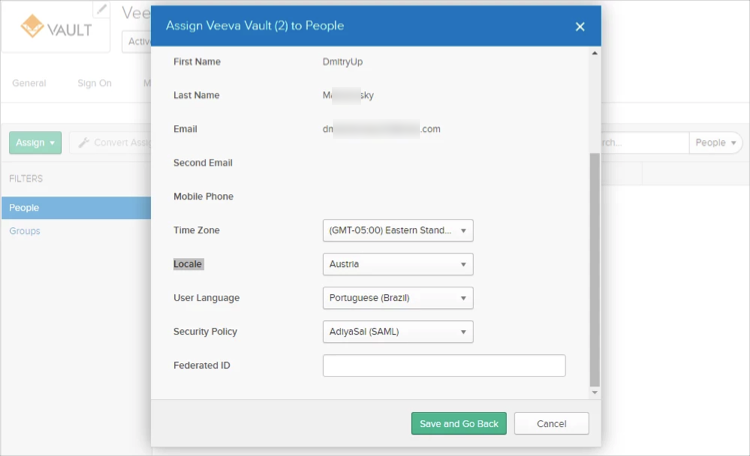
In the Assign Veeva Vault to People window, select a user, then click Assign:
You can specify Time Zone, Locale, User Language, and Security Policy attributes for the user from the dropdown menus:
Veeva Vault does not support User's Schema Discovery.
ENG_VEEVA_VAULT_USE_EMAIL_INSTEAD_OF_USERNAME: Pushes email custom mapping instead of username.
Contact Okta Support to enable any feature flag.