This guide provides the steps required to configure Provisioning for Litmos.
Note
Okta recently added support for Account Owner Access level for the Litmos application. In case your existing Litmos application does not support Account Owner Access level when assigning a user, you have to create a new instance of the Litmos application in your Okta org. If this is not acceptable, contact Okta Support and ask them to update your Litmos Application and add Account Owner Access level.
The following provisioning features are supported:
Push New Users
New users created through OKTA will also be created in the third party application.
Push User Deactivation
Deactivating the user through OKTA will remove the user from the organization and all teams in the third party application.
Push Profile Updates
Updates made to the user's profile through OKTA will be pushed to the third party application.
Import New Users
New users created in the third party application will be downloaded and turned in to new AppUser objects, for matching against existing OKTA users.
Import Profile Updates
Import User Schema
User schema in the third party application will be downloaded into Okta.
Complete the following before you configure provisioning for Litmos:
Log in to your Litmos account as an Account Owner or Administrator.
Select My Profile & Settings from your Profile menu:
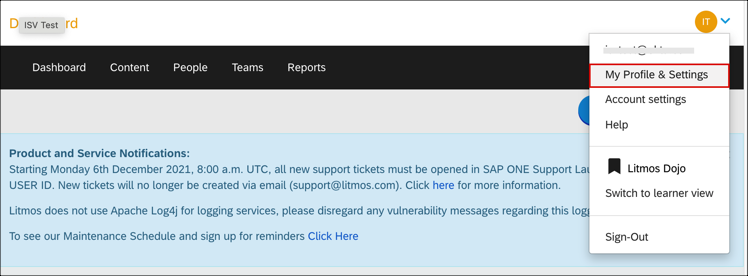
Scroll down and make a copy of your API key. You'll need it to setup Litmos application in Okta.

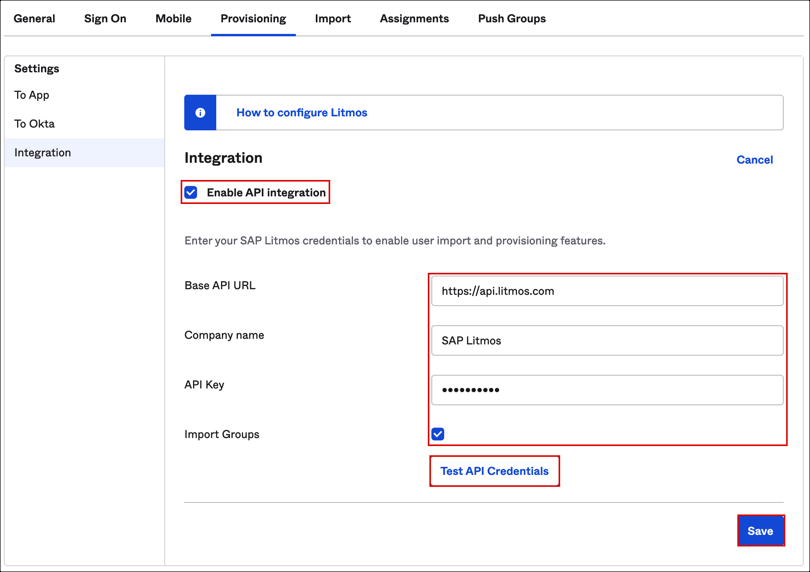
Configure your Provisioning settings for Litmos as follows:
Check the Enable API Integration box.
Enter your Litmos API Credentials:
Base API URL: This is automatically added. If you are on the AU or EU database, you'll need to edit the API URL slightly, as follows:
AU: https://api.litmos.com.au
EU: https://api.litmoseu.com
Company: Enter your company name. This is used to identify you in Litmos. You can enter any value that identifies your organization in Litmos.
API Key: Enter the API key you copied from Litmos (see Requirements above). Also make sure that your AccessLevel is Administrator or Account Owner.
Import Groups: Leave this checked.
Click Test API Credentials. If your API credentials are valid, you'll see a success message.
In Okta, select To App in the left panel, then select the Provisioning Features you want to enable:
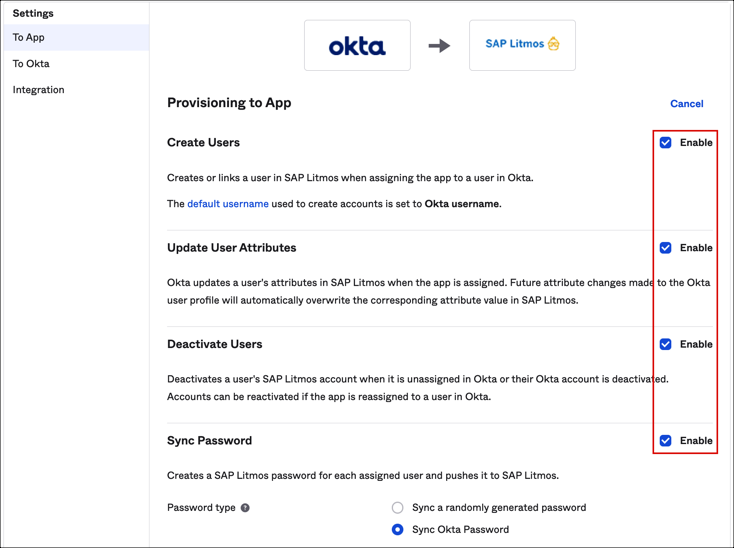
Click Save.
You can now assign people to the app, if needed (see below).
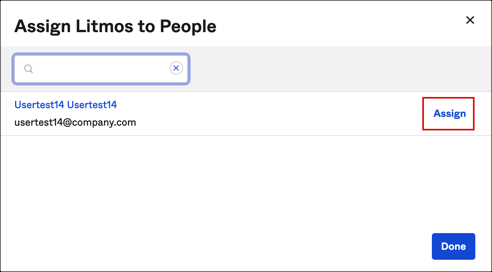
To assign users to the Litmos app, open the app, select the People tab and then click Assign to People:
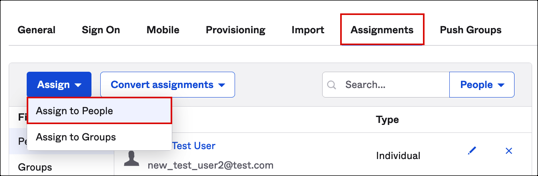
In the Assign Litmos to People dialog, select a user, then click Assign:
You can select which access level grant to each user by selecting the corresponding value from the Access Level dropdown menu:

Click Save and Go Back.
Litmos has 100 requests per minute limit for API calls, which is a fairly low value. If you see any rate limits errors during import, contact Litmos Support to increase that value for your Litmos organization.
If you don't see rate limit errors during import, but they appear when you provision multiple users, you need to increase your own rate limits for your Litmis org. This is because all failed users/groups (due to a rate limit error) will be re-pushed again after some timeout.
Tip: Recommended Rate Limit value formula: total users + total groups * 2. For example: 10 users + 10 groups * 2 = 30 API calls per minute.
Litmos supports User Schema Discovery, so you can add some extra attributes to the User Profile. To do that:
Go to Directory > Profile Editor.
Select APPS section and find your app in the list
Check the list of the attributes and if you don't find what you need, click + Add Attribute and a list of extended attributes is displayed.
Check the attributes you want, then click Save.
Now you are able to import and push these user attributes values from/to Litmos.
This feature is currently generally available in Preview orgs.
If you have this feature enabled, you can import advanced custom attributes in the user schema, as custom properties.
All these advanced custom attributes are stored as Strings in Okta.
Litmos has strict format validation for its advanced custom properties values depending on a property type:
Date type: Okta can push only values in valid date format for these properties. Empty values are not allowed and will result in error.
Number type: Okta can push only values in valid number format for these properties. Empty values are not allowed and will result in error
Dropdown type: Okta can push only values that are in the list of Dropdown Items configured on Litmos side. Empty values are not allowed and will result in error