This guide provides the steps required to configure Provisioning for DocuSign.
If you want to use another Okta attribute as the NameID (for example, employee number), you will need to create a custom DocuSign application using our Application Integration Wizard.
Users created in DocuSign with a status of ActivationSent couldn't previously be provisioned in Okta. We have introduced an Early Access feature that adds support to link such users in Okta while provisioning. Contact Okta Support to enable it.(PROV_DOCUSIGN_ACTIVATION_SENT_USERS_SUPPORT).
The following provisioning features are supported:
Push Groups
Groups and their members can be pushed to remote systems. You can find more information about using group push operations (including Group Push enhancements) here: Using Group Push.
Import New Users
New users created in the third party application will be downloaded and turned in to new AppUser objects, for matching against existing OKTA users.
Import Profile Updates
Updates made to a user's profile in the third party application will be downloaded and applies to the profile fields stored locally in OKTA. If the app is the system of record for the user, changes made to core profile fields (email, first name, last name, etc) will be applied to the Okta user profile. If the app is NOT the system of record for the user, only changes made to app-specific fields will be applied to the local user profile.
Push New Users
New users created through OKTA will also be created in the third party application.
Push Profile Updates
Updates made to the user's profile through OKTA will be pushed to the third party application.
Push User Deactivation
Deactivating the user or disabling the user's access to the application through OKTA will deactivate the user in the third party application.
Import User Schema
User schema in the third party application will be downloaded into Okta.
Complete the following before you configure provisioning for DocuSign:
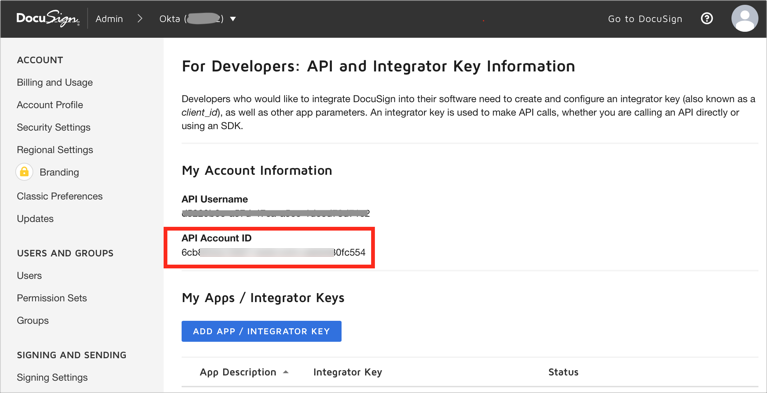
Obtain your Account ID:
Sign in to DocuSign as an administrator.
Navigate to Admin > INTEGRATIONS > API and Keys and locate your API Account ID value within the My Account Information section:
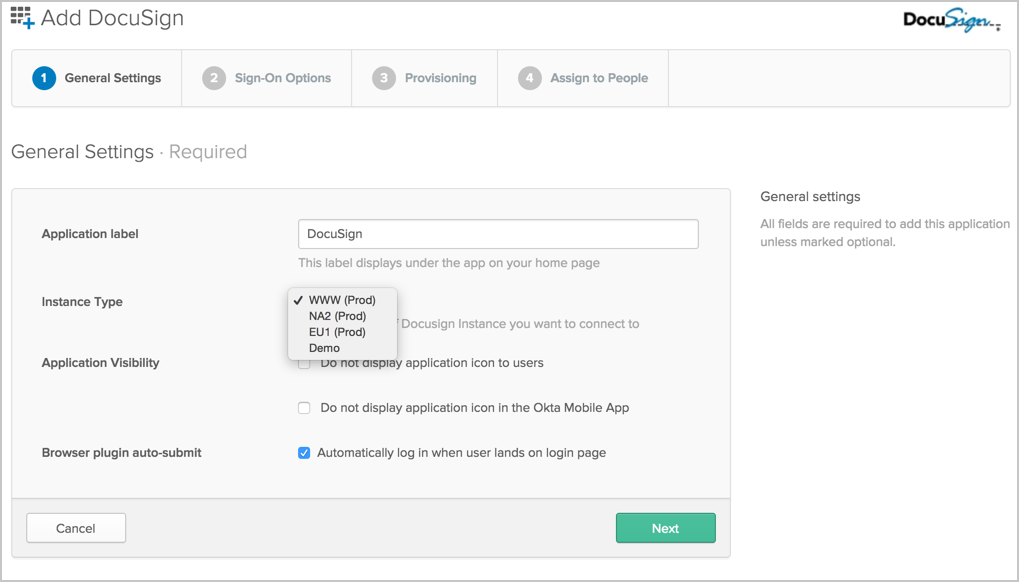
Verify the DocuSign app’s General Settings in Okta:
In Okta, select the General tab for the DocuSign app.
Specify an Instance Type.
Note: The instance you select is used to validate against the API credentials (see Configuration Steps).
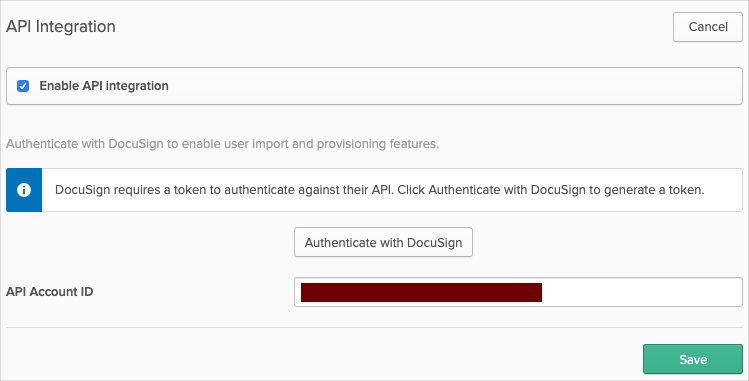
Configure your Provisioning settings for DocuSign as follows:
Check the Enable API Integration box.
Enter your DocuSign API Account ID.
Note: The API credentials need to be for the instance you select under General Settings (see Requirements).
Click Authenticate with DocuSign. This redirects you to the DocuSign login page.
Now sign in to DocuSign as an administrator to allow Okta to manage DocuSign users.
Click Save.
In Okta, select To App in the left panel, then select the Provisioning Features you want to enable.
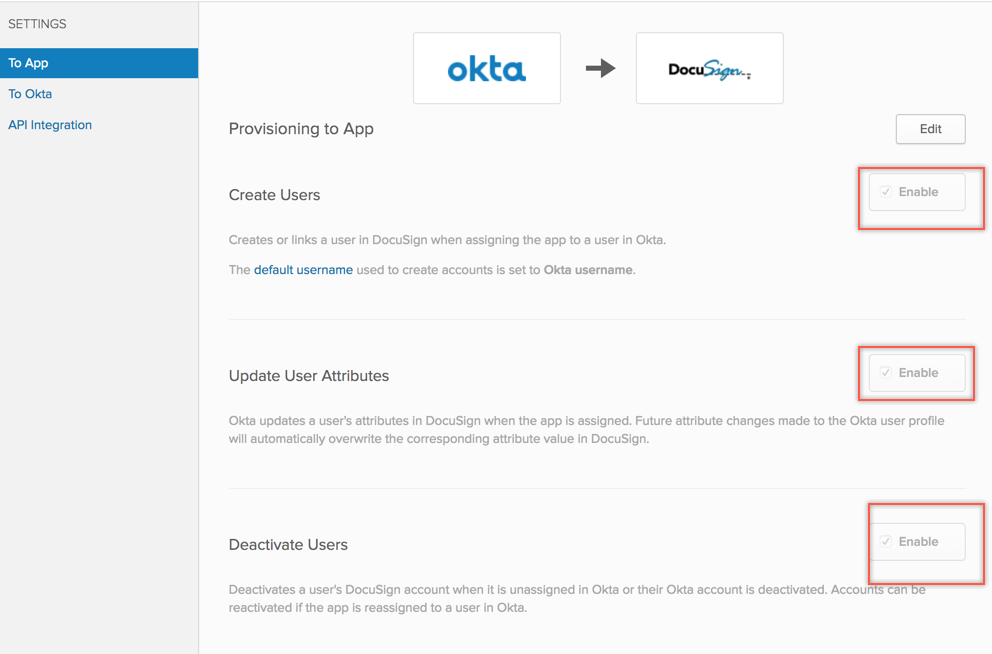
Click Save.
You can now assign people to the app (if needed) and finish the application setup.
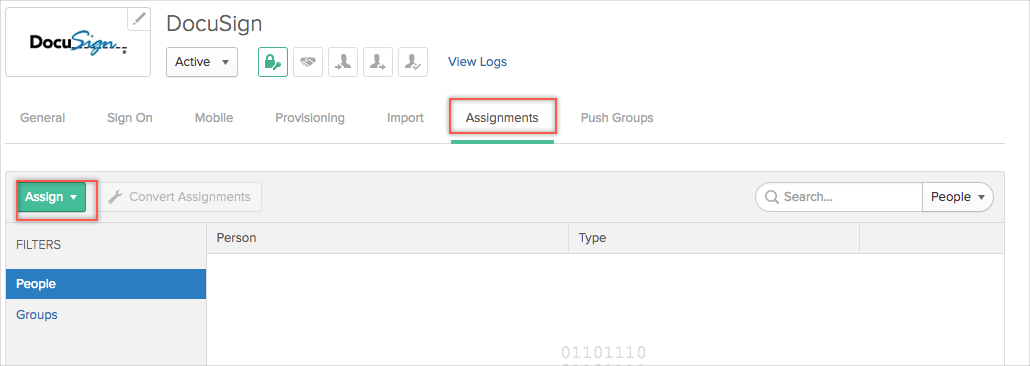
To assign users to the Docusign app: open the app, select the Assignment tab, click Assign, then select Assign to People:
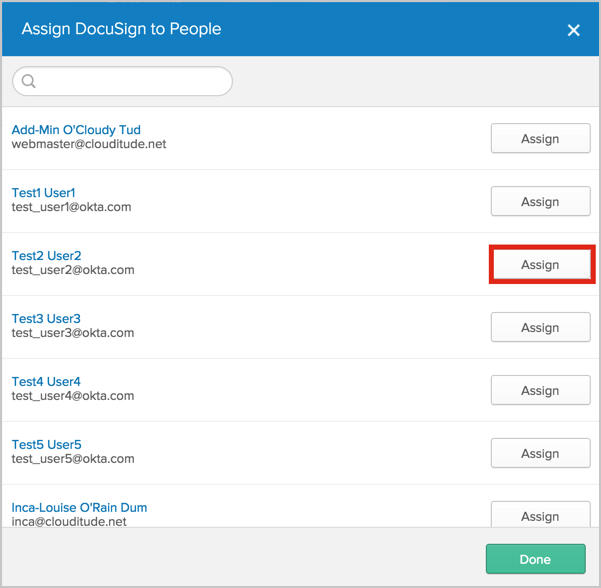
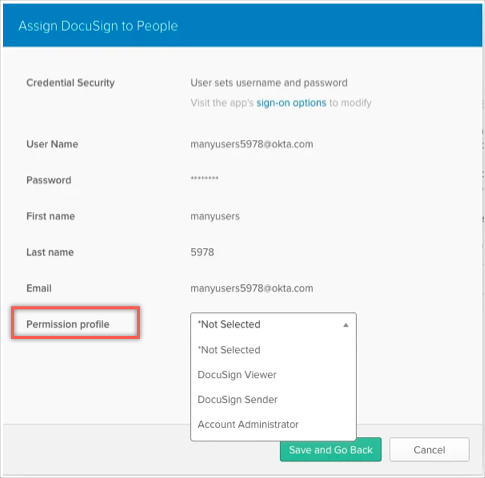
Then, in the Assign DocuSign to People dialog, select a user, then click Assign button.
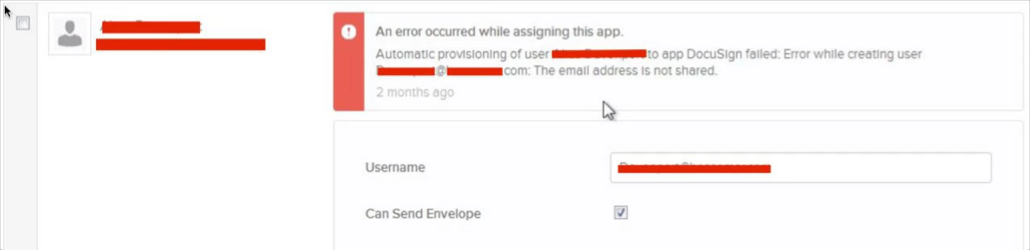
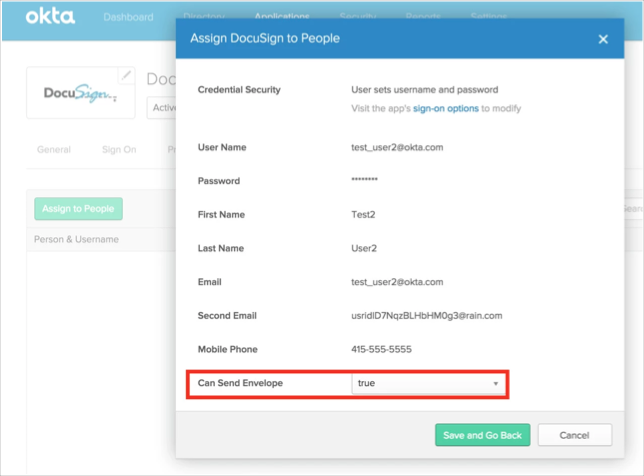
You can set whether users can send envelopes or not by selecting either true or false in the from Can Send Envelope field. If set to true, this user can send envelopes though the DocuSign.
Or you can set the desired Permission profile, either DocuSign Viewer, DocuSign Sender, or Account Administrator:
Some old applications may not have this attribute, to add it, do the following:
Note that if you have both Permission Profile and Can Send Envelope attributes selected, all other sets of permissions except for CanSendEnvelope will be controlled by the Permission profile attribute. The CanSendEnvelope permission will be controlled by the Can Send Envelope attribute instead.
To add extra attributes to a User’s Profile, follow the instructions below:
In Okta, from the Admin dashboard, navigate to Directory > Profile Editor.
Select APPS in the left navigation pane, then find your app in the list.
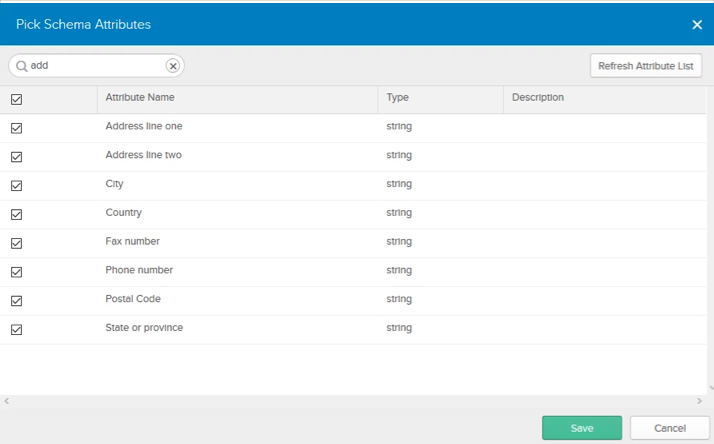
Check the list of attributes, and if you decide you need more, click Add Attribute. A list of extended attributes appears.
Select the attributes you want to add (for example all address fields), then click Save:
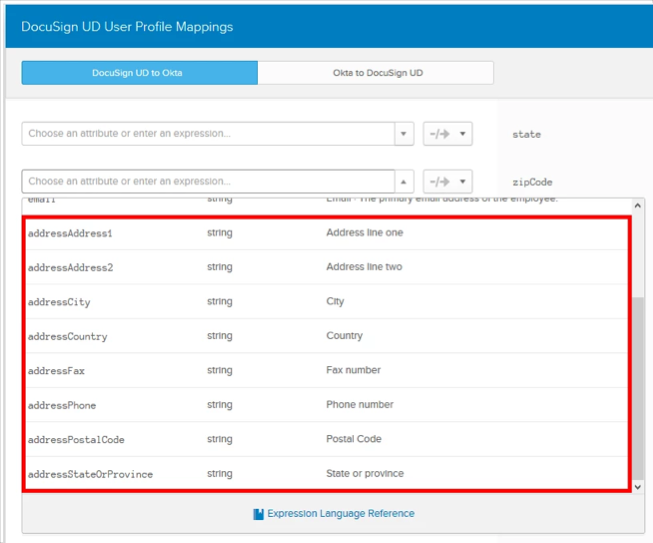
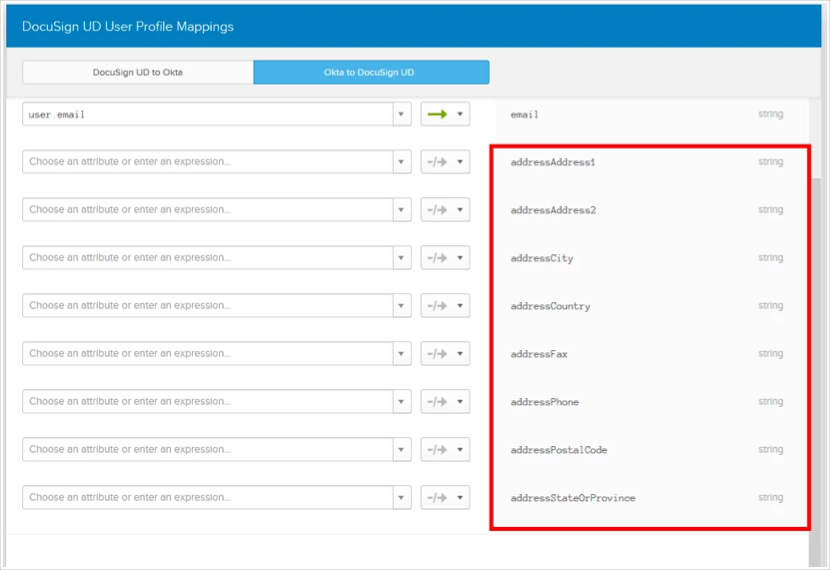
The added attribute(s) will appear after refreshing the page. You can now import and push these user attribute values to/from DocuSign:

You can create mappings for your additional attributes::
Errors encountered while authenticating with DocuSign:
Make sure your API Account ID matches the DocuSign Administrator credentials.
Errors encountered while assigning users on DocuSign application:
DocuSign user has disabled Senders may add new spellings of my name flag in Preferences > Names Available section.
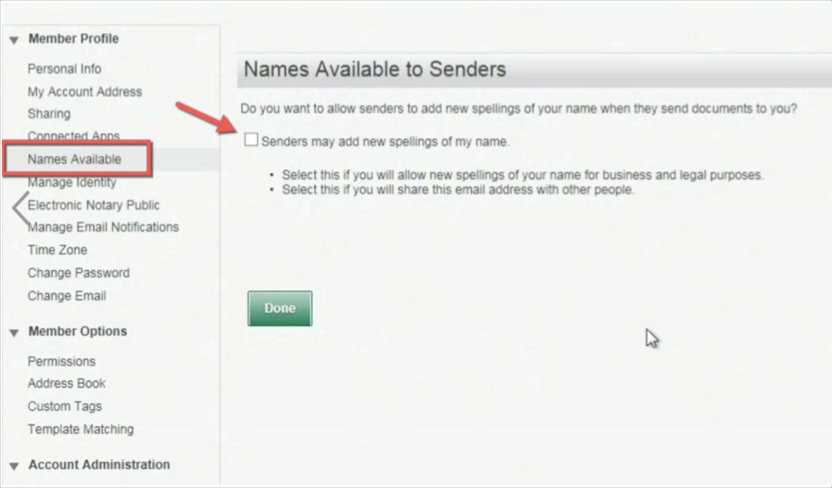
This may produce errors like this: