The Okta/Airtable SAML integration currently supports the following features:
For more information on the listed features, visit the Okta Glossary.
Sign in to Airtable.
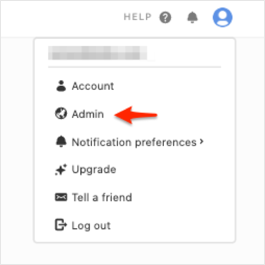
Click your user icon, then select Admin:
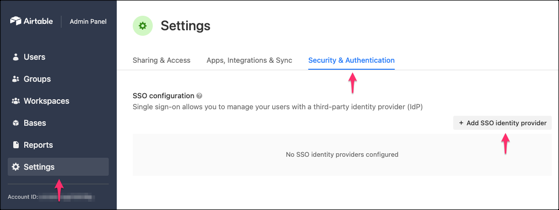
Go to Settings > Security & Authentication, then click Add SSO identity provider.
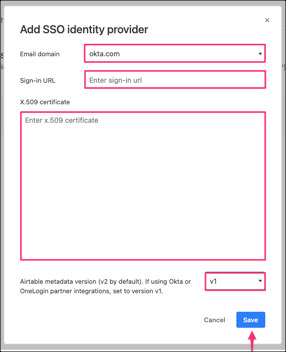
Enter the following:
Email domain: Select your domain.
Sign-in URL: Copy and paste the following:
Sign into the Okta Admin Dashboard to generate this variable.
x.509 certificate: Copy and paste the following:
Sign into the Okta Admin Dashboard to generate this variable.
Select the Airtable metadata version v1.
Click Save:
Done!
The following SAML attributes are supported:
| Name | Value |
|---|---|
| urn:oid:2.5.4.4 | user.lastName |
| urn:oid:2.5.4.42 | user.firstName |
| com.airtable.enterprise_groups | Configured in the app UI |
Enter your email address, then click Sign in.