The Okta/Egnyte SAML integration currently supports the following features:
For more information on the listed features, visit the Okta Glossary.
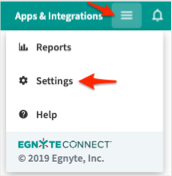
Click the menu icon in the upper right corner of the page, then select Settings:
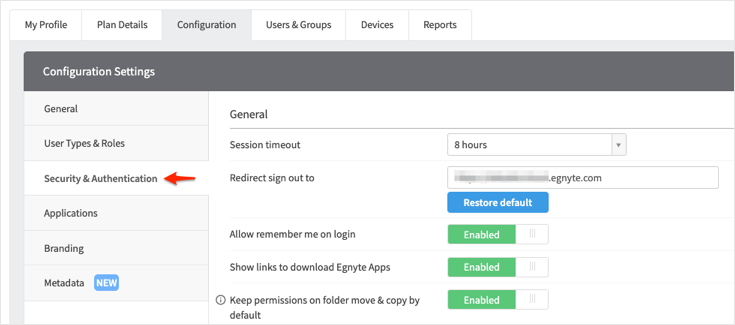
Navigate to Security & Authentication:
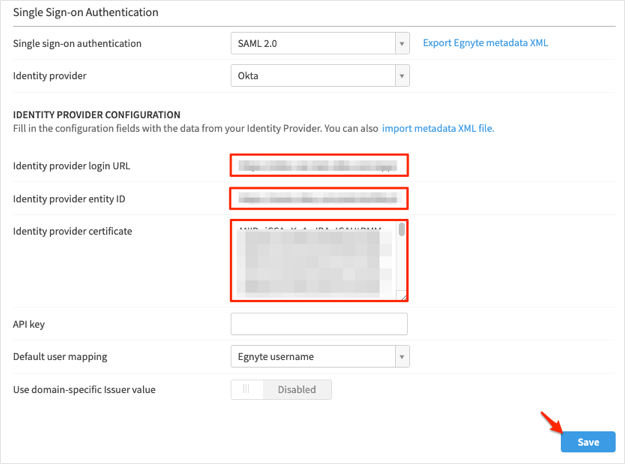
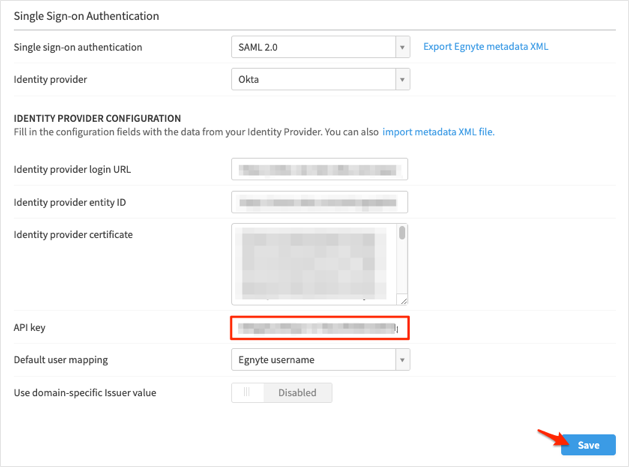
Scroll down to the Single Sign-On Authentication section and enter the following values:
Single sign-on authentication: Select SAML 2.0 from the dropdown menu.
Identify provider: Select Okta from the dropdown menu.
Identify provider login URL: Copy and paste the following into this field:
Sign into the Okta Admin dashboard to generate this value.Identify provider entity ID: Copy and paste the following into this field:
Sign in to the Okta Admin dashboard to generate this value.Identify provider certificate: Copy and paste the following into this field (be sure to copy the entire value):
Sign in to the Okta Admin dashboard to generate this value.
API key: Leave API Key blank if you are not enabling Map Drive Access. To enable Map Drive Access, see the following optional section.
Default user mapping: Select one from the dropdown menu.
Click Save:
Then, for each user, do the following:
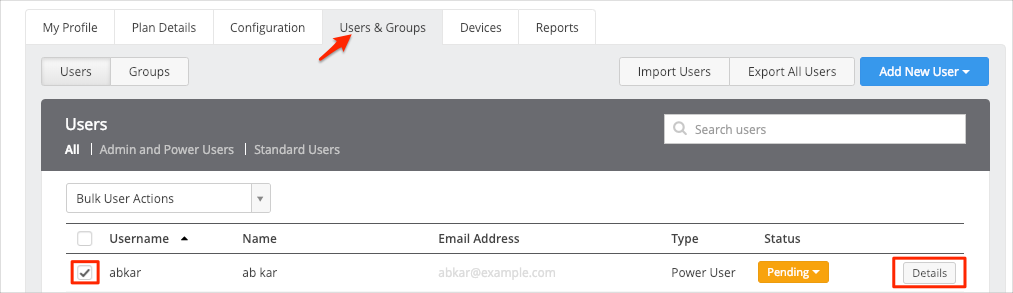
Navigate to Users and Groups:
Select a user, then select Details:
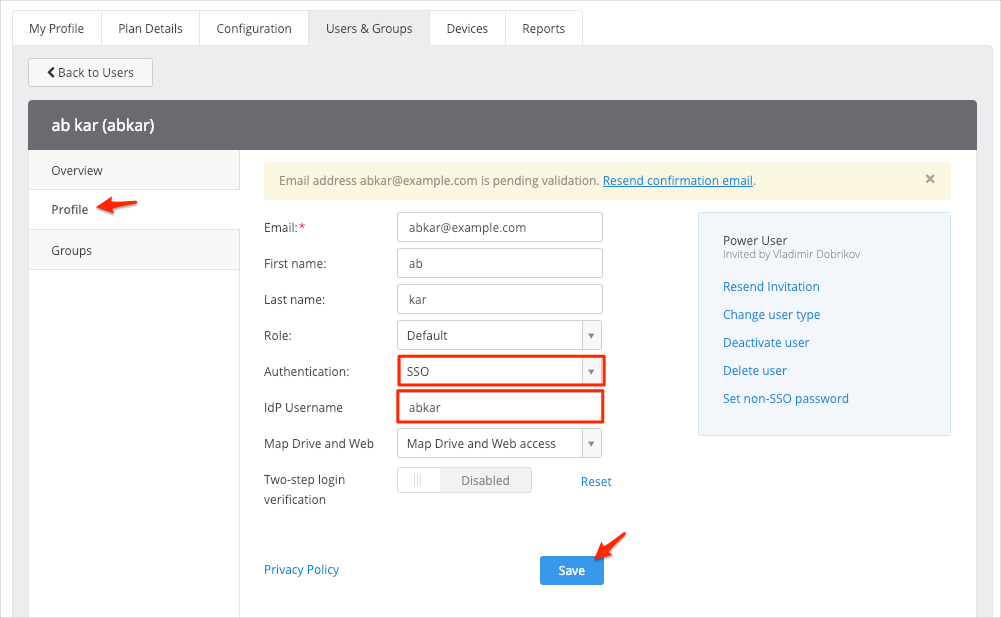
On the user’s Profile page, select SSO from the Authentication dropdown menu. Specify the IdP username, then click Save:
Done!
Note: Map Drive Access is an optional integration that can be used in addition to SAML 2.0.
Egnyte Map Drive enables you to to access your files through a virtual drive without copying them to your local machine.
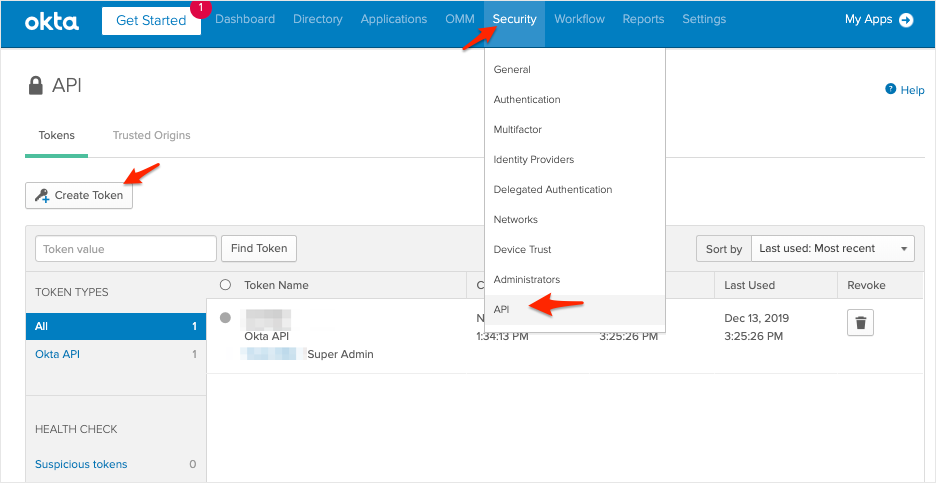
In Okta, navigate to Security > API, then click Create Token:
Enter a name for the token, then click Create Token:

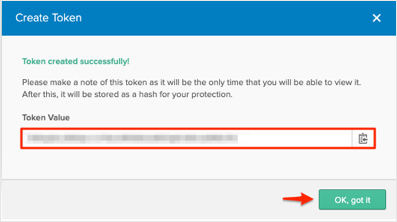
Make a copy of your token, then click OK, got it:
Go back to the Single Sign-On Authentication section in Egnyte and paste the API token you made a copy of into the API key field, then click Save:
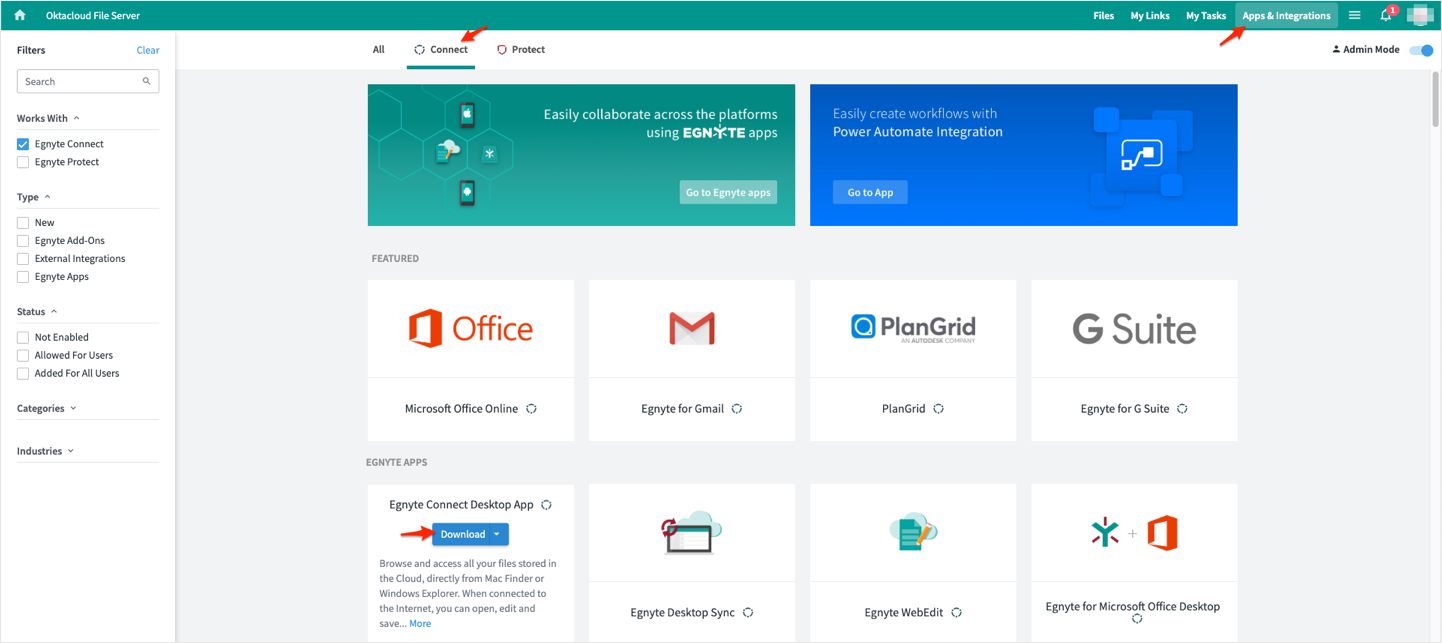
In the upper right hand corner click Apps & Integrations, then navigate to Connect. Locate the Egnyte Connect Desktop App, then click Download:
Install the app. For more information, see Egnyte Connect Desktop App Overview.
Make sure that you entered the correct value in the Your Egnyte sub domain field under the General tab in Okta. Using the wrong value will prevent you from authenticating via SAML to Egnyte.
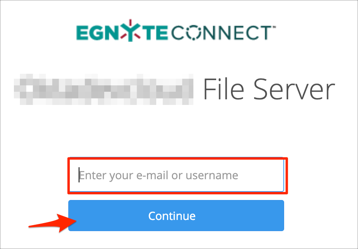
Go to: https://[your-subdomain].egnyte.com.
Enter your e-mail into the corresponding field.
Click Continue: