How to Configure SAML 2.0 for Vera
This setup might fail without parameter values that are customized for your organization. Please use the Okta Administrator Dashboard to add an application and view the values that are specific for your organization.
This setup might fail without parameter values that are customized for your organization. Please use the Okta Administrator Dashboard to add an application and view the values that are specific for your organization.
Contents
Supported Features
The Okta/Vera SAML integration currently supports the following features:
- IdP-initiated SSO
- SP-initiated SSO
Configuration Steps
- Copy the following IDP Metadata and save as a .xml file:
- Log in to your Vera account.
- Navigate to the Settings page:
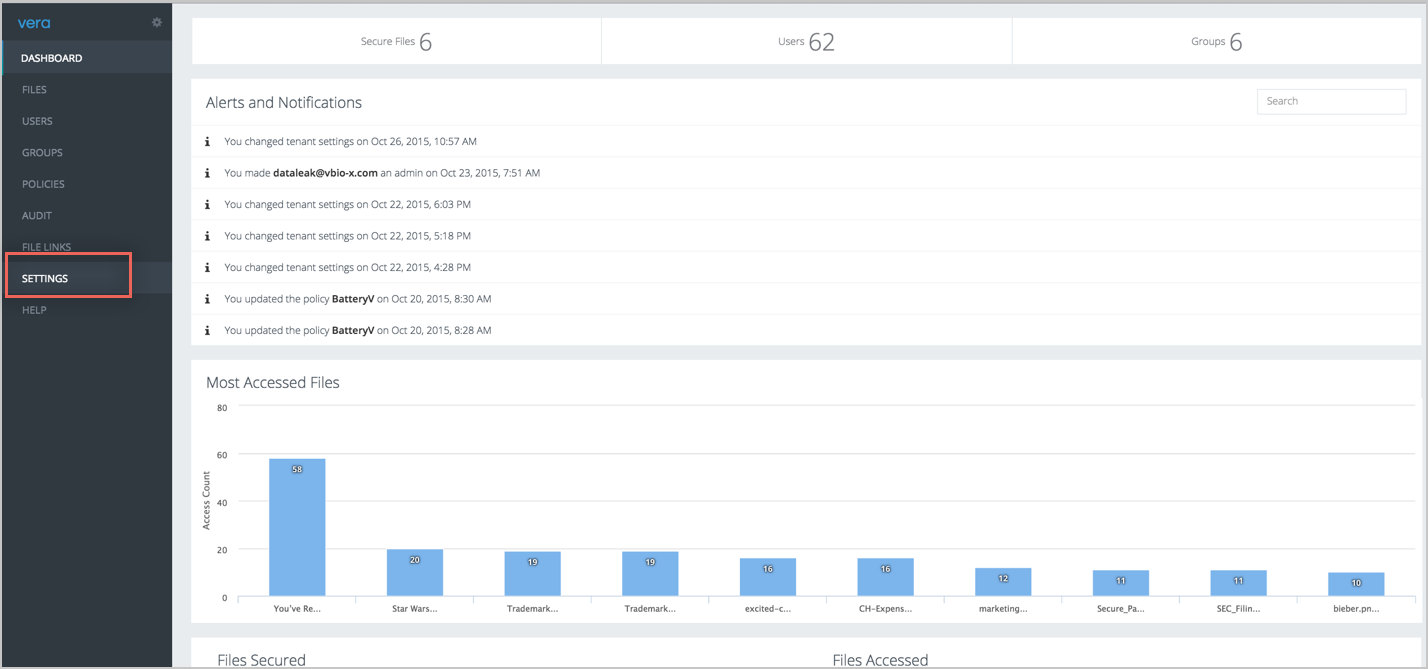
-
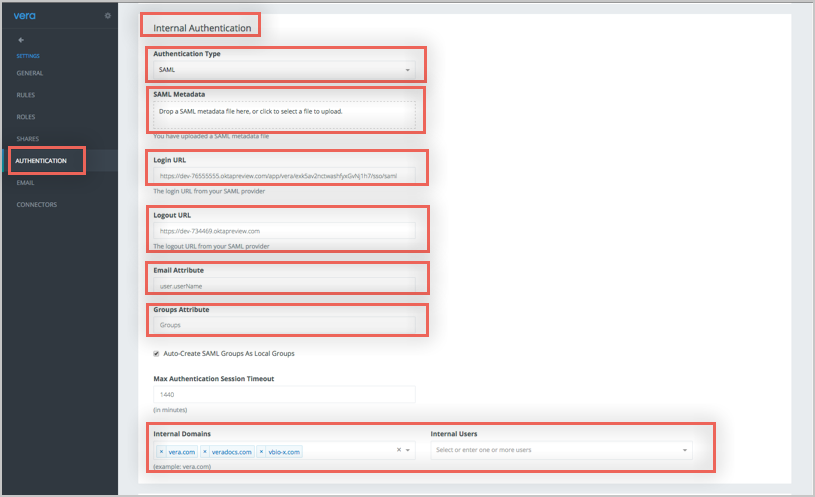
On the Settings page, navigate to the Authentication tab, then scroll down to the Internal Authentication section.
- Enter the following values into the corresponding fields (see screen capture at end of step for reference):
- Select the Authentication type: SAML
- SAML Metadata: Click Choose file, and upload the .xml file you saved in step 1.
- Copy the following into the Login URL field:
Sign into the Okta Admin Dashboard to generate this variable.
- Copy the following into the Logout URL field:
Sign into the Okta Admin Dashboard to generate this variable.
Email attribute: Enter user.userName (enter as is).
Groups attribute: Enter Groups.
- Internal Domains and Users: Enter the domain name of the username that will be using SAML to access the account.
For example, if the username is johndoe@mycompany.com, enter mycompany.com in this field. Or, you can also manually enter the usernames of all the users who will be using SAML under the Users section.
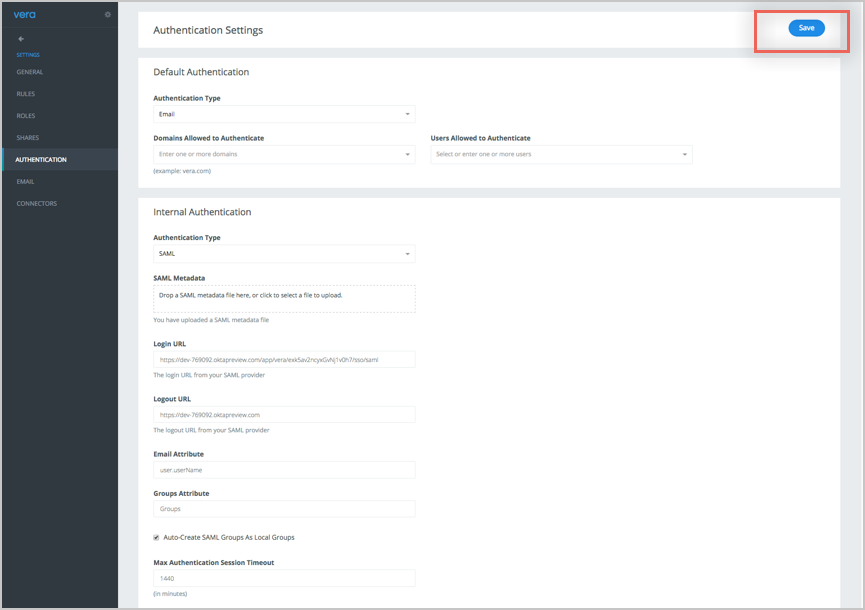
- Click Save in the top right corner.
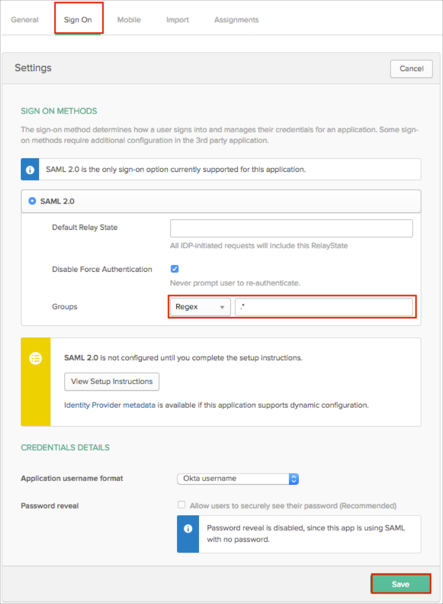
- OPTIONAL: In Okta, select the Sign On tab for the Vera app, then click Edit.
- Select your preferred group filter from the Groups dropdown list (the Regex rule with the value ".*" in order to send *all* Okta groups to the Vera instance we used in our example) for the attribute.
- Click Save.
- Done!
Notes
The following SAML attributes are supported:
| Name |
Value |
| Groups |
This will be configured in the app UI; see groups attribute instructions (step 7) above. |
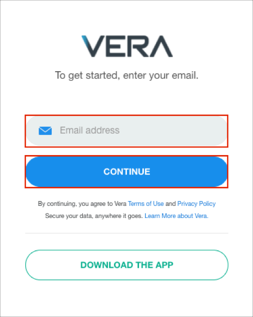
SP-initiated SSO
Open Vera login URL: https://[yourSubDomain].vera.com/login.
Enter your Email address.
Click CONTINUE: