The Okta/Sentry SAML integration currently supports the following features:
Sign in to Sentry as an organization owner.
On the left side, click on your profile icon, then select Organization settings.
Make a copy of your Organization Slug.
In Okta, select the Sign On tab for the Sentry SAML app, then click Edit.
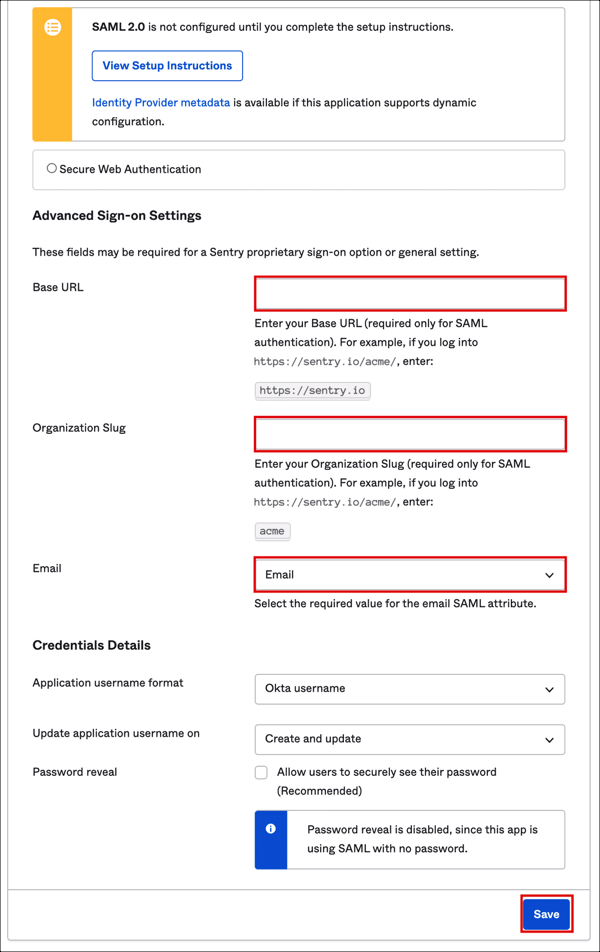
Scroll down to Advanced Sign-on Settings.
Base URL: Enter your Base URL in this format: https//example.com.
Important: There should not be a trailing slash at the end of the URL as it will break the redirect from Okta to Sentry.
Enter your Organization Slug you made of copy of in step 3.
Select a value for the Email SAML attribute.
Click Save.
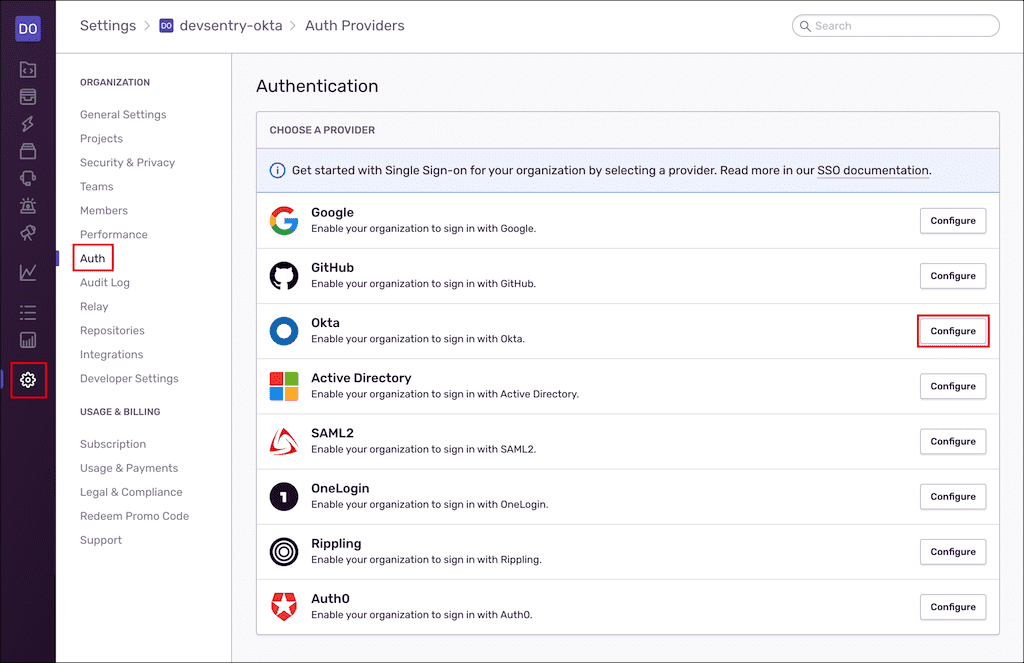
Go back to Sentry, from the left menu go to Settings > Auth > Okta, click Configure:
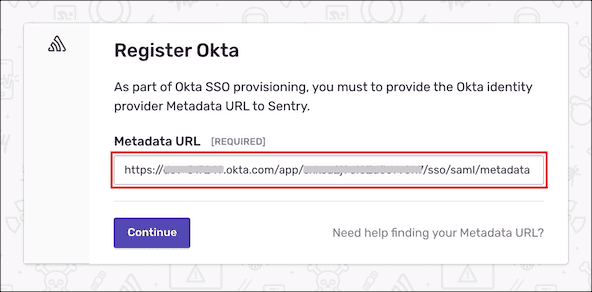
On the Register Okta page enter the following into the Metadata URL field, then click Continue:
Sign into the Okta Admin dashboard to generate this value.
You will be redirected back to Okta. After successful authentication the following message will appear:
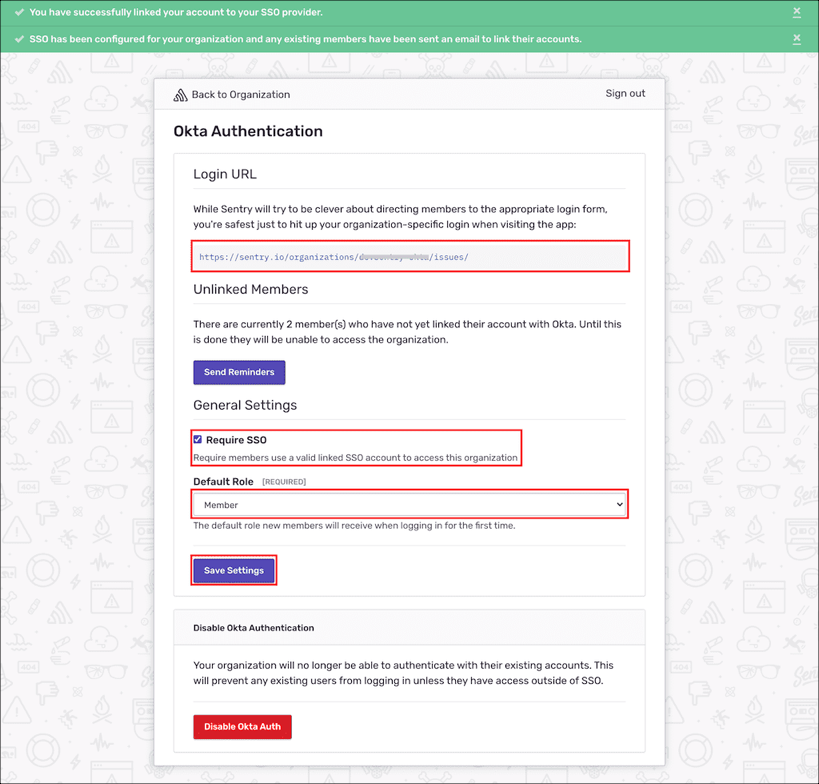
You have successfully linked your account to your SSO provider.
SSO has been configured for your organization and any existing members have been sent an email to link their accounts.
You will be directed to the Okta Authentication page, enter the following:
Make a copy of your Login URL. You will need it for SP-initiated SSO.
(Optional) Scroll to the bottom and ensure that Require SSO is checked if you want to enforce logging in with Okta. Unchecking this will allow users to login with their normal username and password.
Select a Default Role for new SSO users. Selecting Member should cover most use-cases.
Click Save Settings.
Done!
The following SAML attributes are supported:
| Name | Value |
|---|---|
| Either user.userName or user.email | |
| firstName | user.firstName |
| lastName | user.lastName |
| identifier | user.id |
Go to the Login URL you made a copy of in step 8.
Click Login with Okta.