The Okta/SalesLoft SAML integration currently supports the following features:
Login to SalesLoft account as an administrator.
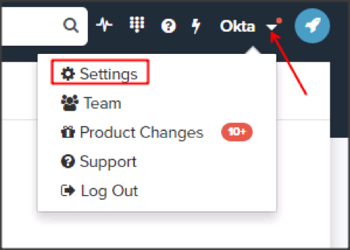
Click on your account name, then select Settings:
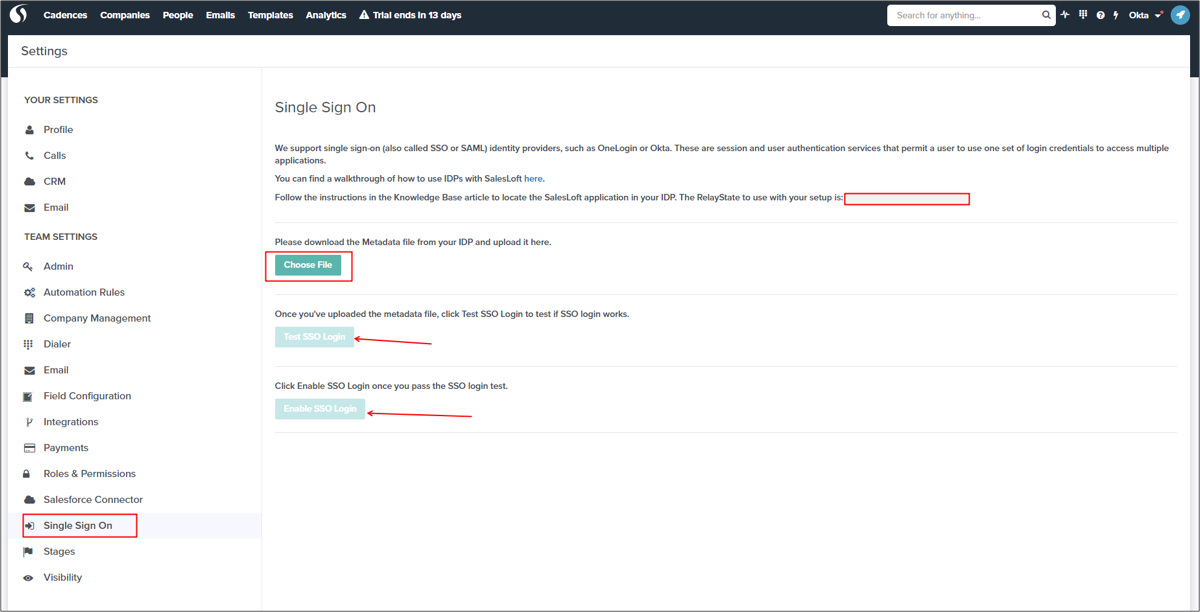
Click on Single Sign On, then do the following (see screenshot at end of step for reference):
Make a copy of the RelayState value, you will need it later.
Save the following Metadata file. Click Choose File then download, then upload the file.
Sign into the Okta Admin dashboard to generate this value.
Once the above file has downloaded, you can test that your configuration is correct by clicking Test SSO Login. If you have successfully configured your account, this will redirect your account to the new sign-in screen and log you into SalesLoft.
You can now click Enable SSO Login to apply it to your entire team. Note: This will take effect immediately for all team members.
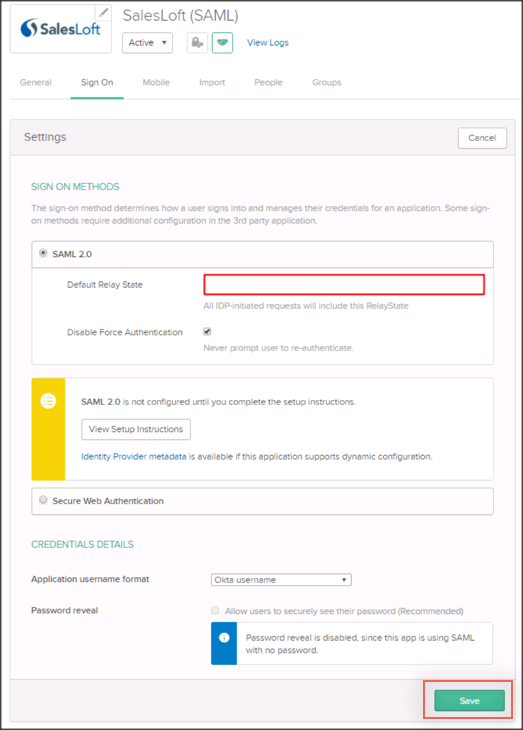
In Okta, select the Sign On tab for the SalesLoft app, then click Edit.
Enter the RelayState you saved earlier (step 4) into the corresponding field.
Click Save.
Done!
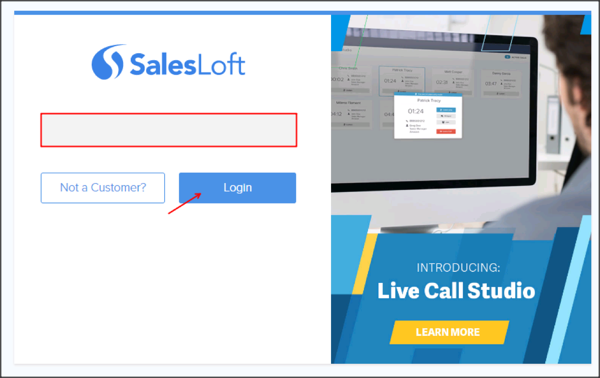
Go to https://accounts.salesloft.com:
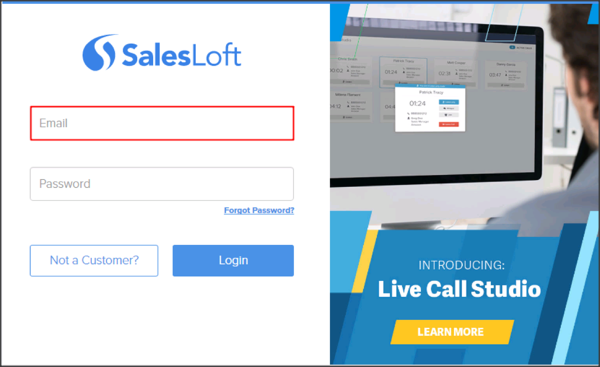
Type in your email address, then click Login: