The Okta/Robin SAML integration currently supports the following features:
For more information on the listed features, visit the Okta Glossary.
Sign in to your Robin Enterprise account as an administrator.
Navigate to Settings > Integration.
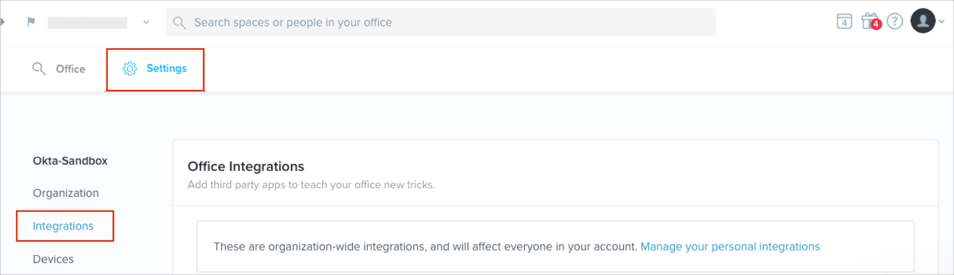
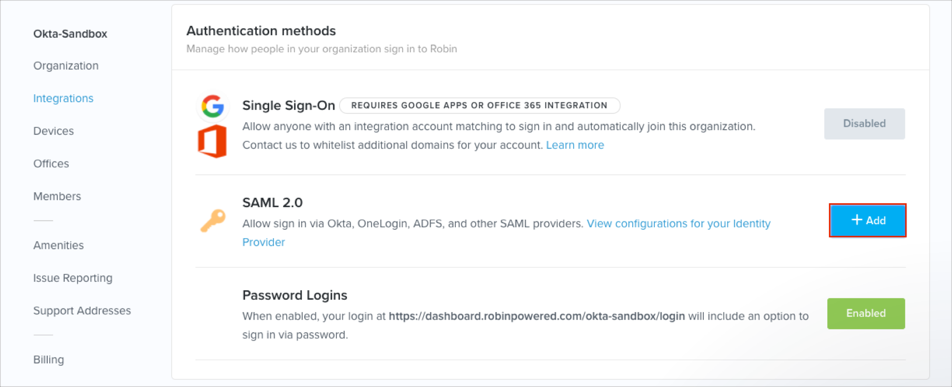
Scroll down to the Authentication methods section.
Search for the SAML 2.0 option.
Click +Add.
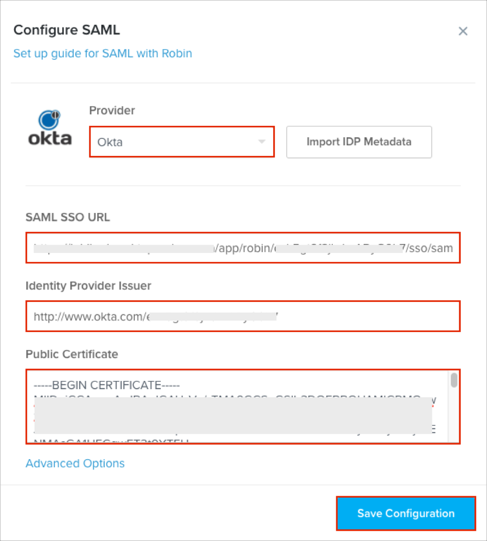
Select Okta from the providers list.
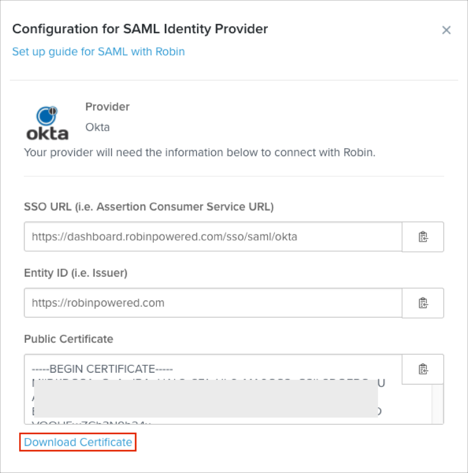
Enter the following (see screen shot at end of step for reference):
SAML SSO URL: Copy and paste the following:
Sign into the Okta Admin Dashboard to generate this variable.
Identity Provider Issuer: Cop9y and past the following:
Sign into the Okta Admin Dashboard to generate this variable.
Public Certificate: Copy and paste the following:
Sign into the Okta Admin Dashboard to generate this variable.
Click Save Configuration.
Now you have set up SAML, go back to the Authentication methods section (see step 3), and click the View your configuration details link.
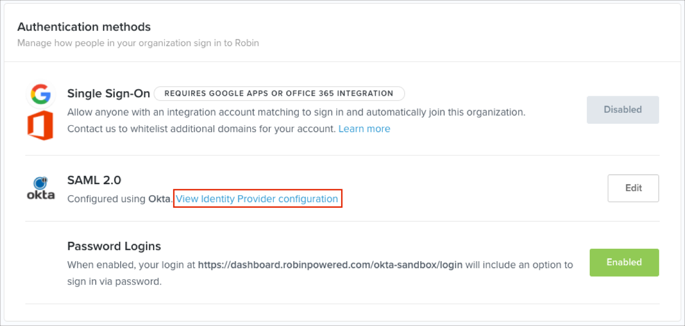
Click Download Certificate to download then save the Public Certificate.
In Okta, select the Sign On tab for the Robin app, then click Edit.
Encryption Certificate: Click Browse to locate, then Upload the Public Certificate you just saved (step 9).
Click Save.
Done!
Make sure that you entered the correct value in the region field under the General tab in Okta. Using the wrong value will prevent you from authenticating via SAML to Robin.
If you are enabling SCIM, make sure that you choose Email as your Email attribute value. Not doing so will cause account duplication when both SAML and SCIM are enabled.
The following SAML attributes are supported:
| Name | Value |
|---|---|
| user.userName | |
| FirstName | user.firstName |
| LastName | user.lastName |
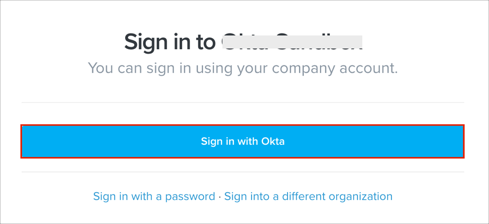
Open the following URL: https://dashboard.robinpowered.com/[organizationUsername]/login.
You can get your Organization username from the organization settings.
Click Sign in with Okta.