
This setup might fail without parameter values that are customized for your organization. Please use the Okta Administrator Dashboard to add an application and view the values that are specific for your organization.
The Okta/Oomnitza SAML integration currently supports the following features:
Sign into your Oomnitza account.
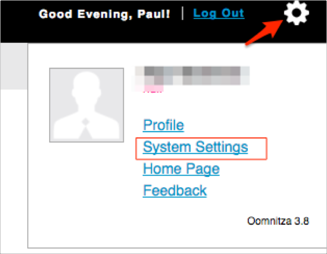
Click the gear icon, then select System Settings:
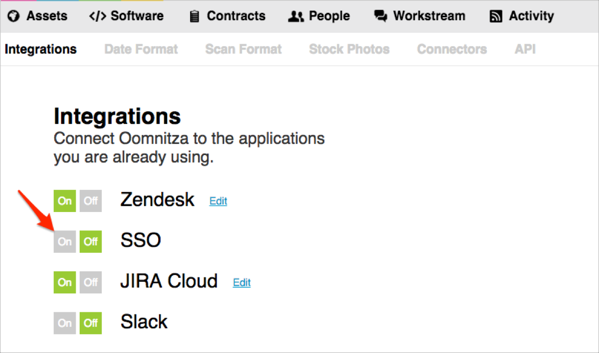
Under Integration, select On for SSO:
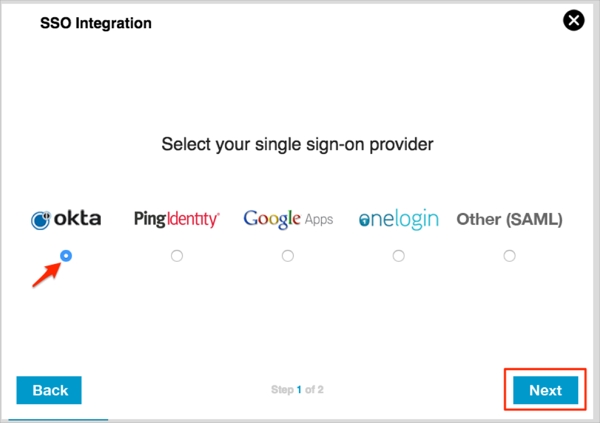
Select Okta, then click Next:
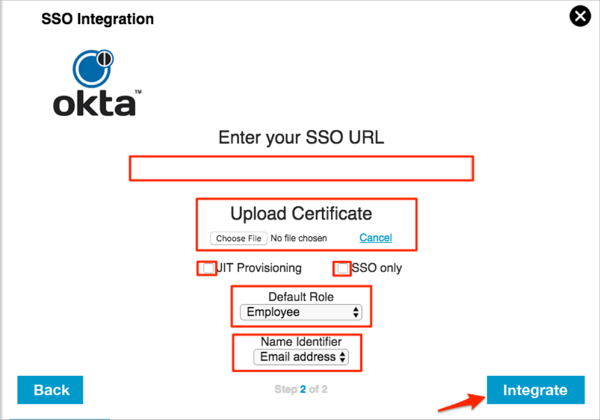
Enter the following information (see screen shot at end of step for reference):
Enter your SSO URL: Copy and paste the following:
Sign into the Okta Admin dashboard to generate this value.
Upload Certificate: Download, then upload the following certificate:
Sign into the Okta Admin dashboard to generate this value.
JIT Provisioning (optional): Check this if you want to support JIT provisioning.
SSO only (optional): Checking this prevents standard authentication to Oomnitza. We suggest leaving this off for now until you have tested the SSO feature and verified it works correctly.
Default Role: Select the role JIT provisioned users will be assigned at the time their account is created.
Name Identifier: Select Email address.
Click Integrate.
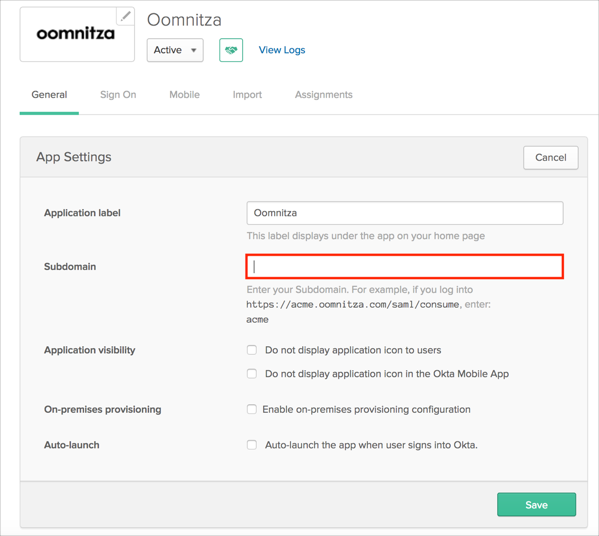
In Okta, select the General tab for the Oomnitza app, then click Edit.
Enter your Subdomain into the corresponding field.
Click Save.
Done!
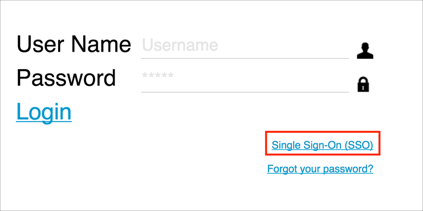
Go to: https://[your-subdomain].oomnitza.com.
Click Single Sign-On (SSO):
