Luminate Secure Access Cloud™ securely connects any user from any device, anywhere in the world to corporate resources hosted on-premises or in the cloud.
To configure and enforce access policies of Okta-based identities to applications, Luminate leverages Okta's API get users and groups from Okta (during policy assignment and calculation).
The Okta/Luminate Secure Access Cloud SAML integration currently supports the following features:
For more information on the listed features, visit the Okta Glossary.
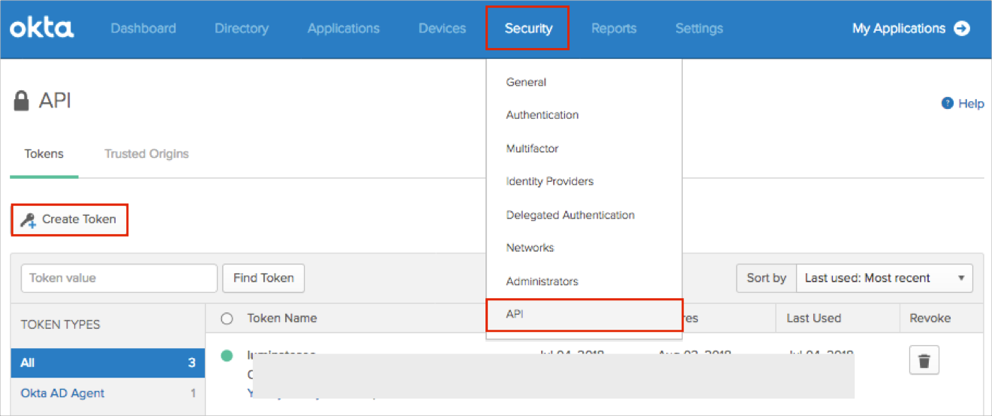
In Okta, navigate to Admin > Security > API > Tokens.
Click Create Token:
Enter a name for the token then click Create Token:
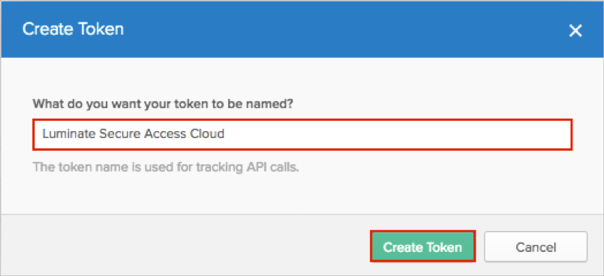
Make a note of the Token value.
Click OK, got it:

Login to the Luminate Secure Access Cloud Admin Portal interface as an administrator.
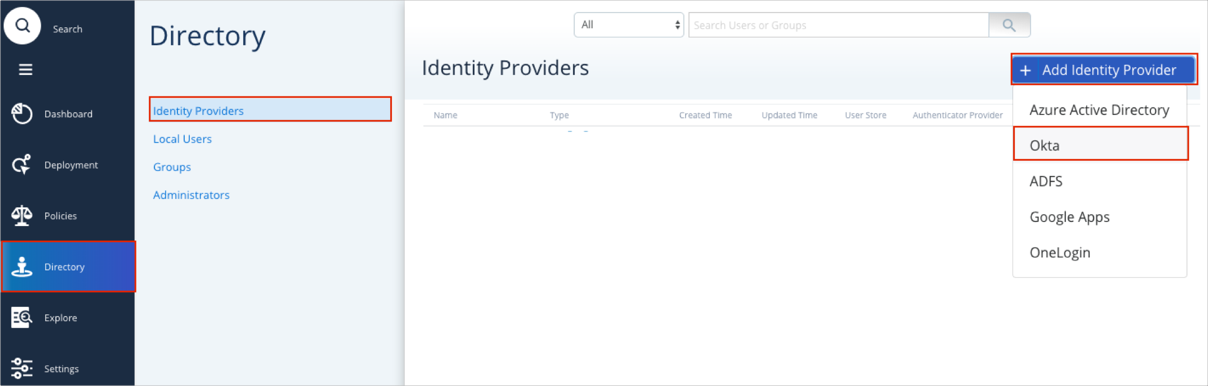
Navigate to Directory > Identity Providers.
Click Add Identity Provider.
Select the Okta option.
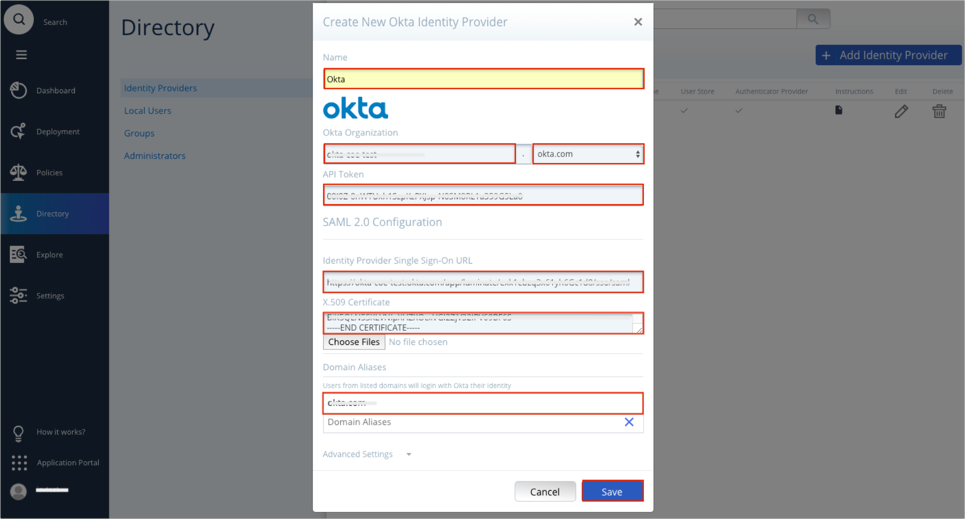
A Create New Okta Identity Provider for opens. Enter the following:
Name: Enter Okta.
Okta Organization: Enter your Okta subdomain, then select your Okta domain from the dropdown list.
For example, if you log into https://acme.okta.com/, your Okta Organization value is acme and your Okta domain is okta.com.
API Token: Enter your Token value from step 4.
Identity Provider Single Sign-On URL: Copy and paste the following:
Sign into the Okta Admin Dashboard to generate this variable.
X.509 Certificate: Copy and paste the following:
Sign into the Okta Admin Dashboard to generate this variable.
Domain Aliases: Enter a required domain alias.
For example if your Okta email address is john.smith@acme.com, your Domain Alias is acme.com.
Click Save.
Click the Instructions icon:

Make a note of the Single sign on URL and Audience URI (SP Entity ID) values:

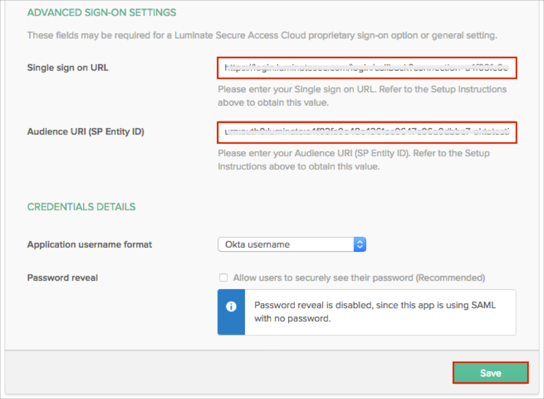
In Okta, select the Sign On tab for the Luminate Secure Access Cloud SAML app, then click Edit.
Scroll down to the ADVANCED SIGN-ON SETTINGS section.
Enter the Single sign on URL and Audience URI (SP Entity ID) values (step 12) into the corresponding fields.
Click Save.
Done!
The following SAML attributes are supported:
| Name | Value |
|---|---|
| user.email |
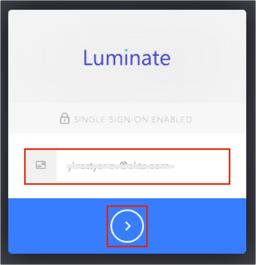
Open your Luminate Secure Access Cloud login URL.
Enter your email address into the corresponding field.
Click the submit (>) button.