The Okta/Jive Software SAML integration currently supports the following features:
For more information on the listed features, visit the Okta Glossary.
Send an email to Jive support to request SAML 2.0 access. Attach the following metadata to the message.
Sign in to Okta Admin app to have this variable generated for you.
Wait for a reply. After you receive confirmation, continue with the following steps to complete the customization.
Log in to the Jive 6.0 Administration Console with your username and password.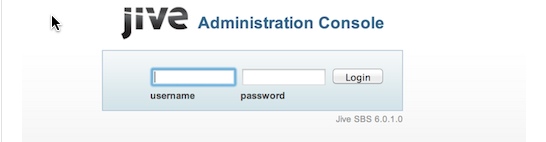
Select People > Settings > SAML.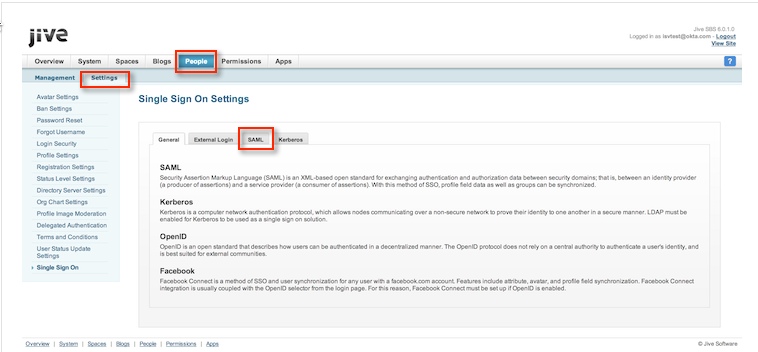
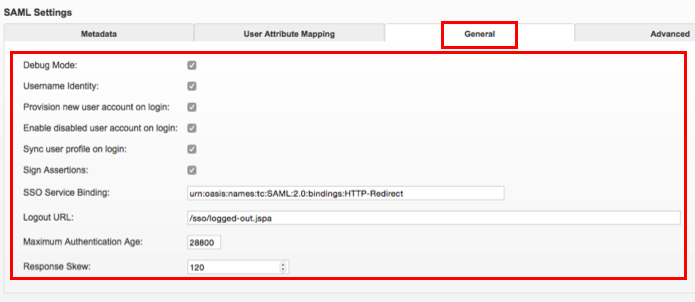
In particular, make sure that SSO Service Binding has this value:
urn:oasis:names:tc:SAML:2.0:bindings:HTTP-Redirect
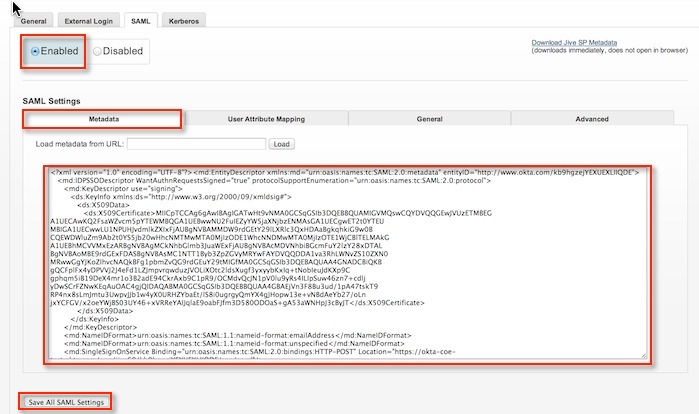
On the SAML tab, select Metadata. Then, check Enabled and paste the IDP metadata shown in step 1.
Select User Attribute Mapping tab and ensure the values match those shown below.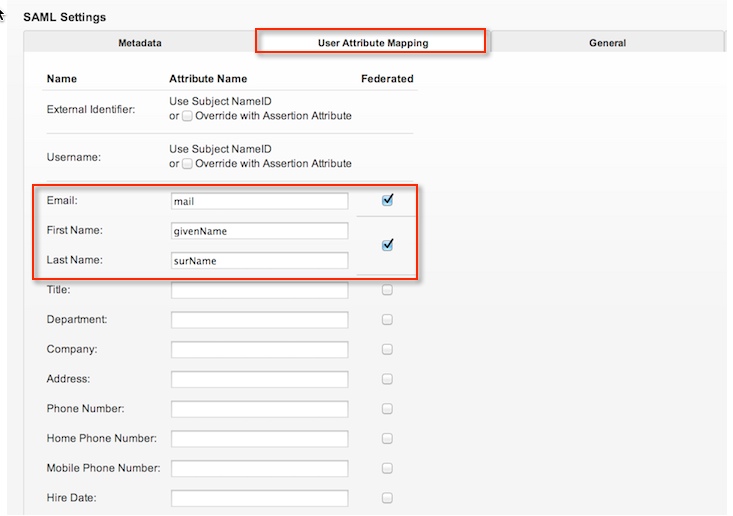
Done!
Make sure that you entered the correct value in the Base URL field under the General tab in Okta. Using the wrong value will prevent you from authenticating via SAML to Jive Software.
The following SAML attributes are supported:
| Name | Value |
|---|---|
| user.email | |
| givenName | user.firstName |
| surName | user.lastName |
Go to [your-base-URL].