The Okta/IncentFit SAML integration currently supports the following features:
For more information on the listed features, visit the Okta Glossary.
Contact the IncentFit team (info@incentfit.com) and request that they enable SAML 2.0 for your account.
Download, save, then attach the following Metadata file with your request:
Sign into the Okta Admin dashboard to generate this value.
The IncentFit team will process your request. After receiving a confirmation email, you can start assigning people to the application.
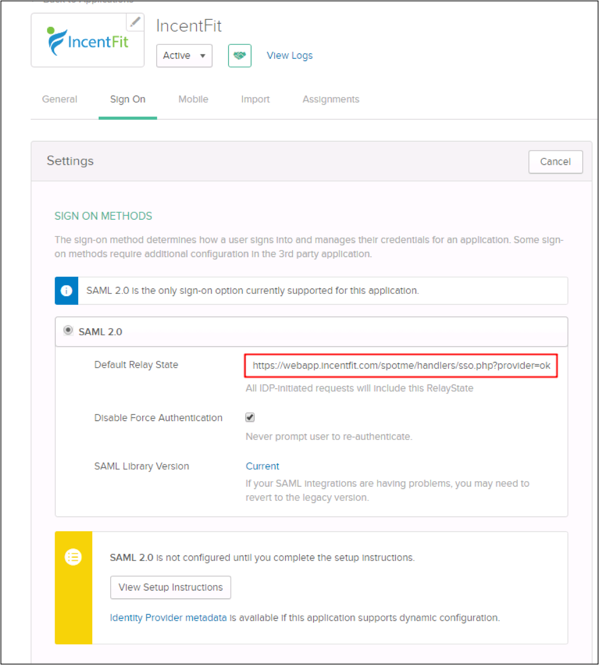
In Okta, select the Sign On tab for the IncentFit app, then click Edit:
Enter the following value into the Default Relay State field:
https://webapp.incentfit.com/spotme/handlers/sso.php?provider=okta
Click Save.
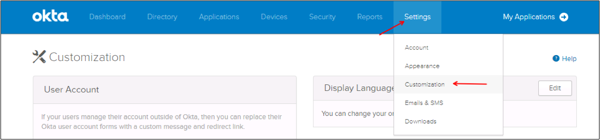
Still in Okta, navigate to Settings > Customization:
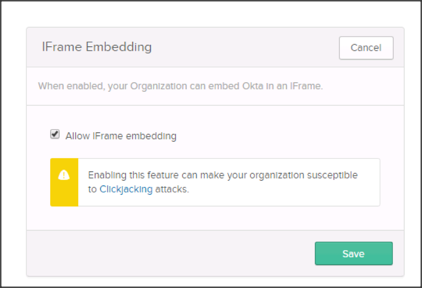
Scroll down to the Allow Iframe embedding option:
Click Edit.
Check Allow Iframe embedding.
Click Save.
Done!
The following SAML attributes are supported:
| Name | Value |
|---|---|
| user.email | |
| FirstName | user.firstName |
| LastName | user.lastName |
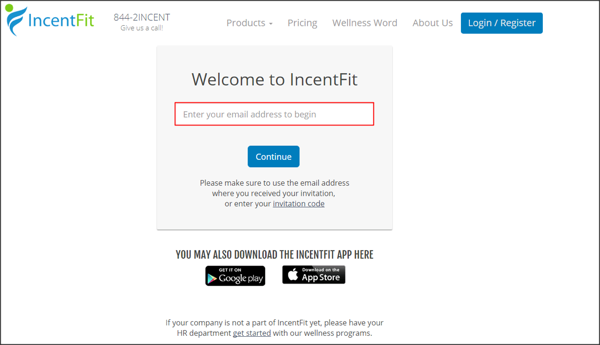
Type your email, then click Continue: