The Okta/Gatekeeper SAML integration currently supports the following features:
For more information on the listed features, visit the Okta Glossary.
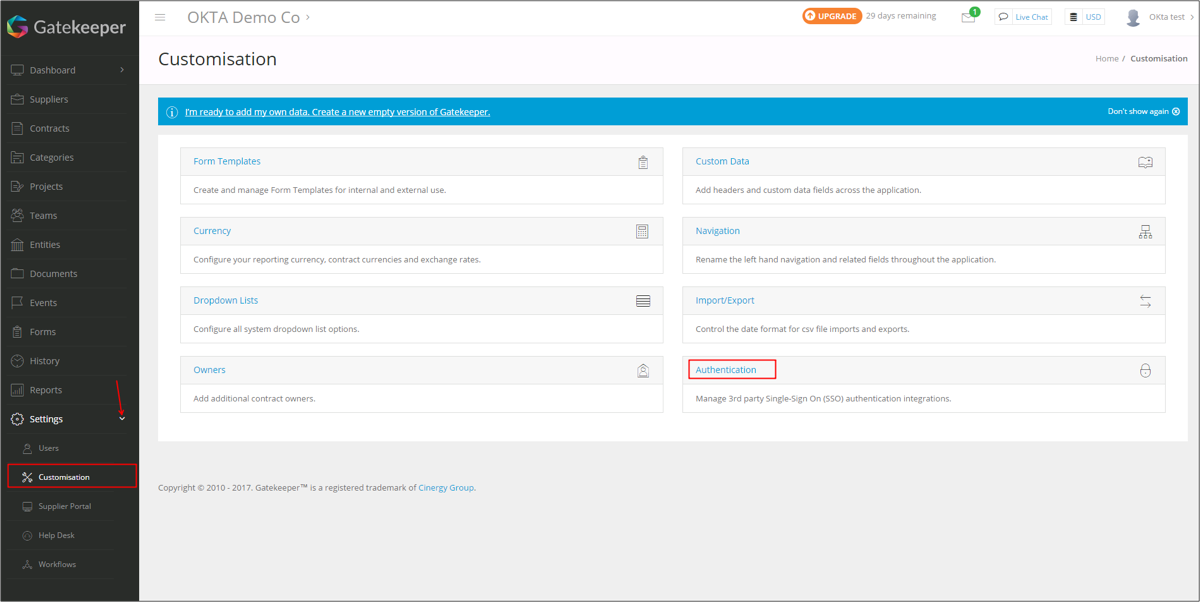
Login to your Gatekeeper account as an administrator.
Navigate to Settings > Customisations > Authentication:
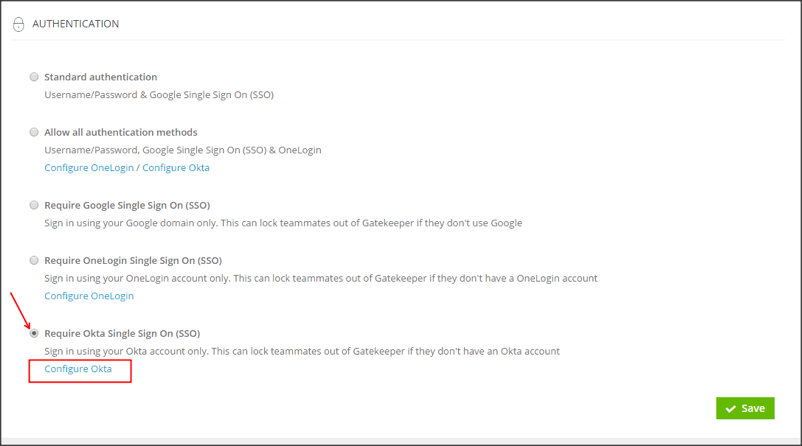
Select Require Okta Single Sign On (SSO), then click Configure Okta:
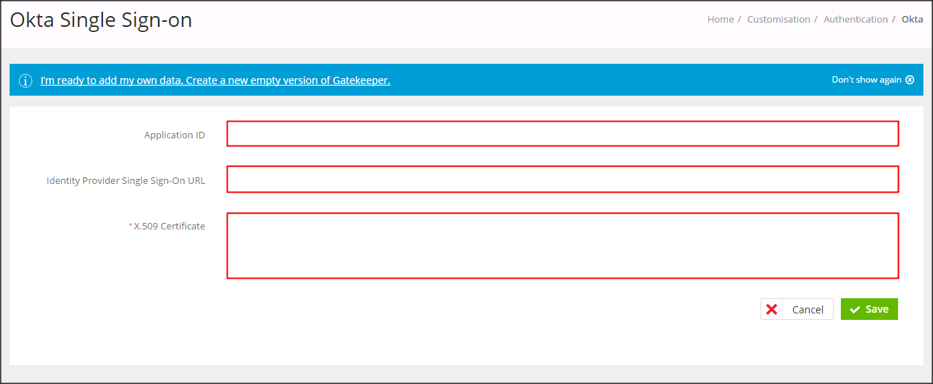
Enter the following (see screenshot at end of step for reference):
Application ID:
First, generate the following value:
Sign into the Okta Admin Dashboard to generate this variable.
Take the last part of the generated value and paste it into the Application ID field.
For example, the value for the application ID field is the text shown in red here:
http://www.myCompany.com/exk18o312mrXCbUs21d8
Identity Provider Single Sign-On URL: Copy and paste the following:
Sign into the Okta Admin Dashboard to generate this variable.
X.509 Certificate: Copy and paste the following:
Sign into the Okta Admin Dashboard to generate this variable.
Click Save.
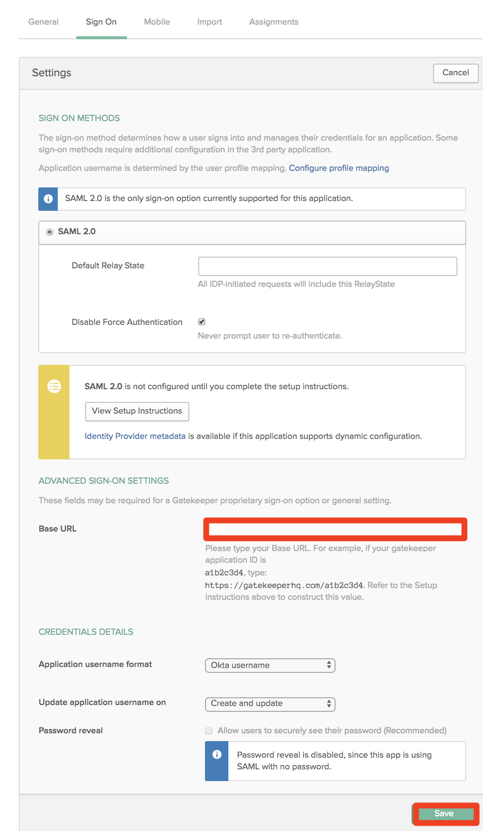
In Okta, select the Sign On tab for the Gatekeeper app, then click Edit.
Enter your Base URL into the corresponding field.
Click Save:
Done!
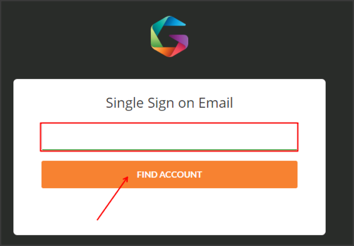
Go to https://gatekeeperhq.com/users/sign_in and click SIGN IN WITH OKTA:
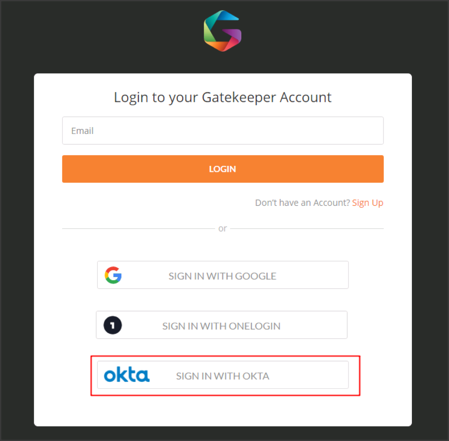
Type in your email address, then click FIND ACCOUNT: