The Okta/Five9 Plus Adapter for Agent Desktop Toolkit SAML integration currently supports the following features:
For more information on the listed features, visit the Okta Glossary.
Make a copy of the following Sign On URL value, you will need it several times during the following configuration steps:
Sign into the Okta Admin Dashboard to generate this variable.
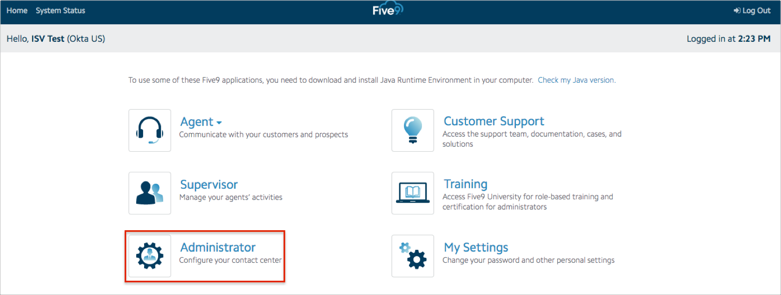
Login to the Five9 Virtual Contact Center.
Select Administrator:
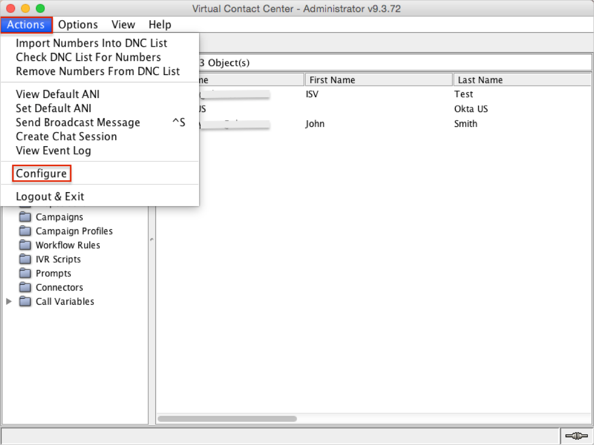
In the VCC Administrator application, navigate to Actions > Configure:
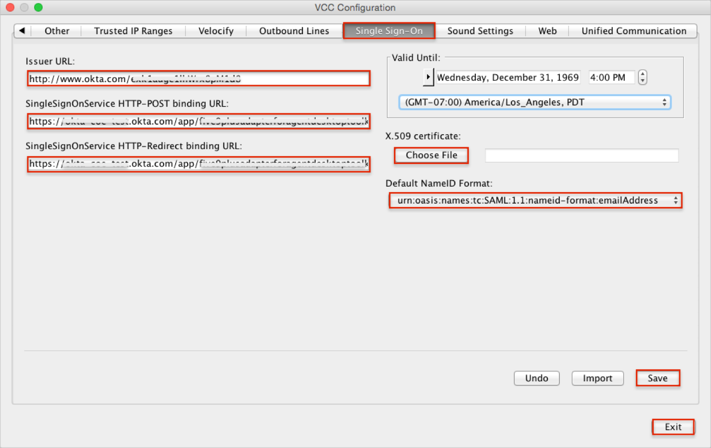
Select the Single Sign-On tab, then enter the following:
Issuer URL: Copy and paste the following:
Sign into the Okta Admin Dashboard to generate this variable.
SingleSignOnService HTTP-POST binding URL: Copy and paste the value you saved in step 1 into this field.
SingleSignOnService HTTP-Redirect binding URL: Copy and paste the value you saved in step 1 into this field.
x.509 certificate: Download and save the following file, then click Choose File to locate and select that file to upload to Five9:
Sign into the Okta Admin Dashboard to generate this variable.
Click Save, then Exit.
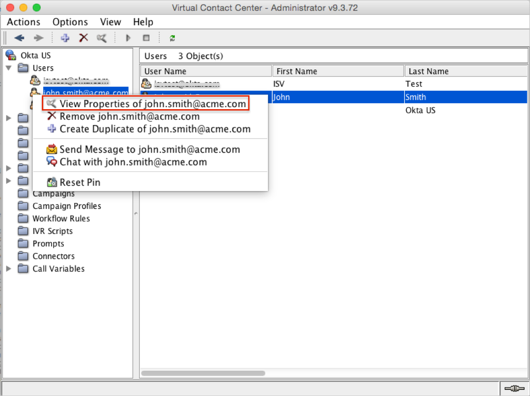
Navigate to Users, then right-click on the user you want to configure SSO Federation ID.
Click View Properties of [username] (john.smith@acme.com in our example):
In the Federation ID field under the General tab, enter a name for the agent. You can use the agent's Five9 username, or another name reserved for single sign-on.
Click Apply, then Save:

In the Five9 Virtual Contact Center, select the CRM Integrations link:

Scroll down to the Five9 Plus Adapter for Agent Desktop Toolkit section.
In the Agents section, locate the links to the toolbar extensions for different browsers and install it.
NOTE: We used Chrome extension in our example.

Select Options for the Five9 Plus Adapter for Agent Desktop Toolkit add-on:

Enter the following:
IdP Login URL: Copy and paste the value you saved in step 1 into this field.
Click Save.

Done!
Open the Five9 Plus Adapter for Agent Desktop Toolkit add-on.
Click SSO Login:
