The Okta/CloudPassage SAML integration currently supports the following features:
For more information on the listed features, visit the Okta Glossary.
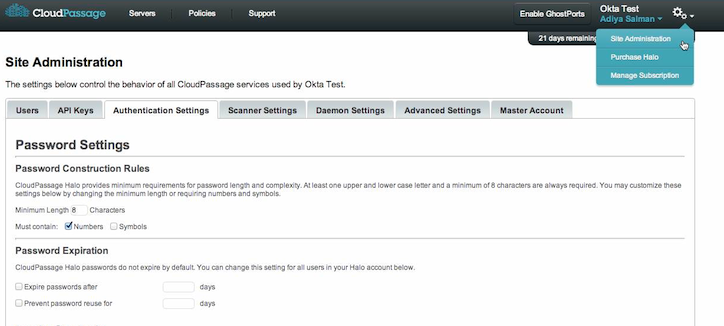
Login to your CloudPassage account.
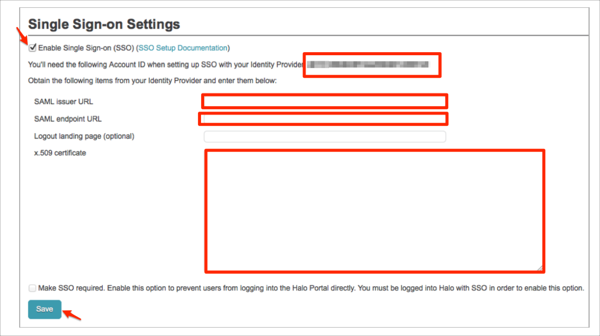
Scroll down to the Single Sign-On Settings section , then follow the steps below:
Select the Enable Single Sign-On (SSO) check box.
Make a copy of your Account ID.
SAML issuer URL & SAML endpoint URL: Copy and paste the following:
Sign in to the Okta Admin app to have this variable generated for you.
x.509 certificate: Copy and paste the following:
Sign into the Okta Admin Dashboard to generate this variable.
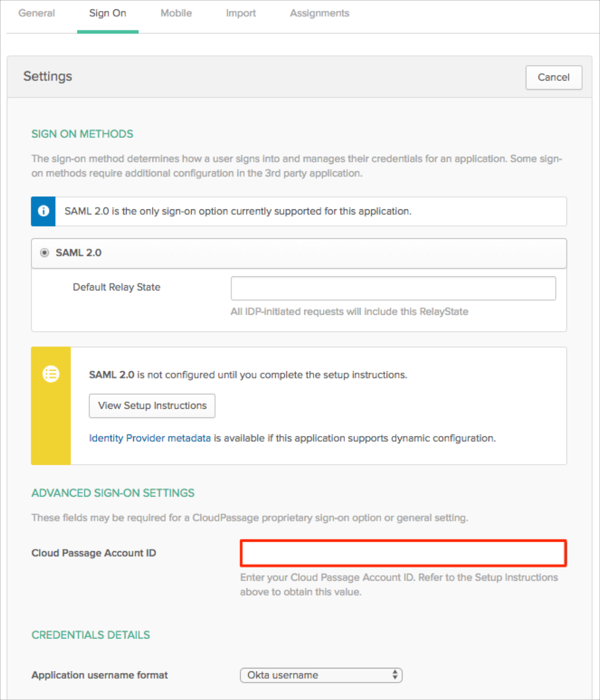
In Okta, select the Sign On tab for the CloudPassage SAML app, then click Edit.