The Okta/8x8 SAML integration currently supports the following features:
For more information on the listed features, visit the Okta Glossary.
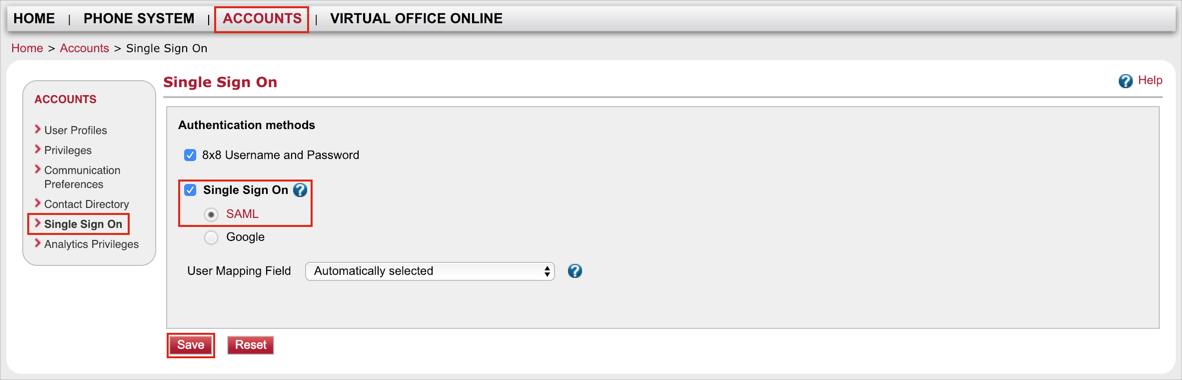
Login to 8x8, Inc. as a user with administrative rights.
Navigate to ACCOUNTS > Single Sign On.
Select the Single Sign On checkbox.
Select the SAML radio button.
Click Save:
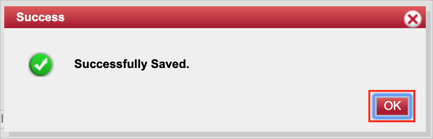
When the Success message appears, click OK to acknowledge:
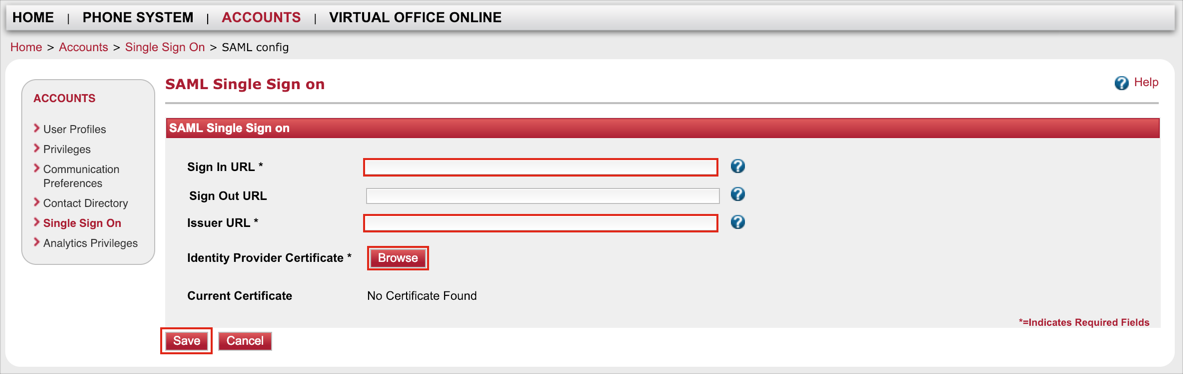
The SAML Single Sign on configuration page appears. Enter the following information (screen shot at end of step for reference):
Sign In URL: Copy and paste the following:
Sign into the Okta Admin Dashboard to generate this variable.
Issuer URL: Copy and paste the following:
Sign into the Okta Admin Dashboard to generate this variable.
Identity Provider Certificate: Download and save the following certificate, then click Browse to upload it to 8x8:
Sign into the Okta Admin Dashboard to generate this variable.
Click Save:
Done!
Important:
Check additional instructions available here: https://sites.google.com/a/8x8.com/single-sign-on/mapping-8x8-user-accounts-to-okta that may be required to map 8x8 user accounts to Okta accounts.
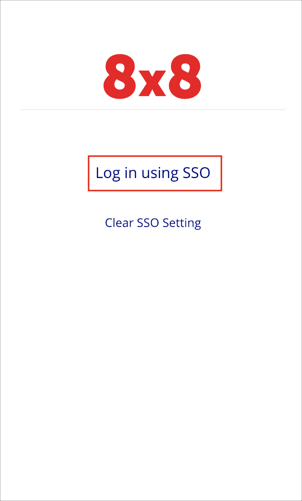
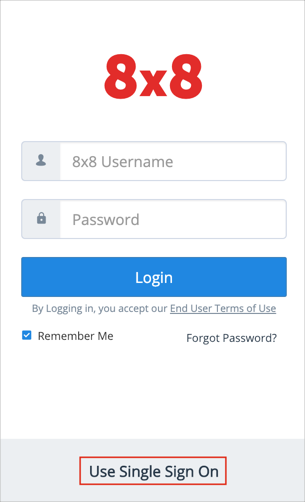
Click Use Single Sign On:
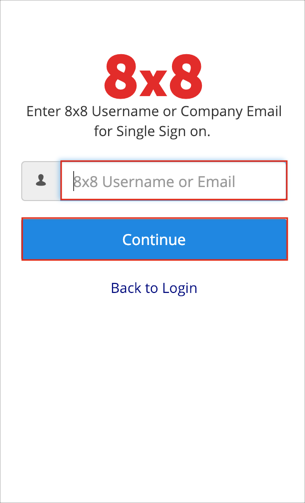
Enter your 8x8 Username or Email, then click Continue:
A Log in using SSO link will appear, click on this link for SP-initiated flows: