This guide provides the steps required to configure Provisioning for NetSuite and includes the following topics:
The following provisioning features are supported:
Before you configure Provisioning for SmartRecruiters, you need to obtain your SmartRecruiters API key, as follows:
Login to your SmartRecruiters account.
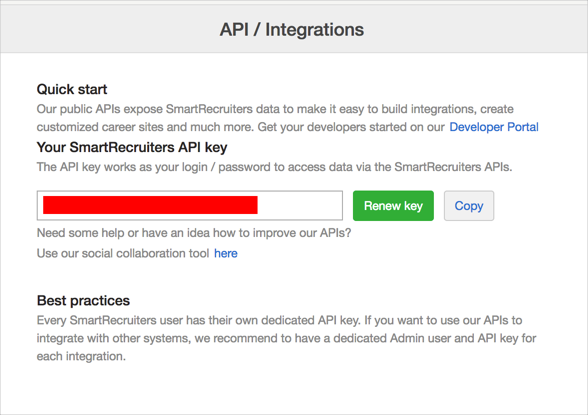
Navigate to Settings/Admin, then to API/Integrations.
Note: You must have a SmartRecruiters Admin account in the Corporate Plan to be able to see this page.
Make a copy of your SmartRecuiters API key:
Configure Provisioning for SmartRecruiters as follows:
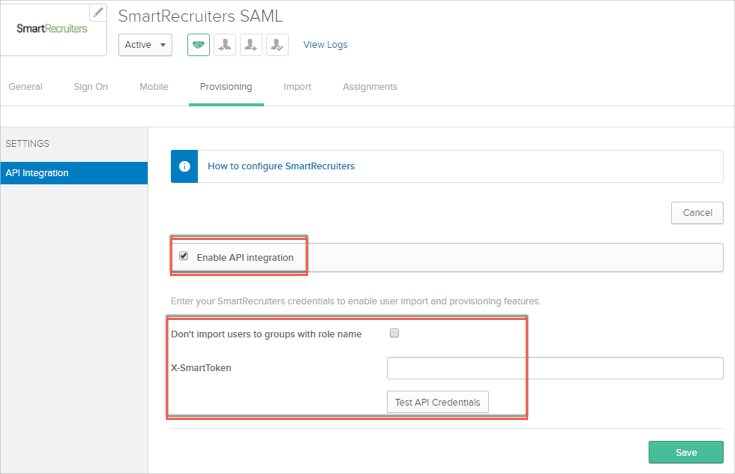
Check the Enable API Integration box.
If you check Don't import users to groups with role name: Okta will not create any groups during users import.
Otherwise (legacy behavior) Okta will create five groups named the same as the available SmartRecruiters user roles (that is, EMPLOYEE, RESTRICTED, STANDARD, EXTENDED, and ADMINISTRATOR) during user import. Every imported user will be placed in the same group as his role.
Enter your SmartRecruiters API key into the X-SmartToken field:
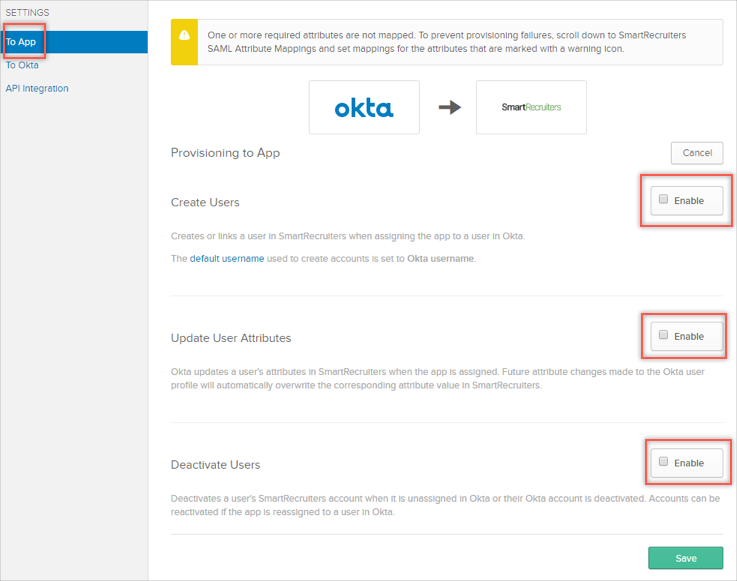
Select To App in the left panel, then select the Provisioning Features you want to enable:
You can now assign people to the app (if needed) and finish the application setup.
In cases where the values for userName and email are different in Okta, the userName value is pushed to SmartRecruiters as the user's email, because email is the main user identifier in SmartRecruiters.
SmartRecruiters supports a limited set of fields. The integration doesn't make use of any custom attributes.