A new Atlassian Cloud application has been published in the the Okta Integration Network (OIN) that supports both SSO and SCIM Provisioning. To fully take advantage of this application, you need to have an Atlassian Access subscription: See https://www.atlassian.com/software/access for details.
If you already have this subscription, we recommend that you use the Atlassian Cloud application for both SSO and provisioning. If you already have existing instances of the old Jira/Confluence applications and would like to migrate your users to the new Atlassian Cloud application,follow the instructions in the Atlassian Migration Guide.
If you want to use REST API instead of SOAP API to create users in Confluence, contact Okta Support and ask them to enable CONFLUENCE_APP_REST_API feature flag.
If you want to use custom expressions for User Name and First Name fields, you have to ask Okta Support to enable PROV_ATLASSIAN_ENABLE_CUSTOM_EXPRESSIONS_ON_PUSH_USER feature flag.
This guide provides the steps required to configure Provisioning for Confluence.
Important: Atlassian will no longer support the ability to push profile updates (Update User Attributes feature), including all user attributes previously supported, and sync passwords (Sync Password feature) for users once you migrate to Atlassian Account.
Atlassian reports working towards SCIM support for their applications which should enable this functionality again, and is targeting completion for July 2017 (see https://Jira.atlassian.com/browse/ID-6305). Please contact Atlassian Support for more specific updates on the status of this project.
In the meantime, we recommend that you turn off Sync Password functionality in Okta under the Provisioning tab for existing Jira and Confluence integrations. The rest of provisioning (create users, deactivate users, groups push and group assignments) will continue to work. In order for groups push and groups assignments to continue to work, you need to make sure the Update User Attributes feature is enabled (under the Provisioning tab).
The following provisioning features are supported:
Push New Users
New users created through OKTA will also be created in the third party application.
Push Profile Updates
Updates made to the user's profile through OKTA will be pushed to the third party application.
Import New Users
New users created in the third party application will be downloaded and turned in to new AppUser objects, for matching against existing OKTA users.
Import Profile Updates
Note: To ensure that communication between your on-premise Confluence server and Okta is not blocked, you may need to add Okta IP addresses to your allowlist.
Configure your Provisioning settings for Confluence as follows:
Check the Enable API Integration box.
Enter your Confluence API Credentials:
Admin Email: Enter an admin user name, with user management permissions.
API Token (note that this was formerly the Admin Password which has been deprecated by Atlassian): Enter the API token generated using the admin account (see https://confluence.atlassian.com/cloud/api-tokens-938839638.html for more information about how to obtain an API token).
Click Test API Credentials:
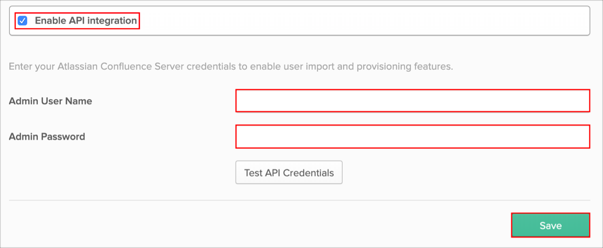
If your credentials are valid, you’ll see a message saying that your credentials were successfully verified.
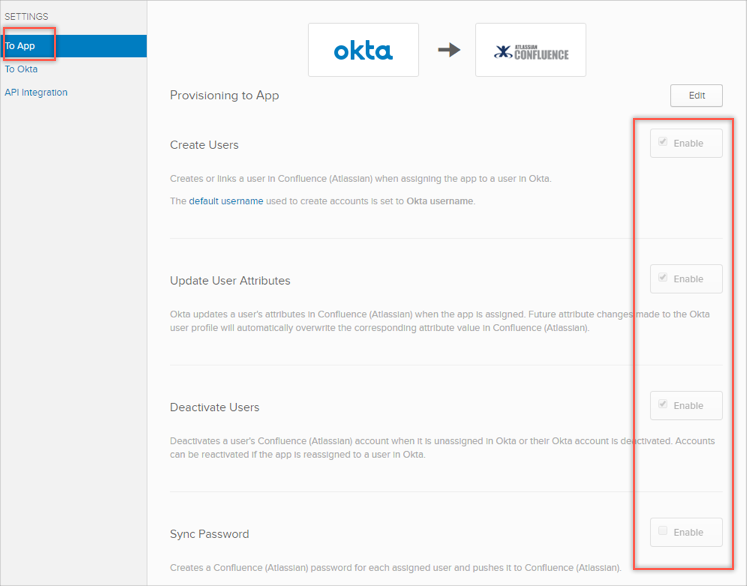
Select To App in the left panel, then select the Provisioning Features you want to enable:
Click Save.
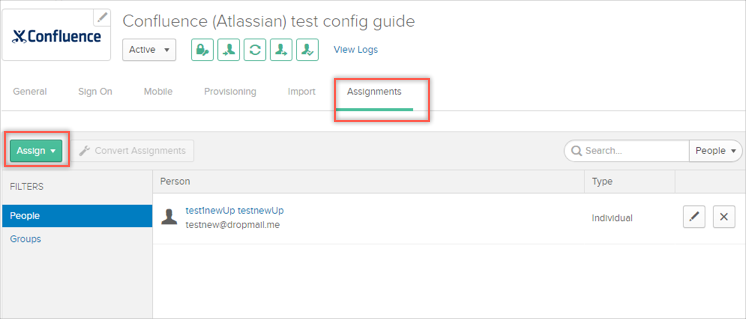
You can now assign people to the app, if needed (see below).
Navigate to the Assignments tab of your Atlassian Confluence Cloud app, click Assign, then click Assign to People:
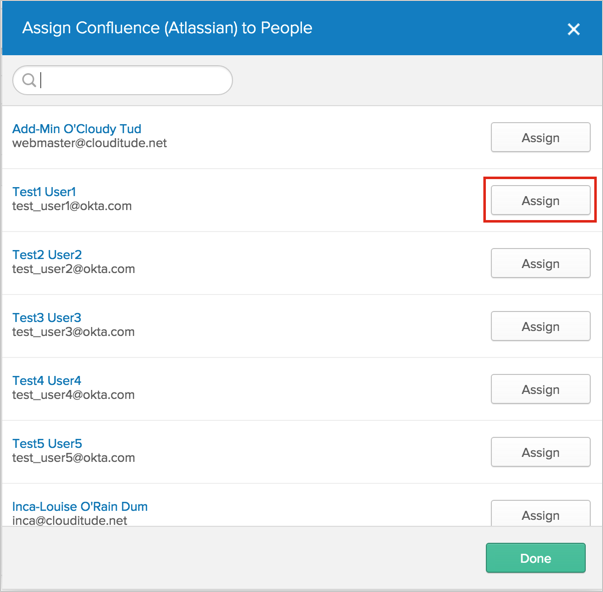
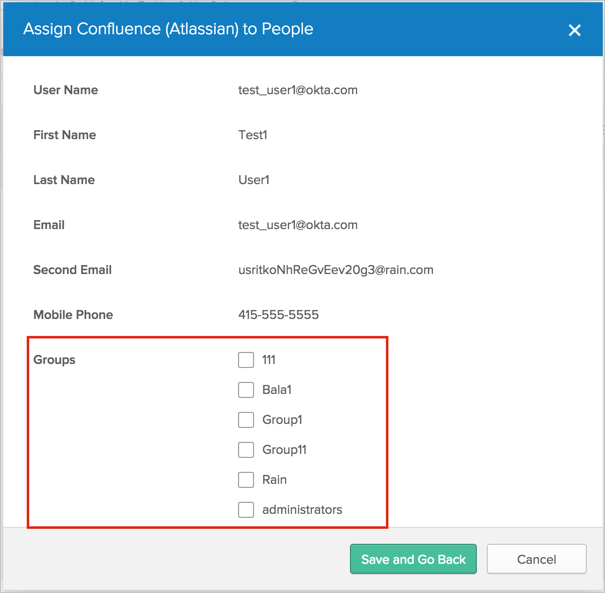
In the Assign Atlassian Confluence Cloud to People dialog, select a user, then click the Assign button:
You can then select Groups for the user:
Follow the steps detailed in the following Confluence article to enable Remote API access:
https://confluence.atlassian.com/doc/enabling-the-remote-api-150460.html
Atlassian Confluence Cloud does not support User's Schema Discovery.